
I’m still getting comments on my Hokkaido milk bread post, and I’m really pleased that’s working out for so many bread lovers! I was feeling hungry for some of that bread myself, so fitting that my next baking challenge used the milk bread recipe to make another Chinese bakery classic: Cocktail buns, or coconut buns, or gai mei bau.

Cocktail Buns – A Childhood Memory
Cocktail buns are a biggie for me. These are my very favorite item at the Chinese bakery, the standard I use to judge a new shop. My mom always has a bunch waiting for me when I visit her in Hong Kong. I suppose they’re like my Proustian madeline: when I bite into one I’m ten years old again, standing in the Chinese bakery looking at a seemingly endless array of puffy golden buns with confusing names like “melon UFO” and “wife cake”. By comparison cocktail bun sounds perfectly normal and appetizing. The cocktail bun is soft, just slightly squishy because of the soft filling inside, and covered in two stripes of sweet frosting and a dash of sesame seeds. I bite one end of the bun off and it always starts the quiver of anticipation because the end part never has any filling, so I’m waiting for the next bite that will reveal the interior, a curved rim of bread over a golden ball of sugary, coconut-flecked sweetness. It’s almost too rich for me to finish but it’s so good I can’t stop, and it always ends only when there’s just crumbs left on my fingers.
The Meaning Behind the Name
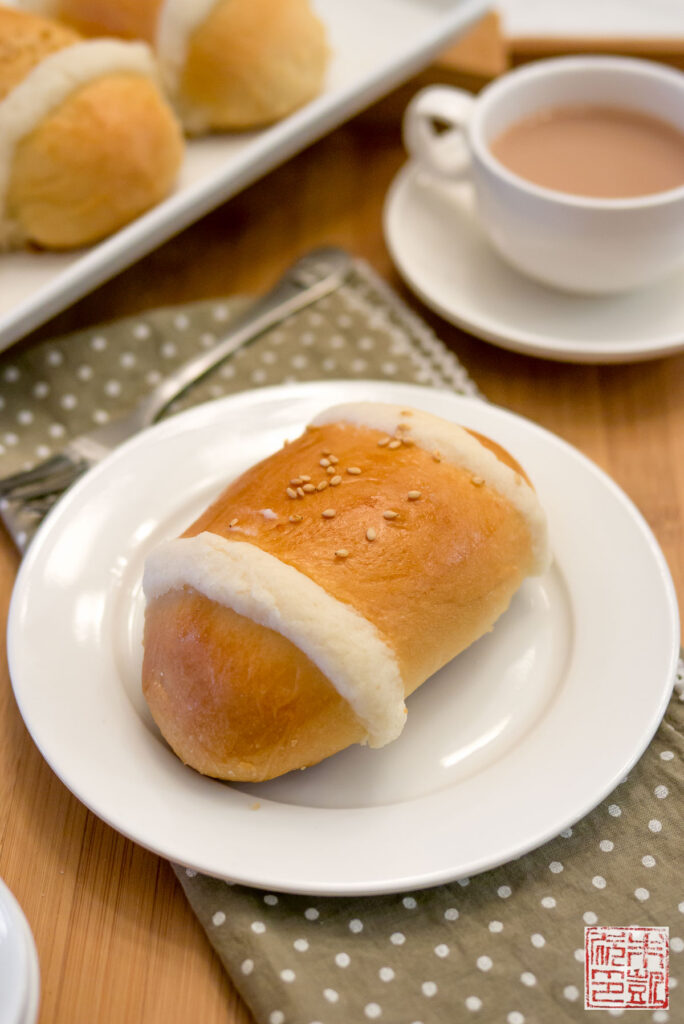
So just like pineapple buns, cocktail buns have an interesting explanation for their name. No, there’s no alcohol in them, nor are they meant for happy hour. The English name is a literal translation of the Chinese gai mei bau, which means “rooster tail bun” (yeah, “cocktail bun” does sound more appealing than “rooster tail bun”, doesn’t it?) The traditional long oval shape of the bun with the piping and sesame seeds is supposed to resemble a rooster’s tail feather. What can I say, the Chinese are super imaginative when it comes to names! So there’s no booze in these buns, nor rooster, but there is a sweet, buttery coconutty filling. Why aren’t they called coconut buns? I guess that would be less memorable.
By the way, some Chinese bakeries will sometimes have an item called “Coconut Cream Buns” which look like a long bun split in half and filled with whipped cream and coconut. This is not the same thing as a cocktail bun! I know, quite confusing. That’s why there are standard shapes and designs for most classic Chinese baked pastries. You don’t need to know any Chinese, just know what the bread you want is supposed to look like and you’ll be able to pick it out visually from the sea of buns.
Cocktail Buns using the Tangzhong (water roux) method
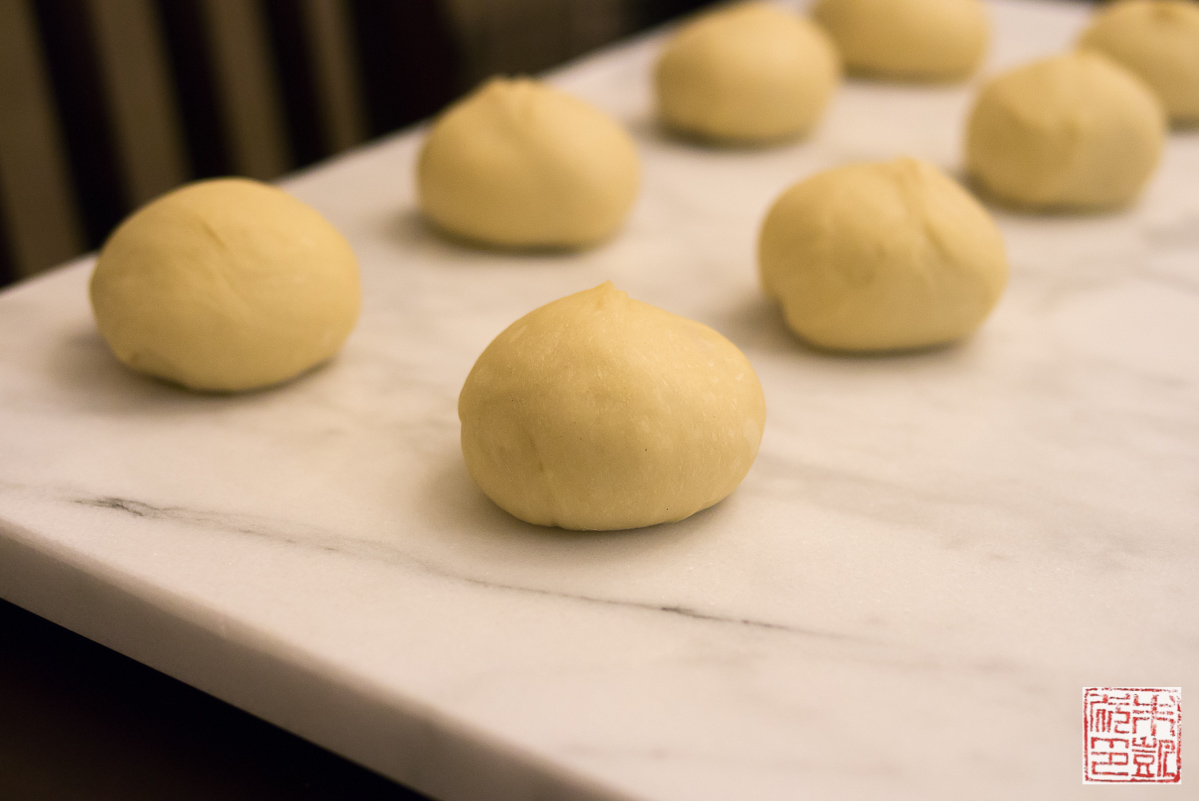
Most Chinese buns use the same soft white bread base, so I used the same recipe for my milk bread since the tangzhong makes the bread extra tender and gives it more longevity after baking. You follow the same method for making the dough, and after the first proofing instead of forming it into a loaf, you divide it into individual balls. I was able to get about twelve buns out of the recipe below; you might end up with one or two more or less depending on how much you dough grows but the important thing is to keep the buns all the same size so they bake evenly. I always weigh my dough on a scale, divide by the number of buns I want, and cut off pieces to get the same weight for each bun.
Steps for filling and folding a cocktail bun
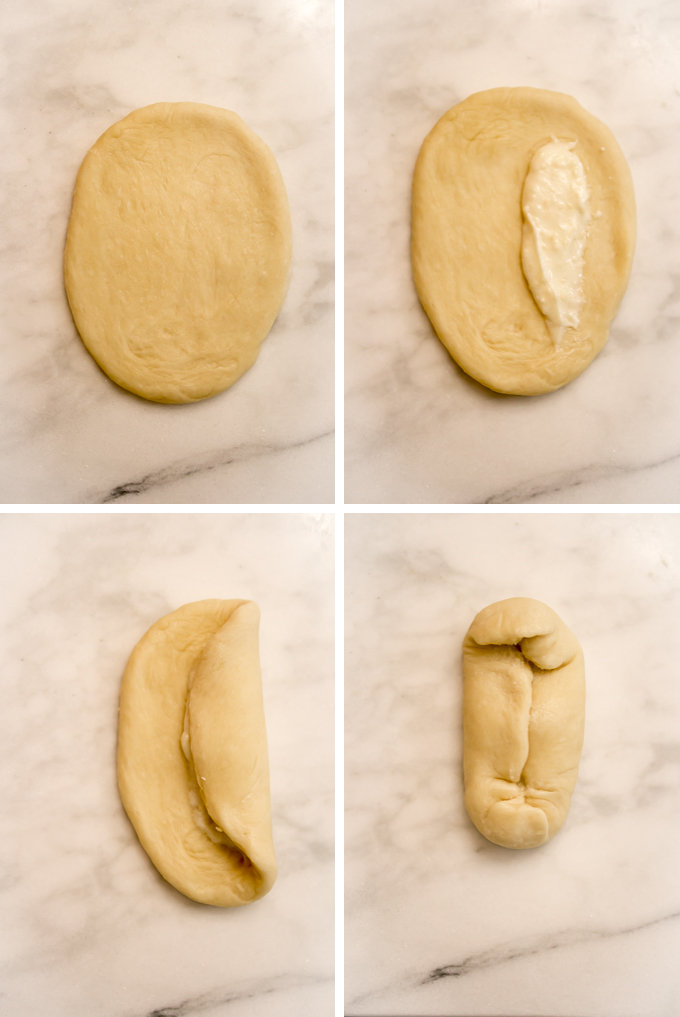
Here’s a little step-by-step of how I assembled the buns. This was my very first attempt at making cocktail buns so there was a bit of trial and error!
1. Roll the ball out to a rough oval.
2. Spread a bit of the filling on one side of the oval. You can make the filling and topping while the dough is proofing. I think my butter might have been a bit too soft as the filling was very loose and I think it should have been stiffer. I increased the amount of flour and coconut in the final version below to hopefully compensate. You don’t want to put too much filling on or it will all spill out when you fold up the bun.
3. Fold one side of the dough over the filling, then fold the other side over so it overlaps as much as you can without the filling squishing out. Pinch together to make a firm seal. If the dough hasn’t stuck together well enough, when the dough proofs again the seam may open and the filling leak out. I had to practice a couple times.
4. Fold the short ends over and press down into the seam to seal as well. Again you may have to practice and experiment with how much filling you put in so you can get the dough to seal together properly. Turn the buns over and place seam side down on the baking sheet.
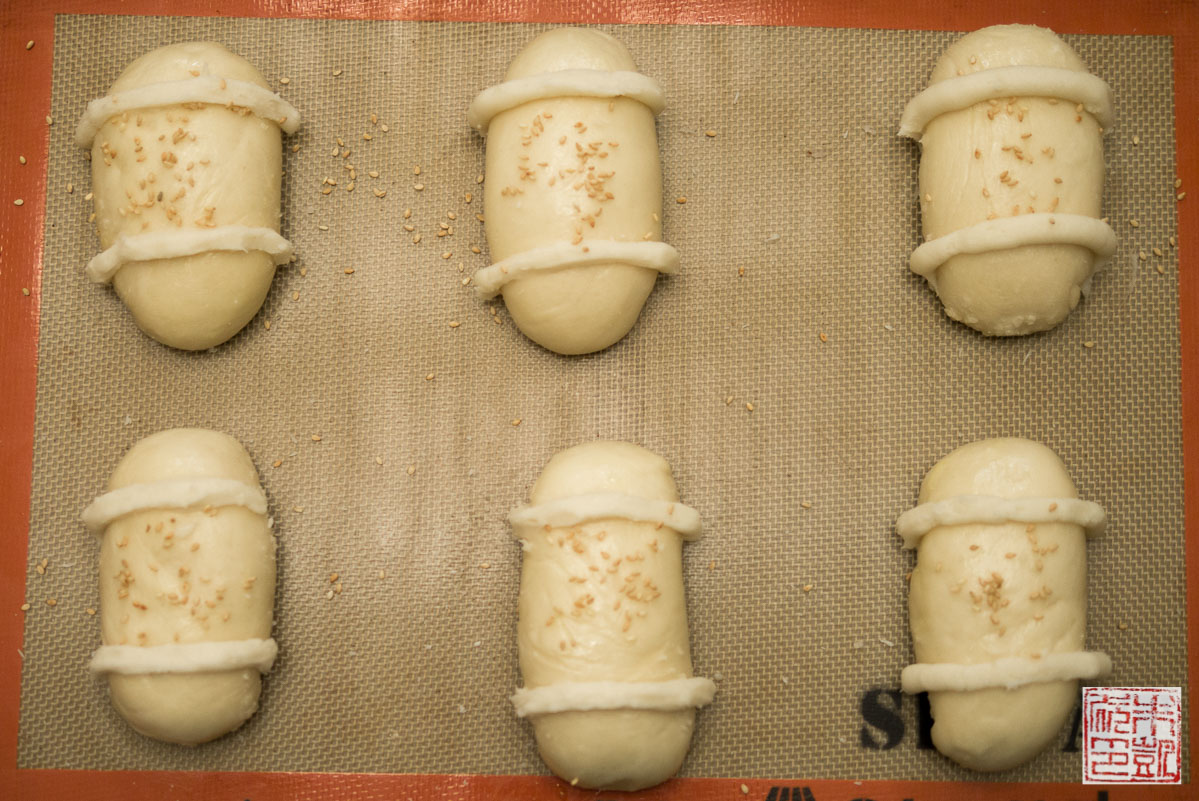
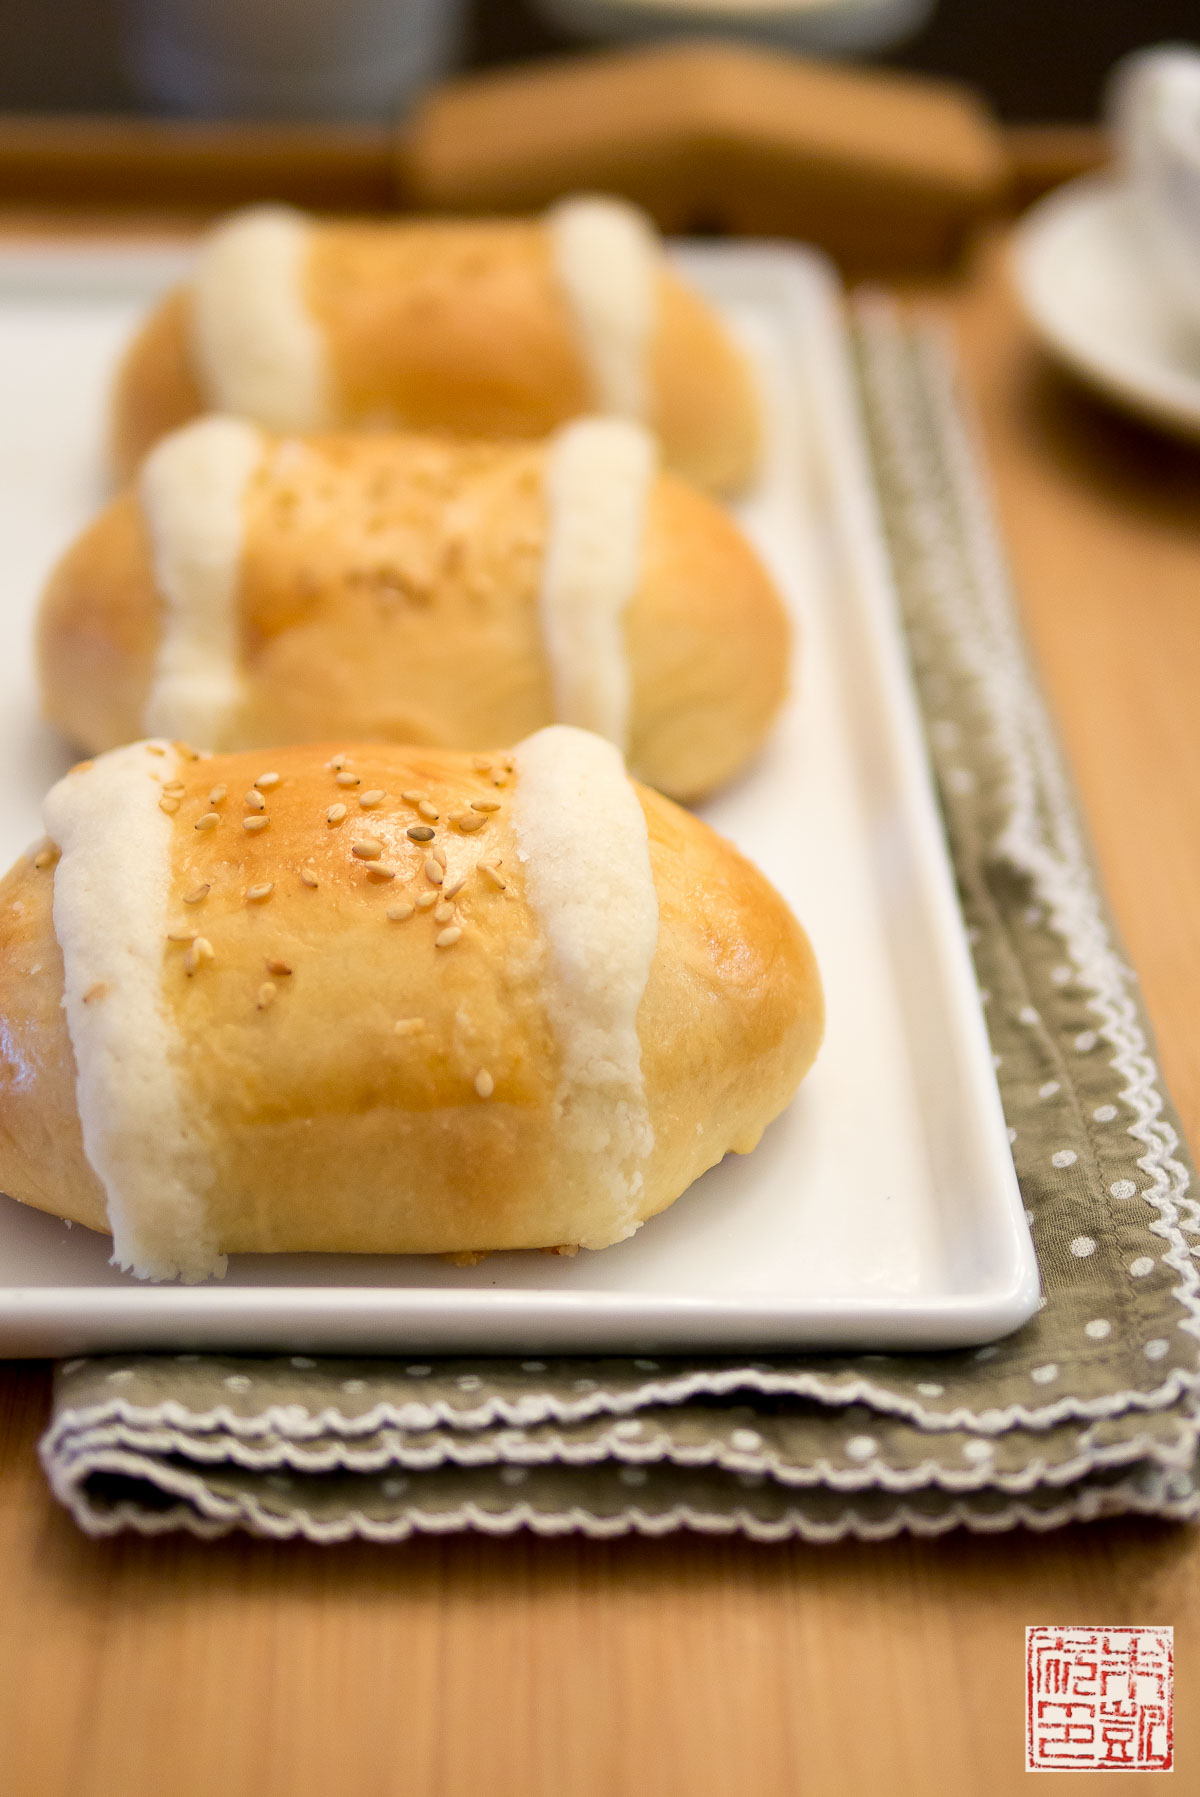
After you fill and shape the buns, you can decorate them in the classic manner which means two lines of topping piped across the top and bottom, and a sprinkling of sesame seeds over the center for crunch. The topping is a paste of butter, sugar, and flour combined into a stiff frosting-like consistency (no wonder I love these buns so much, they are a bit of a sugar bomb!). Tip: You want to pipe a thin line because they will soften and spread slightly while baking. I actually found that putting the topping in a plastic sandwich bag and snipping off a small corner worked better than using a regular piping bag, so try that method and see how it works for you.
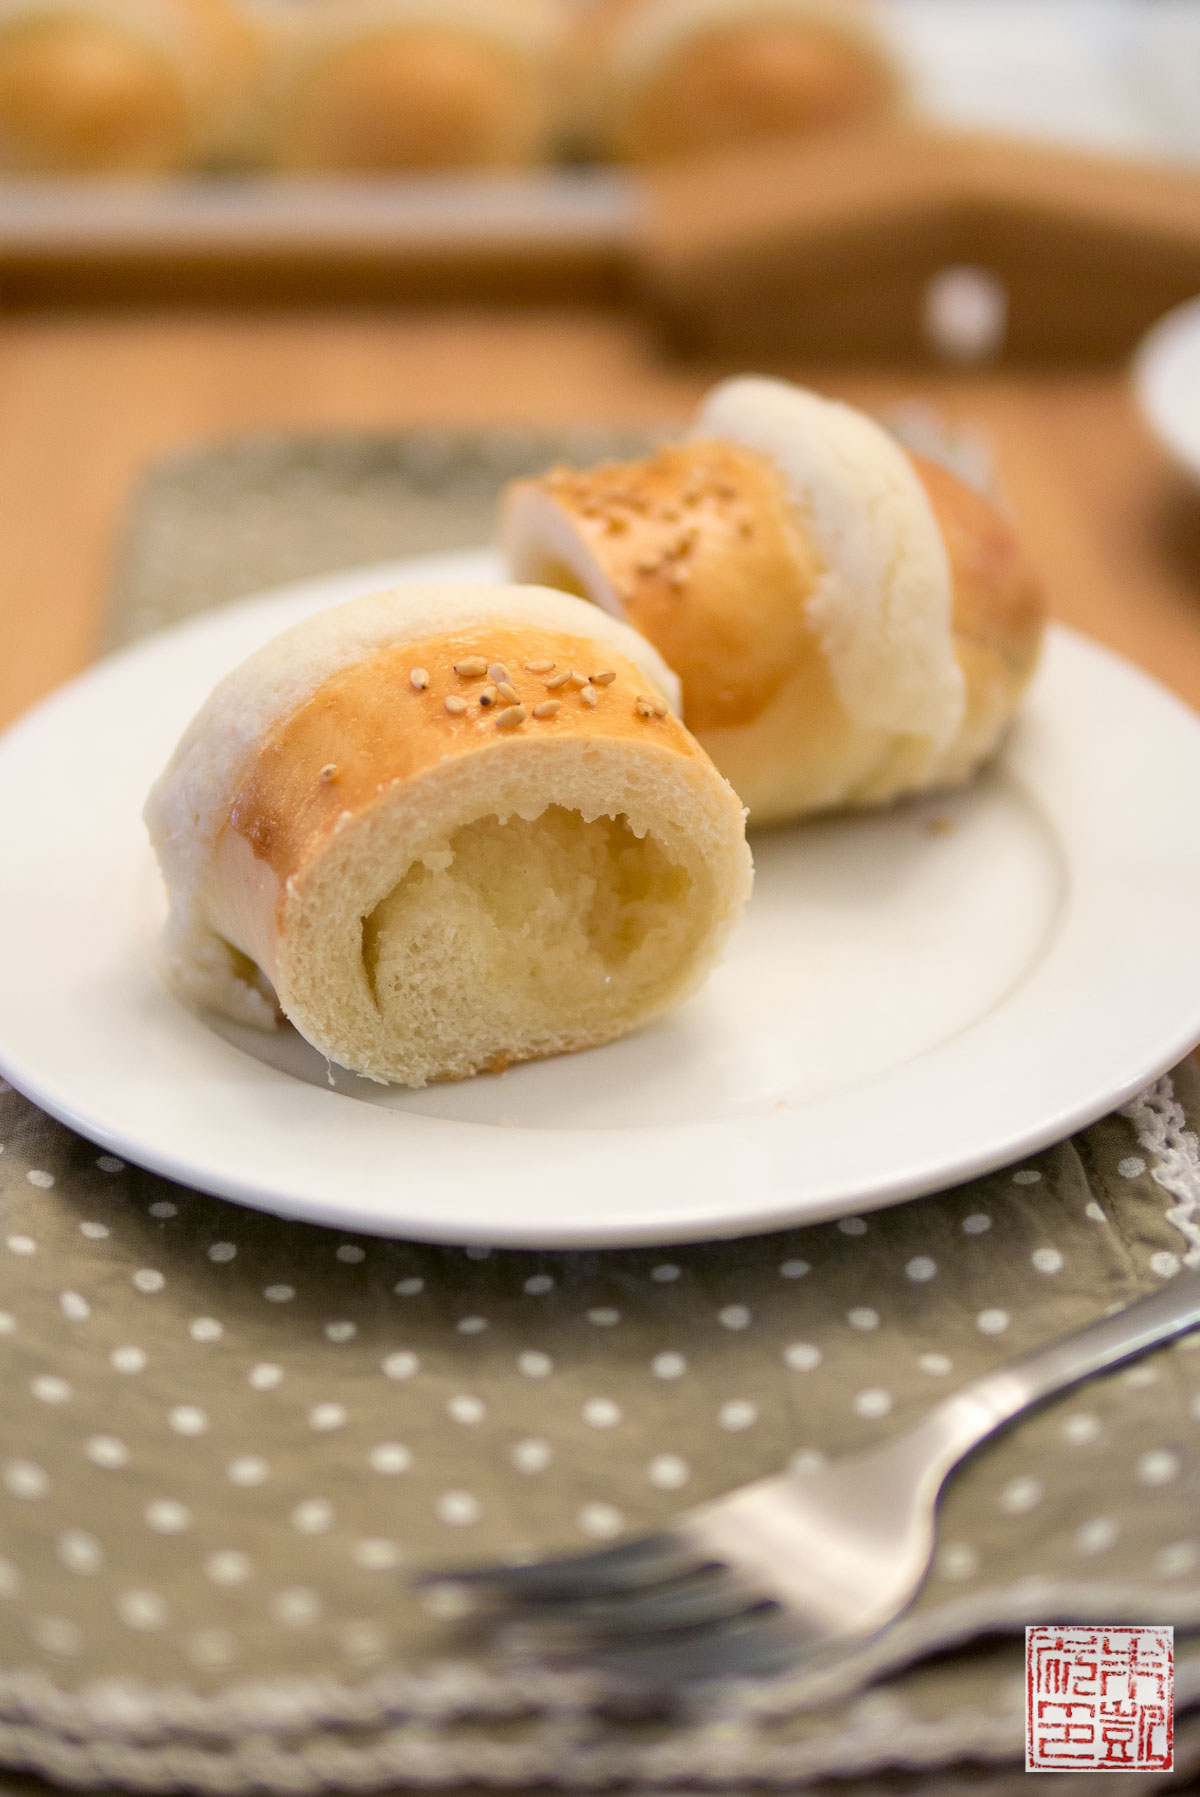
And here’s the lovely result. The bread portion should become fluffy and hollow out around the filling, which should thicken and puff up a bit. What I also like is that some of the filling will melt into the surrounding bread, so it’s almost like a self-buttering bun. The interior is very moist and buttery sweet from the filling, like a brioche. Honestly, even though there is coconut in the filling I’ve never thought of these buns as coconut flavored. It’s mostly a sweet taste from all the butter and sugar. What I think the coconut contributes most is body and a bit of texture to the filling; if it wasn’t there it would simply be a bun filled with butter. But the coconut gives it a bit of crunch, almost like sugar crystals, and very subtly rounds out the flavor. So even if you don’t think you’re a coconut fan, you should give it a try, and hopefully discover why they’re one of my favorite breads ever!
- 25 g bread flour
- 100 ml water
- 125 ml whole milk, lukewarm
- 2¼ teaspoons active dry yeast
- 350 g bread flour
- 60 g sugar
- 1 teaspoon (5 g) salt
- 1 large egg, plus another for egg wash
- 30 g unsalted butter, room temperature
- 45 g desiccated coconut or dried coconut flakes
- 40 g sugar
- 90 g unsalted butter, room temperature
- 40 g cake flour
- 80 g cake flour
- 80 g unsalted butter, room temperature
- 40 g sugar
- 1 egg, beaten, for egg wash
- sesame seeds
- Whisk flour and water together in a small saucepan. Place over medium-low heat on the stove.
- Cook, whisking constantly, until the mixture thickens into a pudding-like consistency and you can leave lines in the mixture, about 5 minutes. You might be tempted to walk away from the mixture at the beginning when it's taking a while to thicken, but don't - it will come together surprisingly quickly and you don't want it to overcook. If you want, you can check the temperature - it's finished when it reaches 65 degrees C (149 degrees F), but I don't find it necessary.
- Let the tangzhong cool to room temperature before using. You can also store in the refrigerator for a couple days and bring to room temperature before using. If you see grayish spots in the tangzhong, discard it and make a fresh batch.
- The milk should be at 108-110 degrees F to develop the yeast (any hotter and it will kill the yeast). Combine yeast and milk and 2 teaspoons of the sugar in a small bowl and let stand for about 5-8 minutes until yeast is bubbly.
- Combine the flour, sugar, and salt in the bowl of a stand mixer. Add in the yeast mixture, the tangzhong, and the egg.
- With a dough hook attachment, mix all the ingredients until it comes together into a soft, sticky dough, about 10 minutes.
- Add in the butter and mix to incorporate. Continue beating the dough for about 10-15 minutes until the dough is smooth and elastic. You should be able to stretch the dough out fairly thin without it breaking (the windowpane test). If it breaks right away when you try to stretch, mix it for a couple more minutes.
- Turn out the dough into an oiled bowl and cover with plastic wrap. Let proof for about 40 minutes until dough has doubled in size. The amount of time this takes will depend on the ambient temperature. I like to leave the bowl on top of the stove (no burners turned on) but with the oven turned to 250 degrees.
- Before the dough is finished proofing, line two baking sheets with parchment paper and silicone baking mats. You can also make the filling and topping ahead of time (directions below).
- When the dough looks like it has doubled in size and is puffy to the touch (if you poke the dough it should hold the indent and slowly fill back in), take the dough and split into 12 equal pieces. Roll each piece into a ball. Place on prepared sheets. Cover with plastic wrap and let rest for 15 minutes.
- Roll out each ball into a long oval. Spread some of the filling across one side of the oval.
- Roll up the dough lengthwise into a long cigar shape. Tuck the ends under to seal.
- Place the filled bun seam side down on prepared baking sheet. Repeat with rest of dough.
- Cover buns with plastic wrap and let proof for another 40 minutes until doubled in size again.
- Preheat oven to 350 degrees F. Remove plastic wrap and brush buns lightly with egg wash. Pipe two lines of the topping over each bun. Sprinkle with sesame seeds.
- Bake for about 13-16 minutes until golden brown and buns are firm and dry to the touch. Remove from oven and let cool on wire racks before eating. You can store them in a covered container for 4-5 days, but they are best within the first couple of days.
- Combine coconut and sugar together in a food processor and process until fine.
- Add in the butter and cake flour and process until it is a smooth paste.
- Combine the flour, butter, and sugar together in a mixer, food processor, or by hand until smooth. Scrape into a sandwich bag or disposable piping bag and close.
- Snip off one corner when you are ready to pipe the topping on the buns.


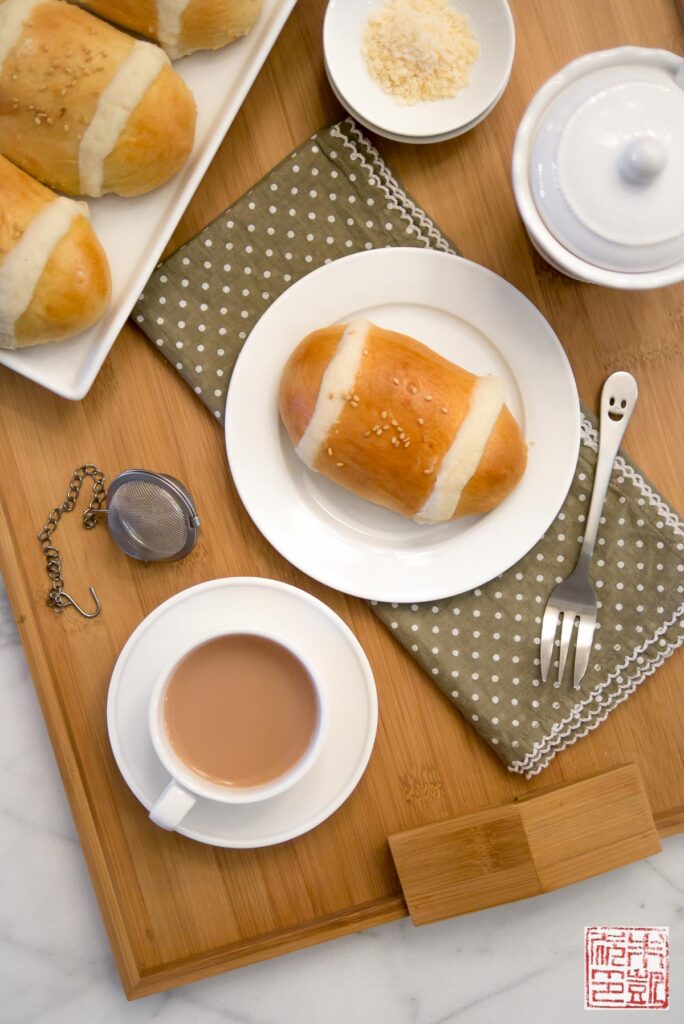
OK those look delicious, but what I really love is that little smiley face fork!!!! That is soooo cute! 😀
Love these. I have only made the savory tyke buns with pork but I need these in my life!!
The buns looks amazing, and the taste certainly the same! Well done 🙂
I’ve never seen these before but now I’m curious to make some for my next tea party! Thanks for sharing!
This looks amazing! I must try this immediately. Thanks for sharing!
I am so used to eating buns that are filled with char siew, or luncheon meat, or otah here, I have not tried the one with coconut filling before, so thanks for sharing!
amazing! and from the top, they almost…almost…look like little footballs, right?
Your buns look really tasty, my boys would love them!
How special to visit mom and have her homemade bread waiting for you to try. I think these rolls look delightful and I’m obsessed with the coconut filling!!
What a fantastic post, for so many reasons! These cocktail buns look phenomenal – just gorgeous! But I also really enjoyed reading about how they got their name, and about how eating one takes you right back to your childhood, staring at the melon UFOs and wife cakes! Such rich detail and really great information in your storytelling!
Yes please! These look great!
These seem like a great appetizer that can be filling while you’re having a cocktail party!
This buns are so cute! Plus they look pretty darn delicious 🙂
What a fantastic post !!! Amazing cocktail buns 🙂 Will be making them soon