Soft, fluffy, cloudlike steamed buns are a cornerstone of Chinese cuisine. They form the pillowy base for all kinds of toppings and fillings both savory and sweet, or they can even be eaten alone. A visit to a Chinese bakery or dim sum house isn’t complete without seeing trays of piping-hot tennis-ball sized buns filled with barbecued pork, or a ring of folded-over buns surrounding a platter of roast pork or Peking duck.
I was invited by the San Francisco Cooking School to visit a weekend baking class dedicated to the classic Chinese steamed buns. Baos are one of my particular weaknesses so how could I say no? Especially as it was being taught by the head pastry chef Nicole Plue, who teaches the professional pastry program and many of the baking workshops at the school. I’d already taken her macaron class, so I was happy to go back for another round.
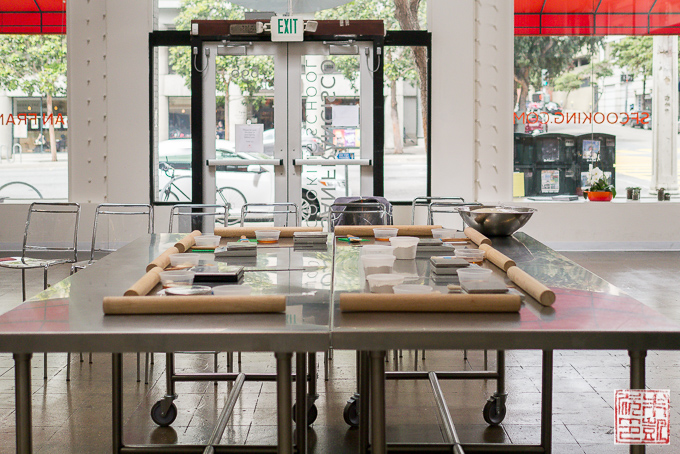
The weekend cooking enthusiast classes are taught in the front demonstration kitchen, where there’s plenty of light and counter space for everyone. Here the tables are set up for the students to measure and roll out the dough.
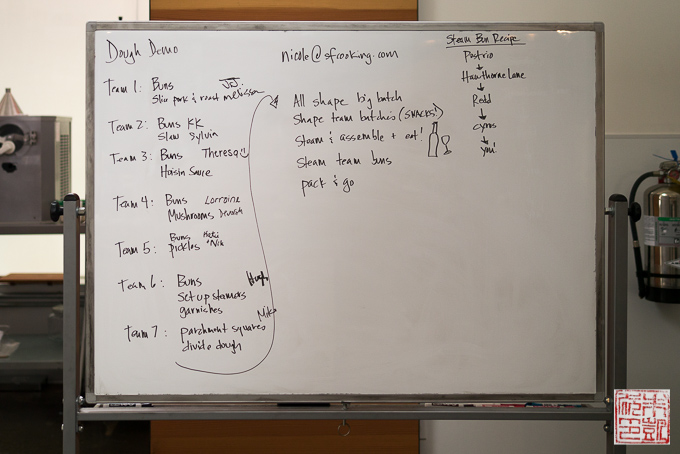
Here is the class schedule. Everyone got a chance to make the dough and shape and steam the buns; we split into teams to take on the other tasks of making the fillings and sides. Of special note is the right hand corner of the board, which details the lineage of the chef Plue’s steamed bun recipe. It’s been served at some of the best known restaurants in the Bay Area, including classics like Postrio and Hawthorne Lane, and more recent stars like Redd in Yountville and Cyrus in Healdsburg.
As Plue explained to the class, she was asked as pastry chef of Hawthorne Lane to come up with a recipe for these buns after the pre-made ones they using were criticized by a restaurant reviewer. Plus admits that she doesn’t have a background in Chinese cuisine, so after they found a recipe she tweaked it to suit her tastes and needs. Her version of steamed buns is robust yet still light and fluffy, and pack a lot of flavor on their own – no bland cardboard here!
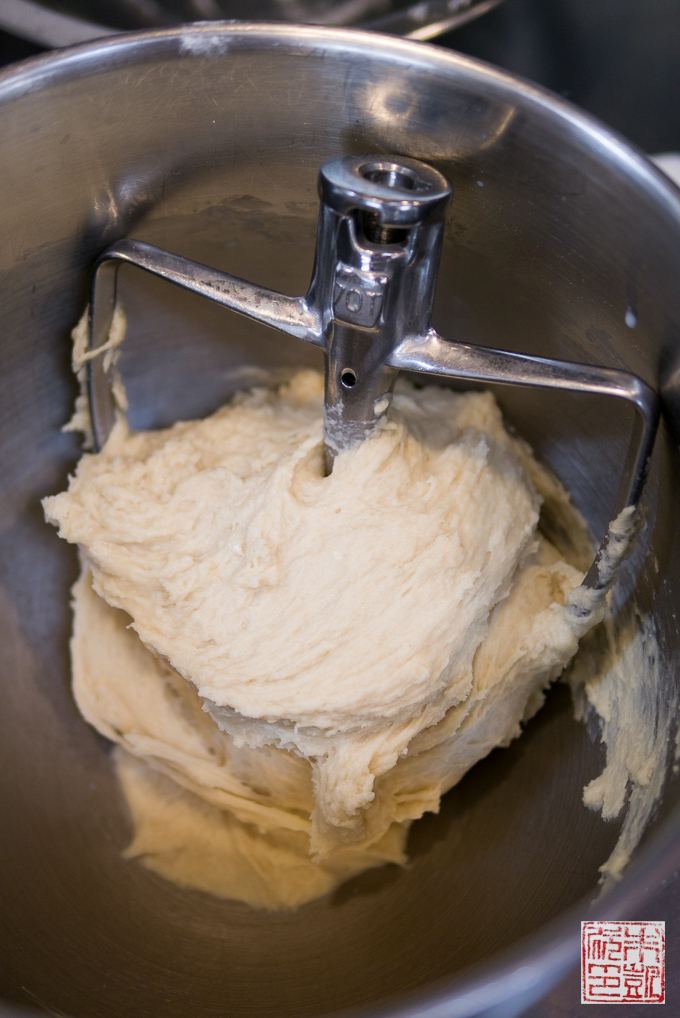
The dough is very easy to put together in a mixer (you can even put it together by hand) and fairly forgiving because of all the fat. Chef Plue’s recipe contains egg, which I’ve noticed most other traditional Chinese steamed buns recipes don’t have. The egg gives these buns more flavor and makes them a bit more sturdy, I think. The dough does not require much kneading: basically just enough to have the dough come together. You can see in this photo that it still looks a bit rough and shaggy, not quite a solid ball, but it’s sticking to itself so it’s ready.
After covering the dough and letting it rise, we were ready to cut and shape the buns.
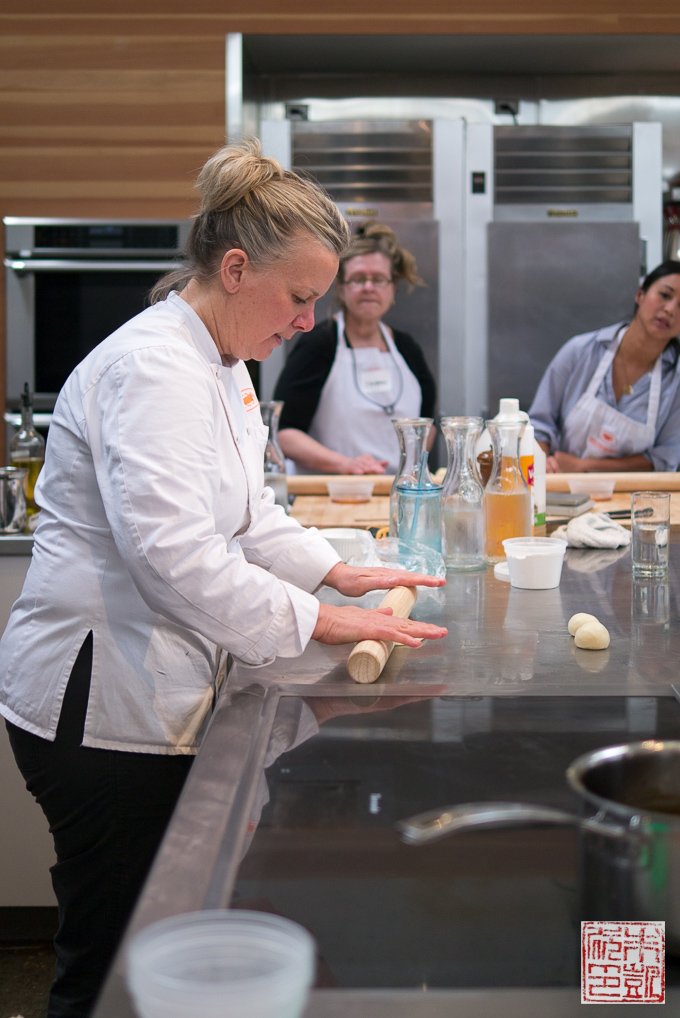
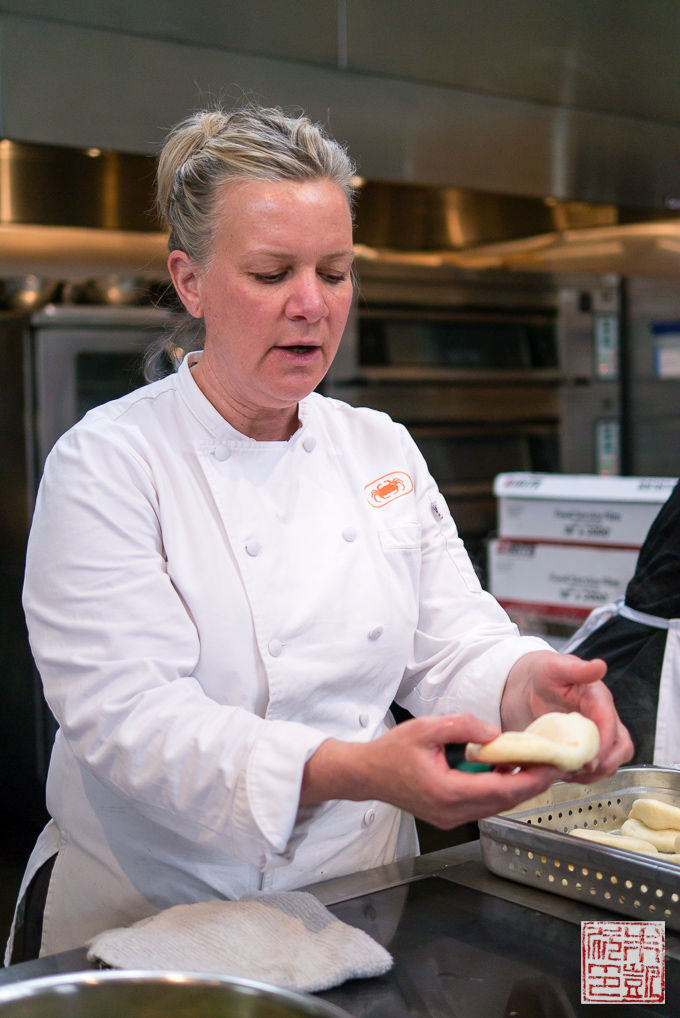
Chef Plue showing how to cut and form the steamed buns. As I’ve mentioned in my other posts about the SF Cooking School, I really like Chef Plue because she is talented, humble, and generous with her expertise. She admitted that she likes to teach by enumerating all the problems she’s encountered with a particular recipe and then describing how to avoid them. This is a very practical and useful approach for students because of course once you go home and try the recipe, you immediately discover all these issues that didn’t happen in the class.
Here she’s emphasizing the importance of making the buns consistent in shape and size, otherwise they won’t steam uniformly and you’ll have some underdone buns or overcooked ones. So use a scale to make sure each ball of dough is the same weight, and roll them into tight balls (remember my post on boule-ing?) before rolling them out.
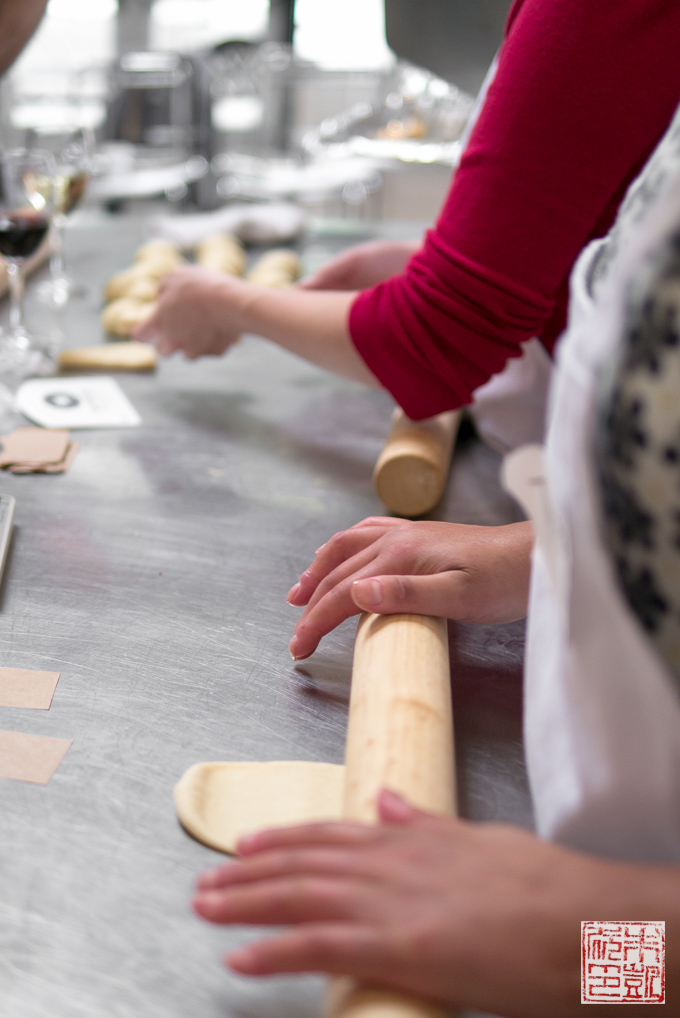
Here is the class rolling out and shaping the buns. I found this dough very easy to work with, but as always treat dough with respect for the best results: Use a bench scraper or sharp knife to cut the dough instead of tearing it, be gentle when forming the balls, and don’t manipulate it more than necessary.
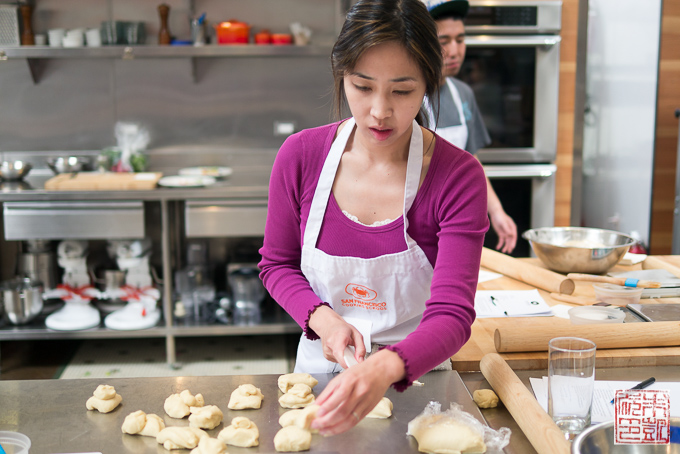
One of the other students in the class was nice enough to get an action shot of me.
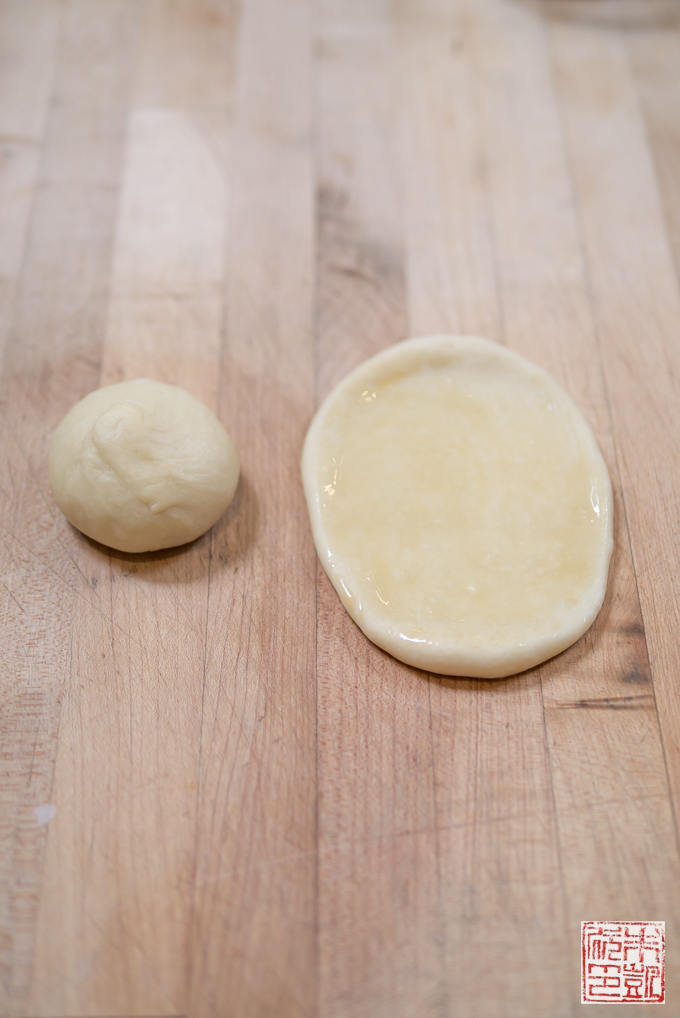
Comparison shot: a ball of dough and then rolled out into an oval and brushed with sesame oil. The sesame oil keeps the dough from sticking when it’s folded in half, and also gives it more flavor.
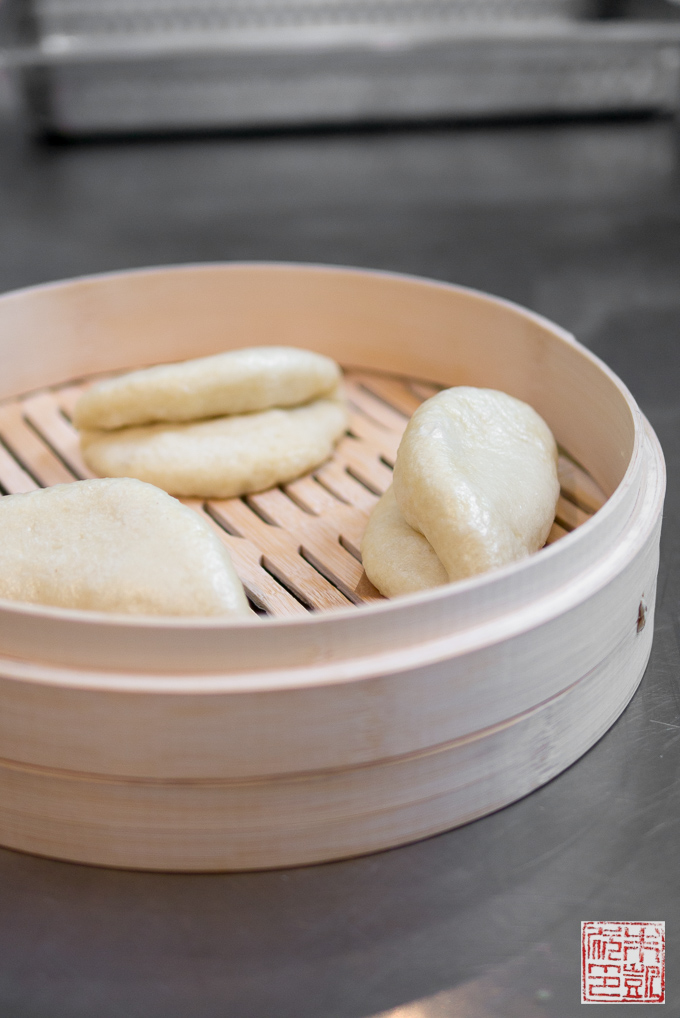
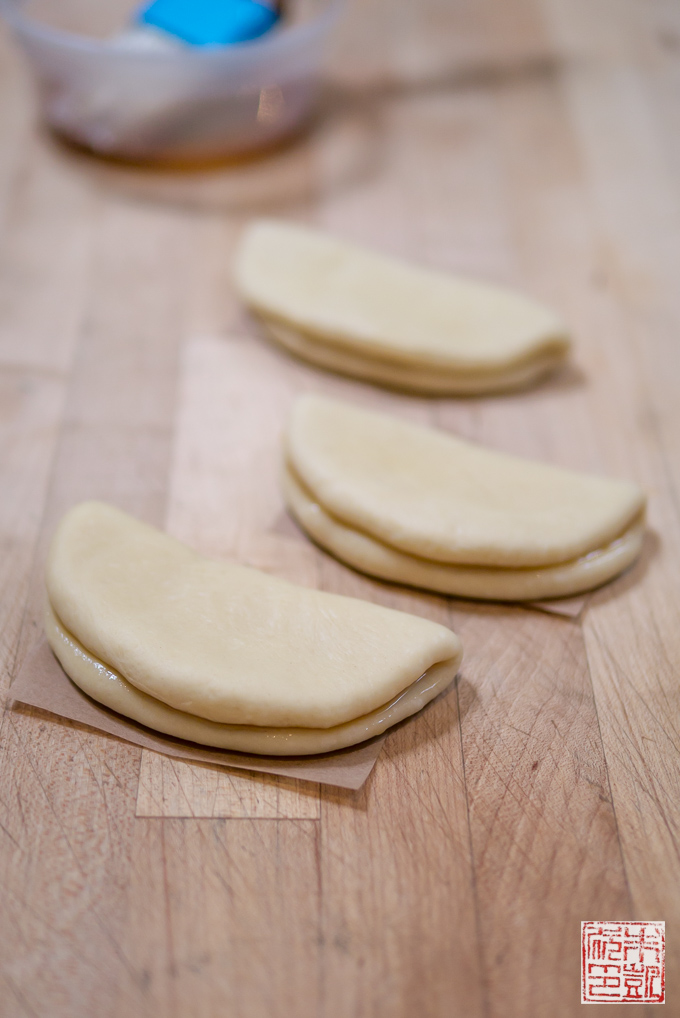
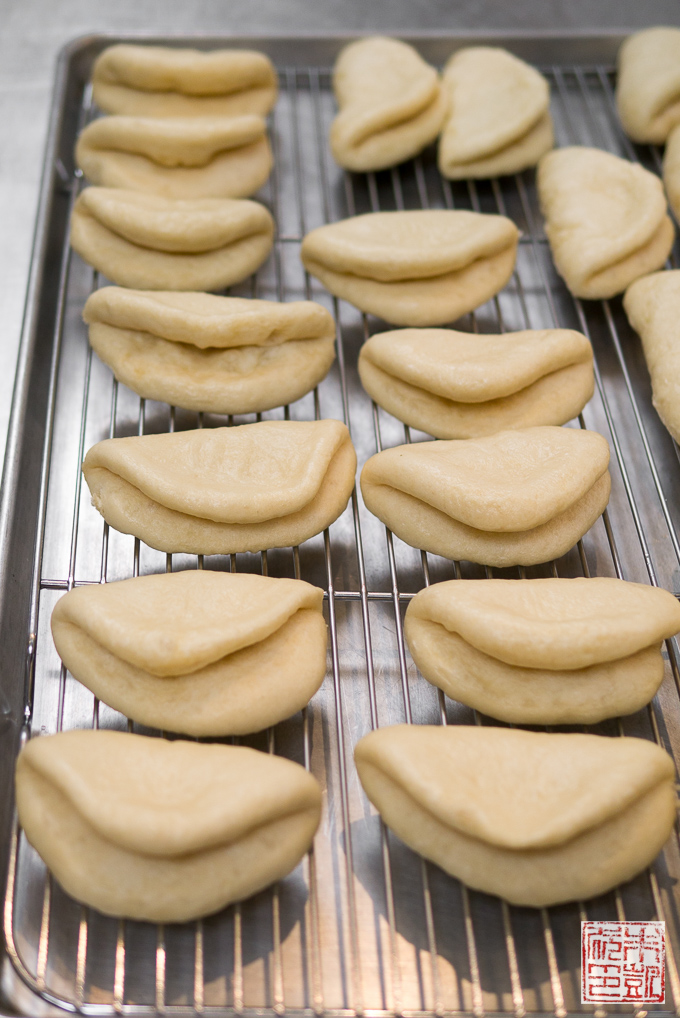
The dough is then folded over to form the traditional half-moon shape and placed on a sheet for a second rise before steaming.
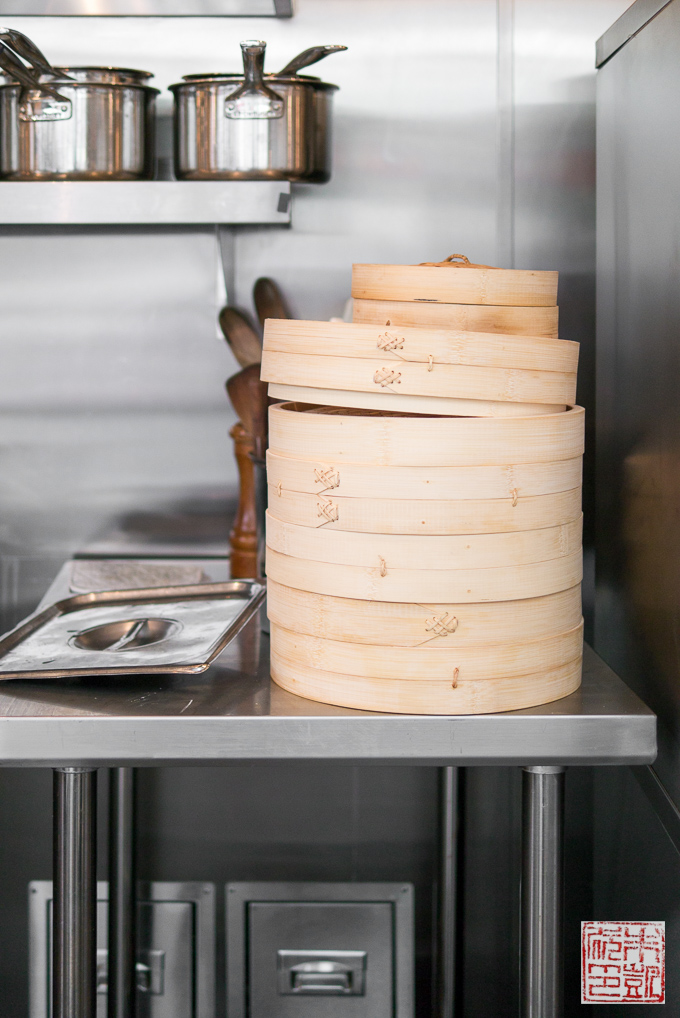
Although bamboo steamers are the classic choice, there are many kinds of steamers available today, from stainless steel ones to electric models. In the class we used a mix of bamboo steamers set over metal saucepans and large, perforated hotel pans set over rectangular pans of the same size. The buns are placed in the steamer when the water is hot enough, covered with foil (or a steamer lid), and then steamed until they are puffy and soft.
Chef Plue’s technique for steaming buns is that she always steams them for five minutes. The idea is that the heat should be at the right level so that five minutes is just enough to fully cook the buns. Based on your setup you might need to turn the heat up or down to achieve this. The reason you adjust the temperature and not the time is because the five minutes should allow the buns to steam gently, which gives them their soft, delicate texture. If you have the heat up too high and it cook in only a couple minutes, the bun will end up tougher and chewier. If you have the heat too low and the buns take a long time to cook, they tend to shrink and shrivel when you remove them from the heat, resulting in an unattractive appearance. Chef Plue’s advice is to test one bun out in your setup first; after five minutes, check the bun and see what adjustments you need to make. Once you’ve figured out the right level of heat, you’ll be able to consistently turn out properly steamed buns.
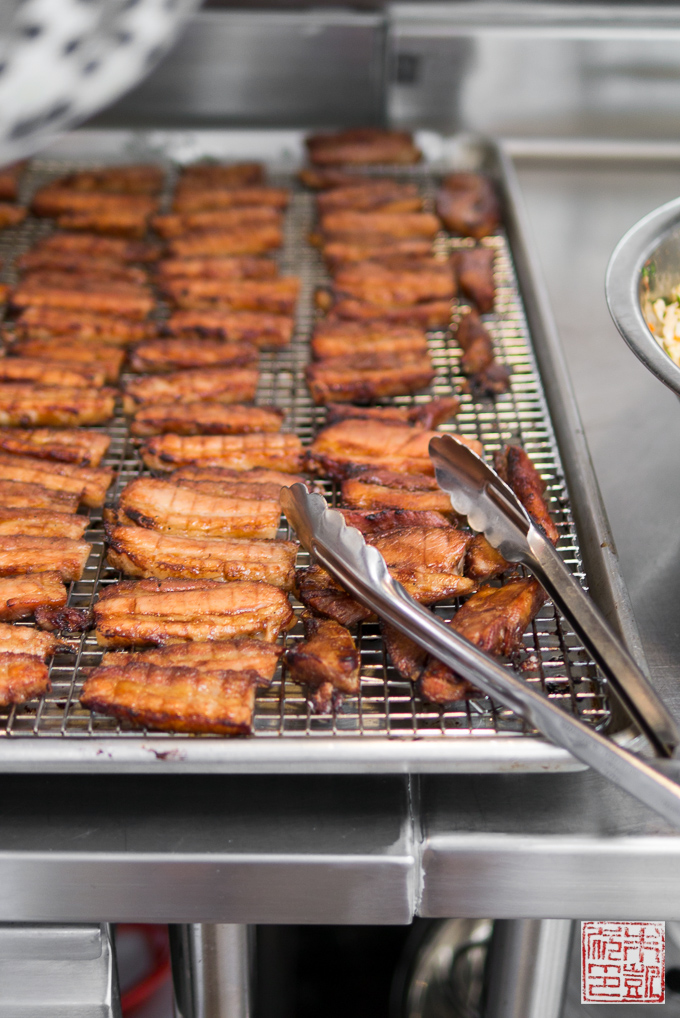
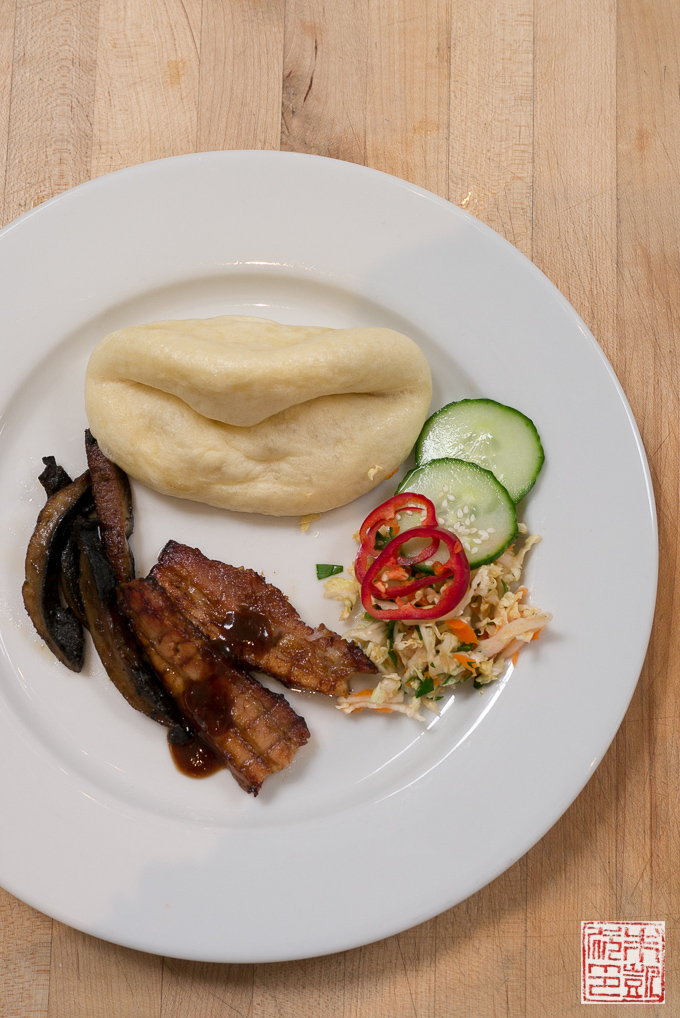
While the buns were proofing we made the various fillings and sides for them. Here is some succulent roast pork belly, sliced and brushed with hoisin sauce.
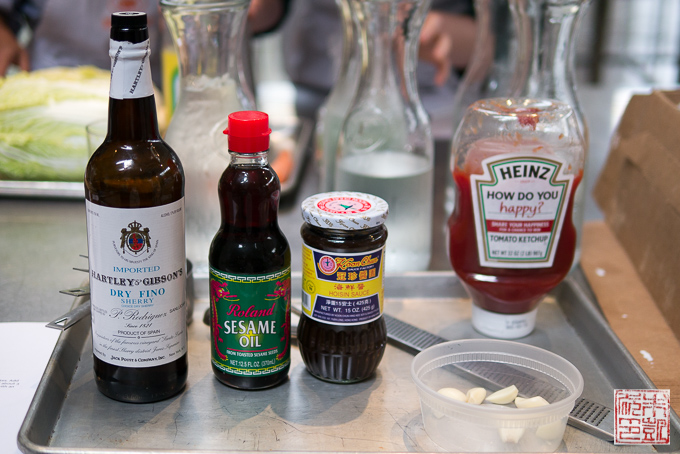
We also made a supercharged version hoisin barbecue sauce by doctoring up some store-bought hoisin sauce with a bunch of ingredients like garlic, sherry, and rice vinegar. The difference in taste makes it worth the effort.
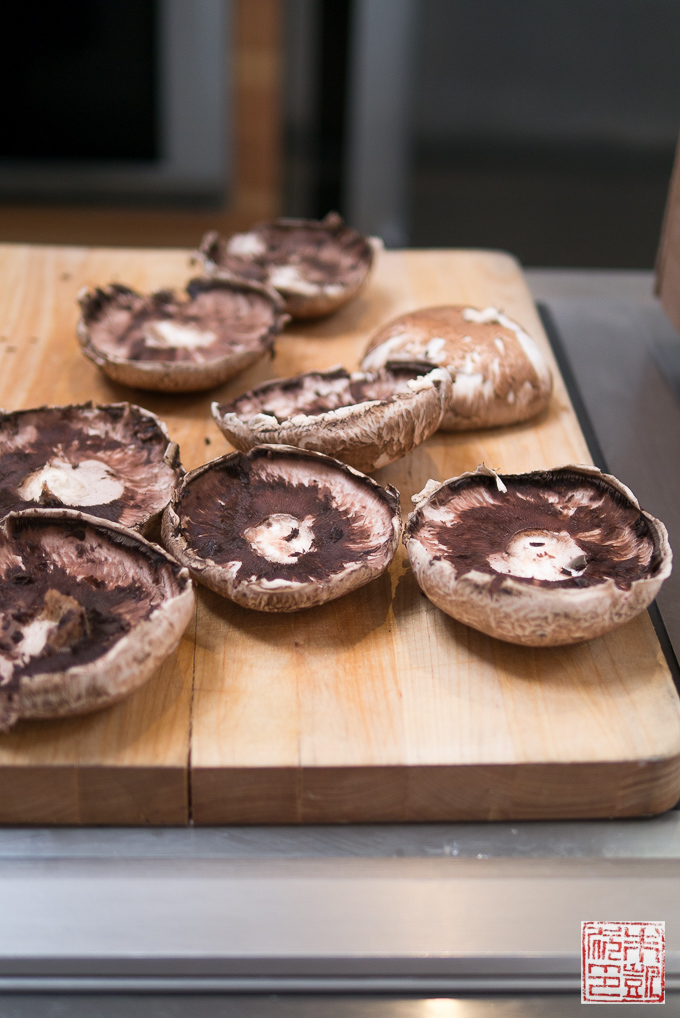
Portobello mushrooms to be roasted for a vegetarian filling.
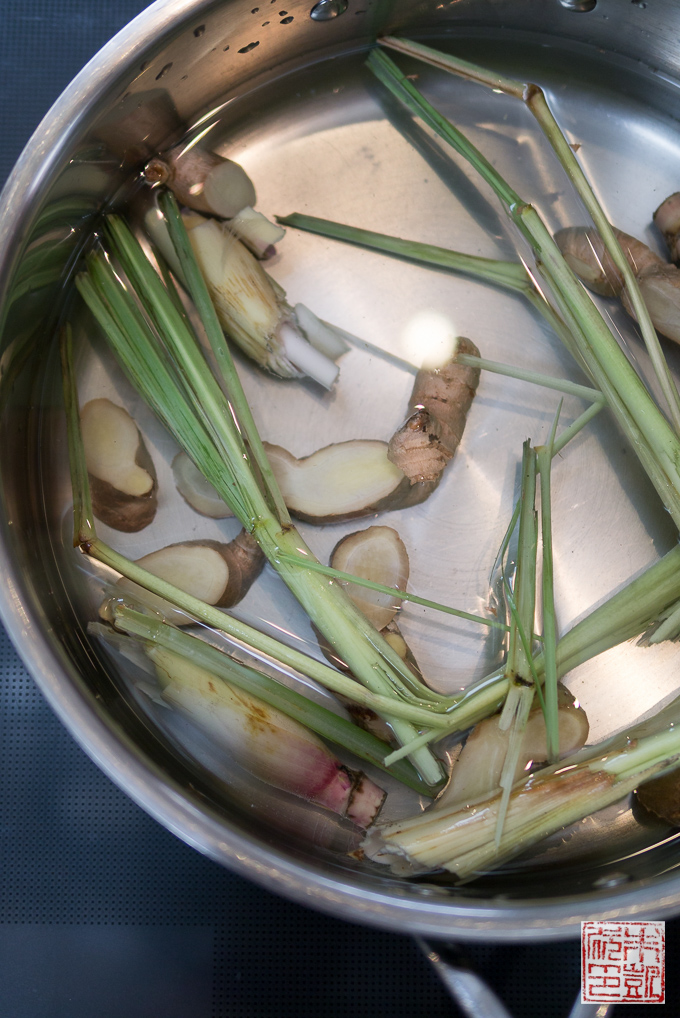
Preparing the steamers. Another unique bit in Chef Plue’s recipe is she puts lemongrass and ginger in her water, which makes it super aromatic once things heat up. The steamed buns don’t taste strongly of lemongrass and ginger, but it adds another layer to the flavor of the buns.
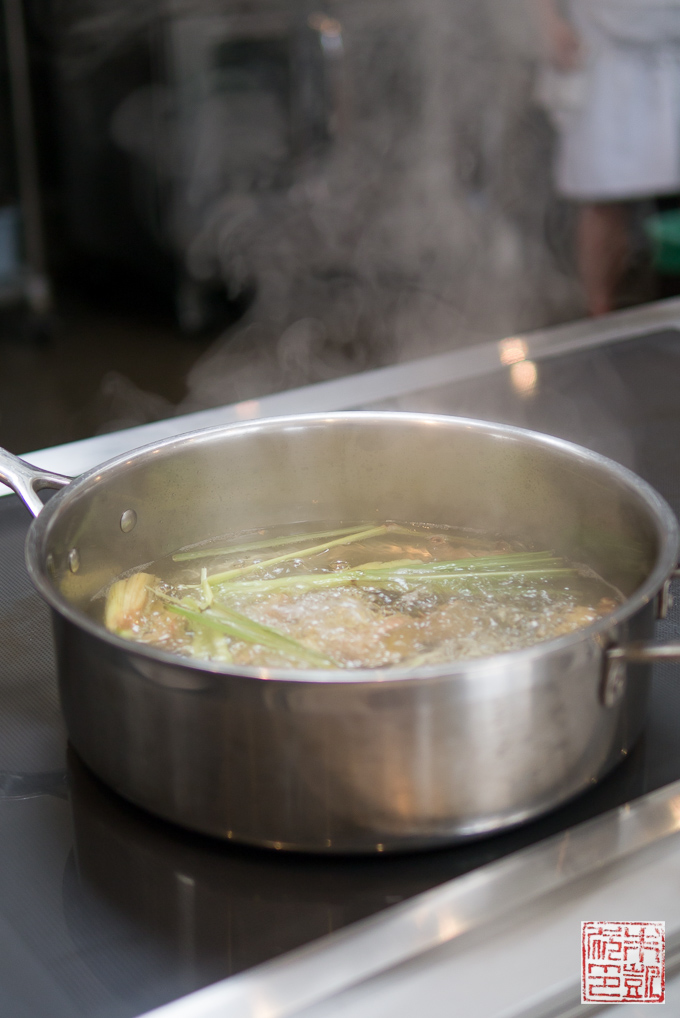
Just about ready to start steaming. Again, since everyone’s setup at home will be different, Chef Plue encouraged steaming a single bun first and adjusting the heat based on the results.
Here is Chef Plue showing how to check for doneness in the steamed buns. If the buns are still raw in the middle of the fold, return the the steamer and steam for a few more minutes. Then for the next batch turn up the heat so the buns will steam enough in about five minutes, as mentioned earlier.
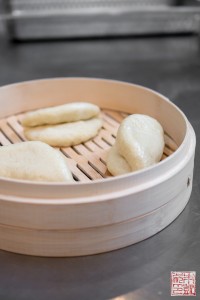
Steamed buns, fresh from the steamer. You can see they’ve become puffy and pillowy-looking. There are some traditionalists who want their buns as snow-white as possible. I think with this recipe the buns will have more color because of the egg in the dough, so I don’t think I would ding the color here. Also, if you want your buns as close to authentic as possible, there are specialty bleached, low-gluten flours that help give the finished buns the desired soft, fluffy texture and pure white color. See this post by Asian cooking expert Andrea Nguyen for recommendations on flours for making Chinese buns.
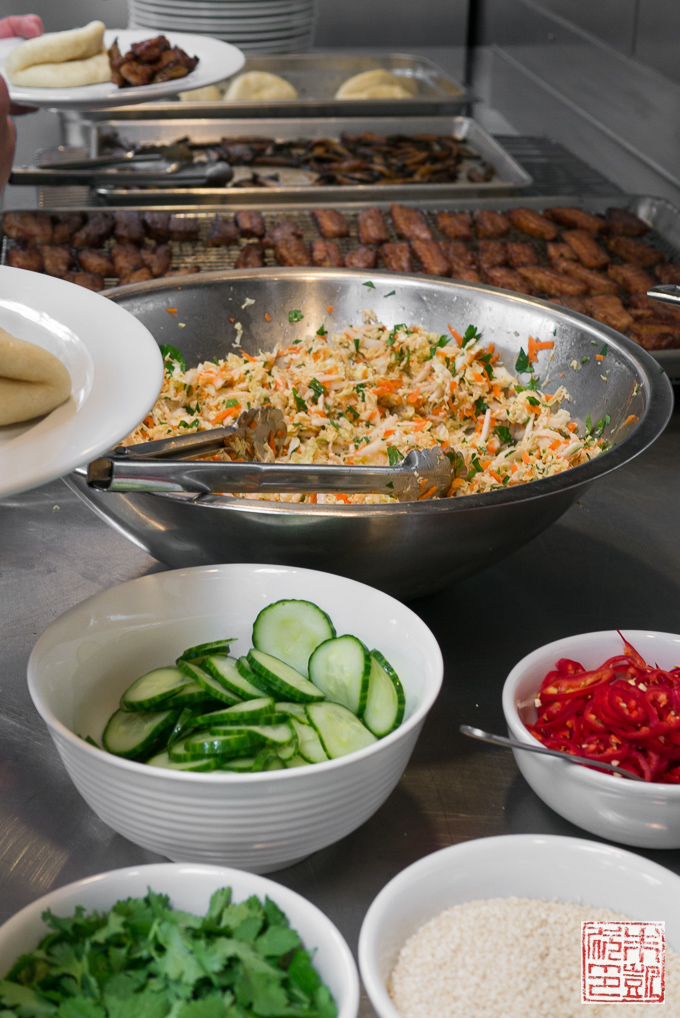
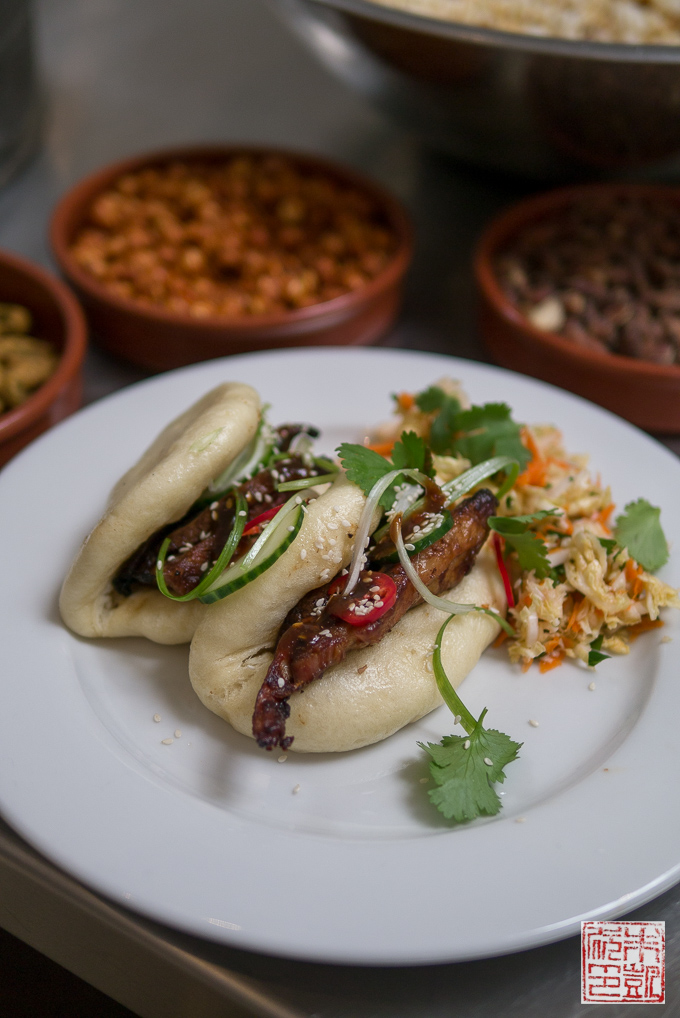
Finally, time to eat the buns! Assembly line for the buns including all the sides we made, including the pork belly, roasted mushrooms, cabbage slaw, pickles, red chiles, cilantro, and sesame seeds.
These buns are just as addictive as the ones I’ve had in restaurants. Thanks to the SF Cooking School and to Chef Plue for letting me sit in on this fun class! The Steamed Buns class will be held again on July 19, or check out all the other class offerings on the school’s page!
- 287 g whole milk
- 56 g unsalted butter
- 9 g instant yeast
- 85 g sugar
- 1 large egg
- 582 g all purpose flour
- 15 g salt
- sesame oil for brushing
- 2 to 3 stalks lemongrass
- 4 to 6 oz fresh ginger
- Combine milk and butter in a saucepan or microwave-proof measuring cup and heat to 100 degrees F. Do not overheat or it will be too hot for the yeast and kill it. Pour into bowl of a stand mixer.
- Add yeast to bowl and stir to dissolve.
- Add sugar, egg, flour, and salt to bowl. Mix on medium low speed with paddle attachment for about 2 minutes until completely combined. The dough will be rough and shaggy looking still but it should stick together when you press it together. It should be tacky but not overly sticky.
- Turn out dough into an oiled bowl and cover with plastic wrap. Place in warm spot in kitchen and let rise until doubled in size, about an hour to hour and a half.
- Divide the dough into 2 oz pieces with a knife. Form them into balls and then roll them out flat with a rolling pin into an oval shape.
- Brush the tops of the dough with sesame oil and then fold in half. Place each bun on a parchment square.
- Arrange the buns on a tray, loosely cover with plastic wrap, and let rise for another 15-20 minutes until they look puffy and spring back to the touch.
- During the second rise, prepare a wooden or metal steamer by filling the bottom portion with water. Coarsely chop the lemongrass and ginger and place in the water.
- Arrange buns in the steamer, cover, and steam for 5 minutes. You may need to adjust the level of steam or steaming time based on your particular steamer setup. Open up a bun to test - if the inside is still raw, steam for a little longer and turn up the heat for the next batch. If the buns are shriveled and wrinkly, they are oversteamed. Reduce the heat for the next batch and check a little sooner.
- Serve buns immediately or refrigerate for up to a week and re-steam to serve.


I am swooning. I am obsessed with steamed buns!
what a great class!!
Wow – what a great cooking class! And those buns – PINNED!
How lucky you are to have been invited to learn to make these. I love Asian cuisine and try but I’ve never attempted these. They look amazing.
You are so lucky! The photos are fantastic and it looks like you learned a lot. It must have been so much fun! The steamed buns are beautiful.
what a fun experience and these buns really look fabulous!
A steamed buns class sounds so interesting. Adding lemongrass and ginger to flavor the boiling water is such a cool idea.
I am super jealous and SUPER hungry now! 😀
Meagan
http://www.LoneStarBlogger.com
What a great experience! Would love to take a course like this one. Fabulous!
What a wonderful class! I wanted to reach through the picture and taste the good looking food. I’ve never had steamed buns, but would love to try them.
Could this Chinese Steamed Buns recipe still work with gluten-free flour? Looks delicious though!
Hi Phoebe,
I haven’t tried to make these gluten free. However, Asian cooking expert Andrea Nguyen has explored the topic on her site so hopefully this article can help you out!
http://www.vietworldkitchen.com/blog/2011/12/gluten-free-bao-dough-recipe.html
What a wonderful class, I would love the be there. The buns look fantastic!
This is simply gorgeous, Anita!! I want to take this class!!! 🙂
Anita, have you ever tried David Chang’s Steamed buns recipe in Momofuku? I’ve made his and many steamed buns recipes and it proofs beautifully, rises the 2nd time and even third. But my trouble is with the steamed part. I set the water to just simmering boil and bamboo steamer 1″ above the water. I steam for 10 mins and check at 5 mins. At 5 mins its perfect on the outside, rising and fluffy. It appears ready to be taken out and we made the mistake of doing so. When it sat in a 68F room, it deflated and got wrinkled. Separating at the seams revealed it was still doughy so definitely not ready at 5 mins. =\
Next batch we steamed fully for 10mins even though it looked ready at 5 mins again. They started wrinkling and dimpling in the steamer at 8 mins. Removed at 10mins and cooled on a wired rack at 68F temp room. and again they all got wrinkly and slightly deflated! What gives?
When split open, they were fully cooked but I just don’t understand why the outside wrinkles. Its definitely not steam bubbles falling on to the buns, I even added a towel to catch. I read in some recipes to not boil so hard as it will rise fast, become tough and chewy. But I also read low & slow would result in a shrink and shrivel. Please help! I just don’t know!
Hi Mythy, thanks for visiting my site! I haven’t made David Chang’s recipe, so I can’t speak as how it works. Nicole Plue admitted in the class that her recipe is not strictly traditional Chinese steamed bun recipe and she has tweaked it to make it work for her. Aside from the most common issue of steam falling on the buns as you mentioned, other notes I have seen is that buns that are overproofed may also tend to collapse, or lifting the steamer lid too quickly will also make them wrinkle.
If you want to try out the recipe in my post and let me know if you still get wrinkles, I might be able to help you better. Good luck!
Thanks for getting back to me! You may be right in the bun being over proofed! I didn’t think about that! I think I’ll give this recipe a try. I kind of like that it has egg in it and reminds me of bread dough so it seems more stable. Thanks again!