
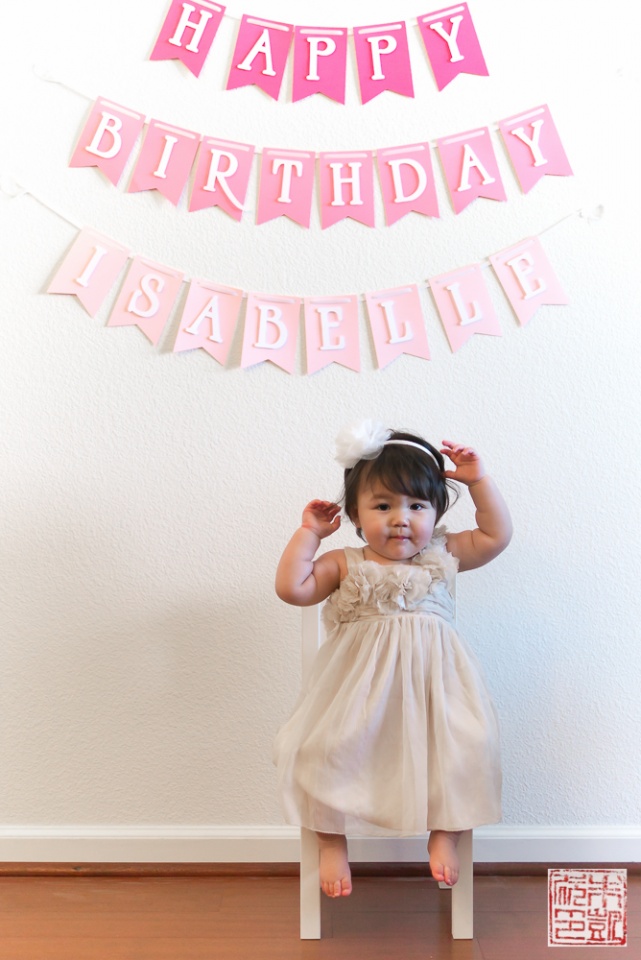
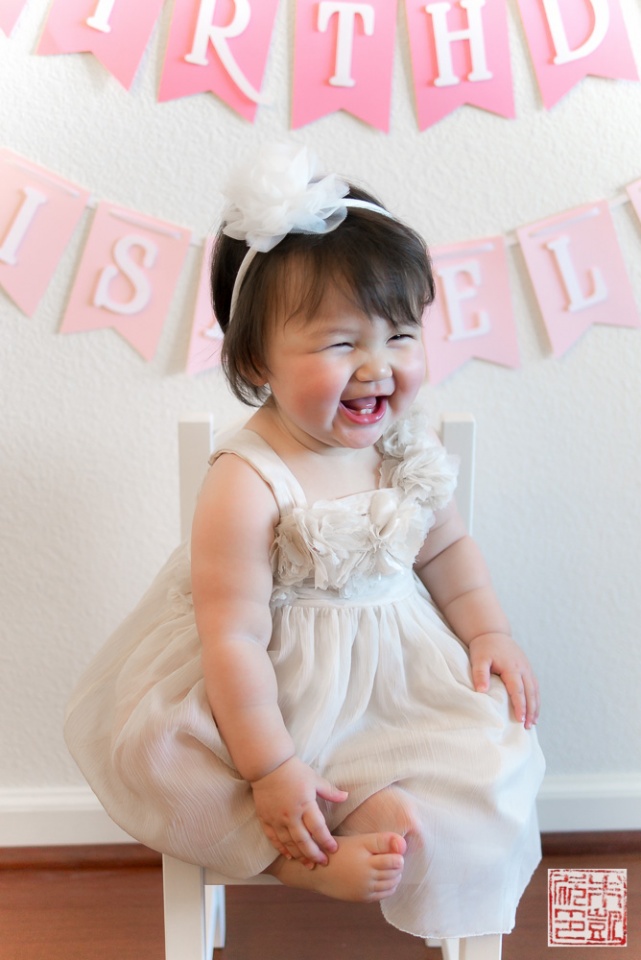
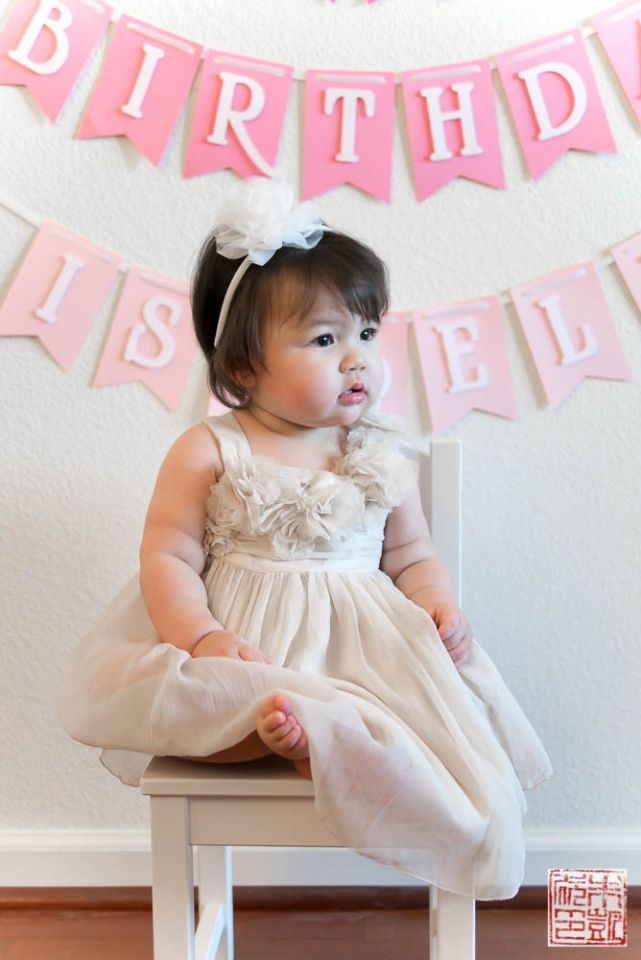
A couple weeks ago Isabelle turned one year old. One! How did my inaugural year as a mom pass so quickly!
I meant to post another update in between her six month milestone and now, but I guess a mega-ish update will have to do. Hopefully these periodic updates are still enjoyable!
I keep a separate, private baby journal I try to update daily– although it might sound very dedicated, it really came about because I realized I literally could not remember things anymore. When I was younger I used to pride myself on having a pretty good memory – I was the person who remembered everyone’s birthdays, never forgot when a bill was due, and could recall conversations from years past.
There must be something about devoting your whole self to a new little being that causes all your memory circuits to evaporate, or else my brain is just starting to crumble under years of use. Anyway, what I mean to say is that I started my baby diary not because I was trying to be a super mom, but because I really was afraid I would forget all of Isabelle’s developments over her first year. Already if you ask me when she started crawling, or when she started recognizing Snickers, I couldn’t tell you right away. What about photos, videos, etc? Well, yes, I’ve got all that too – several full hard drives’ worth. But just like when I started Dessert First so long ago, I find words are still an indispensible creative medium for me. The act of writing, of rendering into sentences my thoughts and emotions as Isabelle took her first steps, or saw her first Christmas tree, or ate her first solid food – well, I’m glad all the blogging kept up my appetite for writing. That diary plus all those photos and videos are my personal Isabelle timeline that I visit daily.

So I’ve noticed while going back over the year that babies definitely progress in spurts. There would be a long stretch of entries where I’d describe fairly routine days of eat-play-nap-rinse-and-repeat, and then suddenly a burst of entries where every day she was picking up something new, from saying “dog” to learning how to open doors to pointing at things she wanted . I’d scroll through photos, looking at her smiling face, and suddenly hit one where I would think, “wow, she looks so much older now. But she looked so babyish still in the photos from yesterday!”
It’s hard, sometimes (all the time?) seeing Isabelle the baby disappear into Isabelle the toddler. She hardly ever sits still in my lap anymore. She is obsessed with all the grownup toys like my kitchen gadgets and my camera (another reason why properly focused photos of her smiling directly at me are in short supply lately). She has definite opinions now (she can’t say no yet, but she knows how to shake her head for no – how’d she figure that out?).
But she’s fun. And she’s more fun every day. She makes up little games with her toys now. She continues to be a great sleeper, and has taken to solid foods like a star (it’s hard to believe she started out at 6 pounds, barely 10 percentile, and is now a sturdy 22 pounds, nearly quadruple her birth weight!) She is wonderfully sweet-natured and friendly to most everyone (I know I’m entering Bragging Mom mode, but in all honesty I just feel very lucky that I have such a gregarious baby). Her baby babble is pretty much the best ever. I will be so sad when she stops babbling and starts talking, but at the same time I can tell she’s on the cusp of figuring out how to communicate with us, and it’s a thrill every time she points at something or makes a sound and I think, I know what you’re trying to tell me!
So Baby Year One has gone by in a flash and a twinkling, and I can say I feel very fortunate to have had a pretty good time of it (I say all unknowing as she enters the Toddler Years). I haven’t quite figured out the time management thing yet – there are still days where I haven’t crossed one item off my to-do list – but they’re outweighed by the deep contentment I feel at watching Isabelle grow and knowing I’d rather miss out on anything else rather than miss out on this.
By happy timing Isabelle’s birthday came right before my parents arrived from Hong Kong for a visit, and shortly before Chinese New Year. Therefore we rolled her birthday, a family reunion, and Chinese New Year dinner into one big weekend celebration. Since I was just coming off of finishing my book manuscript, I was relieved to not have to plan an elaborate birthday party just yet and all I had to provide was the birthday cake!

Let me note that I don’t know what Isabelle’s favorite color is yet. For a short time we thought it might be green, but she’s back to no preference. So my choice of a pink birthday cake is entirely based on the fact that I like pink. And better than a pink cake is a fanciful, five-layer pink ombre cake. Oh, second note: these cake photos are not quite up to my usual standards, as a Chinese New Year party at my parents’ house wasn’t the ideal set up for food photography. At least enough of the cake survived to take some interior photos!
While I have my go-to white cake recipe I’ve used for ages, I thought it would be nice to change things up a bit and get out of my rut. I chose to adapt King Arthur Flour’s Tender White Cake recipe, which uses the two-step, or reverse creaming method.
There’s plenty of fantastic information in professional cookbooks and on the internet about the traditional creaming vs two stage method for making cakes, but to quickly summarize: the two stage method involves mixing the dry ingredients together first, and then adding the fat (butter) and liquid ingredients – thus the “reverse creaming” moniker. This method was originally devised for use in high-ratio cake recipes – meaning cakes where the amount of sugar equaled or even exceeded the amount of flour. These cakes were moist, firm, yet delicate. Many of the cakes you might see or buy in commercial bakeries could be high-ratio cakes, as the method was also originally meant to be used with specially formulated flours that were very fine and specially emulsified shortenings that would incorporate with the flour, resulting in a very fine, smooth texture. Pastry queen Rose Levy Barenbaum successfully adapted the high-ratio formula for use with butter, and created several two-stage method cake recipes specifically for home bakers in her Cake Bible. Now it’s a fairly well known alternative technique for mixing cake batter, whether at home or in the professional kitchen.
The reason I decided to go with a high-ratio cake and the two-stage method is while normally we like our cakes tall and fluffy, I wanted some more compact layers for making a five layer cake. I traded height for extra tenderness, and this cake was indeed delightfully tender, with a very fine, velvety crumb that cuts smoothly and displays beautifully. Ideal for creating a multi-layer cake! I also twiddled with the proportions a bit to get enough batter to fill five 6″ round cake pans. This is a pretty big cake; with five layers and the intense richness of the high-ratio cake, you won’t need more than a small slice to satisfy, so a 6″ round cake is plenty to feed a dozen people or more – plus it just looks more elegant.

There are some cautions about using the two-stage method, but once you understand some of the science behind the method it’s fairly foolproof.
- Make sure your ratios are correct: the weight of the sugar should equal or be greater than the weight of the flour; the weight of the eggs should be greater than the weight of the fat, and the weight of the liquids (eggs plus milk) should equal or be greater than the weight of the sugar.
- Make sure your ingredients are all at room temperature for maximum incorporation. The butter should be soft but cool.
- Be sure to beat the butter thoroughly into the dry mixture. This is pretty much anathema with the traditional creaming method, where you want to avoid too much gluten development. However, in the two stage method you are trying to coat all the flour particles with fat, so they will not stick together while baking and form gluten. Do keep the mixing speed low; the slow incorporation will result in a more even-textured, fine-crumbed cake.
Another reason I liked using the recipe for making an ombre cake is that you have to keep adding more coloring to the batter for each successive cake layer. I didn’t like the idea of having to keep stirring a traditional white cake batter, leavened with whipped egg whites, slowly deflating the whites more with each stir. With this recipe, there’s no such fear, so I can stir away and get the food coloring nice and incorporated.
Since there was a lot riding on this cake I did a test cake a week before. I loved the high-ratio cake recipe but the layers ended up a little too neon-fuschia pink at the end, so I went with a lighter hand for the final version.
As high-ratio cakes can contain more sugar than regular cakes, this cake is sweet, although not unpleasantly so. Of course, my sweet tooth has a very high threshold, but both my parents, who generally avoid sugary cakes and sweets, liked this cake. I stuck to a basic swiss meringue buttercream with a bit of almond and vanilla extract added in to give it depth. Although there are some gorgeous ombre frosting designs out there, I deliberately kept it simple since my family isn’t a big fan of excessive frosting. Instead, I made a little fondant bird for the top – Isabelle’s room is decorated with the Penelope line from Pottery Barn Kids and I love the little pink birds.
Isabelle might have gotten a tiny taste and I think she’s shown she has a budding sweet tooth! Looking forward to all the future birthday cakes I’ll make for her. Happy 1st birthday, Isabelle!

White Layer Cake
- 2 3/4 cups (380 g) cake flour
- 1 3/4 cups (380 g) sugar
- 1 tbsp + 1 tsp (18 g) baking powder
- 1 1/8 tsp salt
- 7 ounces (200 g) unsalted butter, room temperature
- 5 large whites, room temperature
- 1 large egg, room temperature
- 1 1/2 cups (366 g) whole milk
- 2 teaspoons vanilla extract
Swiss Meringue Buttercream
- 1 1/4 cups (250 g) sugar
- 5 large egg whites
- 15 ounces (425 g) unsalted butter, room temperature, cut into 1-in pieces
- 1 1/2 teaspoons vanilla extract
- 1 teaspoon almond extract
For the cake:
- Preheat oven to 350 degrees F. Grease and flour five 6" round cake pans. Line the bottoms with parchment paper.
- Combine cake flour, sugar, baking powder, and salt in a stand mixer fitted with the paddle attachment.
- Add the butter and beat until a crumbly mixture forms, just starting to come together.
- Add the egg whites one at a time, and beat to combine. Add the egg and beat to combine.
- Combine milk and vanilla extract together in a measuring cup. Add to the mixer in three additions, beating well after each addition.
- If you want to be precise, weigh the batter so you know how much to put in each pan.
- Pour one-fifth of the batter into one of the prepared pans. Add some pink food coloring to the remaining batter. Pour another fifth into a second pan. Continue adding more pink food coloring and pouring batter into the pans.
- Bake for about 24-28 minutes, rotating halfway. The cakes should be set and a skewer inserted in the center should come out with a few crumbs on it.
- Remove and place on wire racks. Run a knife around the edges for easier removal. Let cool for about 20 minutes and then invert pans to remove cakes. Let them finish cooling before decorating.
For the buttercream:
- Combine the sugar and egg whites in a medium metal bowl and place over a pan of simmering water.
- Whisk the sugar mixture constantly over heat until the sugar is dissolved and the mixture looks smooth and shiny. Continue whisking until the mixture reaches 160 degrees F.
- Remove mixture from heat and pour into a stand mixer bowl. Whisk on medium speed for about 5 minutes until the mixture has cooled.
- Switch to the paddle attachment and with the speed on low, add the butter a few pieces at a time, beating until smooth. Do not add the butter too quickly or beat too quickly or the buttercream may break.
- When all the butter has been added, beat the buttercream on medium-high speed for about 6-10 minutes until it is very thick and smooth. It may appear to separate briefly but continue beating and it should come back together.
- Add in the vanilla and almond extracts and beat to combine.
- The buttercream is ready to be used. Place a piece of plastic wrap against the surface until you are ready to use it to prevent it from drying out.
To assemble the cake:
- Level off cake layers if necessary. Place one cake layer on a cake board or cake decorating stand.
- Spread some of the buttercream over the cake layer evenly. Place a second cake layer on top and spread some more buttercream over the cake layer. Repeat with the remaining cake layers.
- Spread a crumb coat of buttercream over the top and sides of cake (see here for tips on doing a crumb coat). Refrigerate for about an hour to let the frosting set.
- Spread the rest of the buttercream over the top and sides of cake with an offset spatula.


what a beautiful cake for a wonderful girl! Happy Birthday!
Yes, I love the Isabelle updates so thank you. I really love those pudgy baby arms. Six year olds are sweet in their own way but no pudge left (at least on mine).
And the memory thing is definitely the kid. (Sorry, Isabelle but it’s totally your fault!) I’m pretty sure they liquify your brain a little and it seeps out your ears slowly but surely. 😉
Thanks for the update and continue to enjoy!
Happy birthday to Isabelle!!!
Happy Birthday, sweet Isabelle! And congratulations to you, mama–you made it through the first year, hooray!! xxoo
Hi Anita,
I chance upon your website while searching for cakes to bake for valentine and I must say that the birthday cake looks amazing. Thank you for the recipe and hope to make my wife happy this valentine! =)
adorable cake, anita! i love the little fondant bird! and i’m with you on the baby journaling, although i don’t do it daily (more like monthly!) i do agree that mommy brain = forgetful brain, i have three kids and each time around i couldn’t remember at what age the older one did this or that! and now it’s interesting to go back and compare how each kid developed etc.
anyway, happy belated birthday to little isabelle – she is so precious! 🙂
Thanks Michele! SO great to hear from you, hope you’re doing well!
Hello! I love this cake and plan to make it for my diaghtwra first birthday!! Can you advise how you made the bird or where to get it made. My daughters name is “wren” like the bird and I fell in love with the bird on top when I saw it. Thanks in advance!
Hi Megan, sorry I missed this comment! I made the bird myself out of fondant I colored pink. I didn’t use a template or mold, just shaped it on my own. Hopefully if you can find some fondant you can try it yourself. Good luck and happy birthday to your daughter!