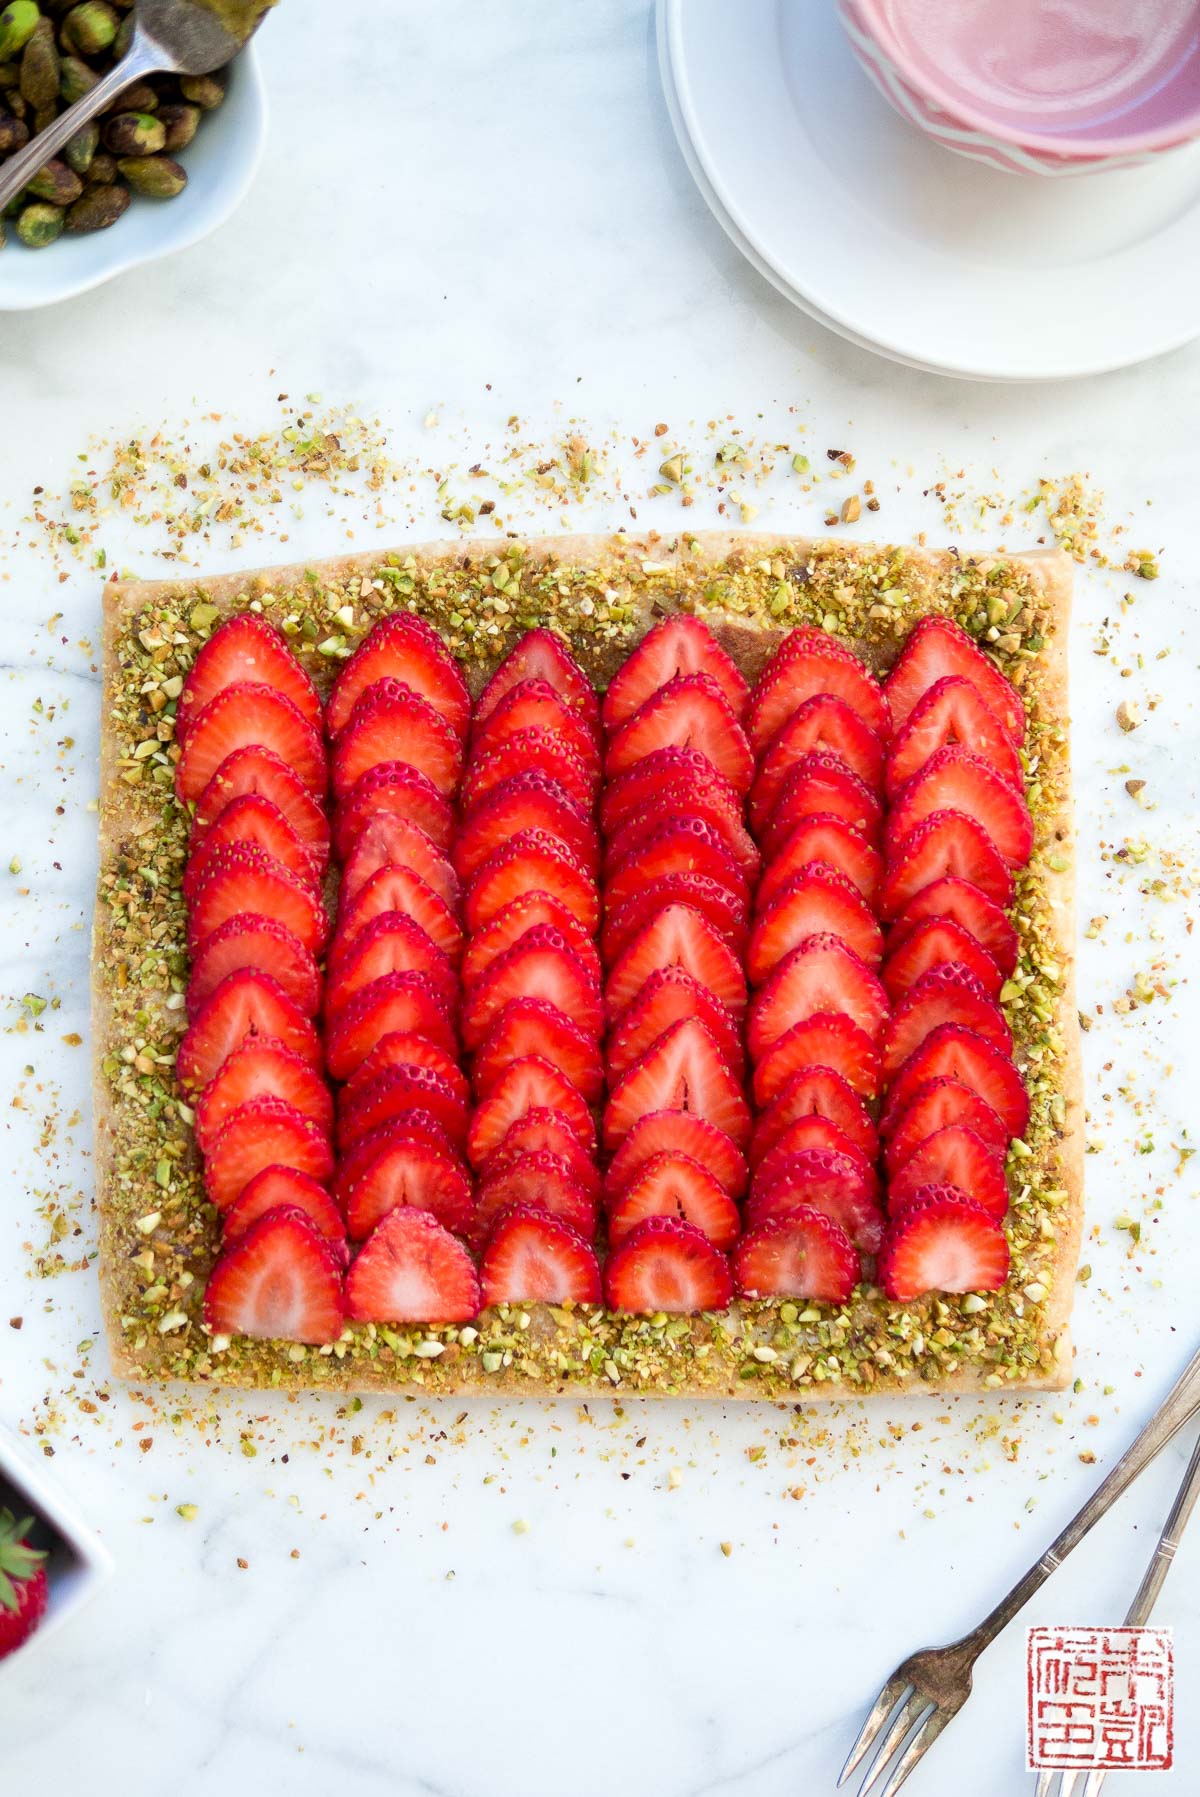
Summer’s slipping away, but I wanted to share one last sweet summery tart before back to school sets in. This strawberry pistachio frangipane tart is visually inspired by one of Martha Stewart’s tarts, although the recipe here is drawn from my own repertoire.
Simple summer tarts have always been a weakness of mine; disarmingly uncomplicated, easy enough to whip up in the space of a sun-drenched afternoon, effortlessly capturing the relaxed and ephemeral nature of the season. If I could only bake with one fruit during summer it might be strawberries; they’re just too irresistible to me on their own or part of a dessert.
If you haven’t made blitz puff pastry, I strongly urge you to give it a try. It seriously doesn’t take any more time to make than buying premade puff pastry and waiting for it to defrost enough to roll out. The flaky, buttery puff makes a perfect backdrop for ripe summer fruit, such as these strawberries. Bonus idea: if you have leftover scraps of puff pastry, slice them into thin rectangles, sprinkle with sugar, and bake until puffy and crisp, about 15-20 minutes. Layer the puff pastry rectangles with whipped cream and sliced strawberries to make the perfect millefeuilles.
Back to this strawberry tart – to add more depth and richness to this tart I made a pistachio frangipane, which bakes into a luxuriously, velvety base layer for the strawberries. The recipe makes more frangipane than you need; definitely save it to use in another tart. I especially like the idea of using it to fill a traditional tart crust like this one so you get even more of the pistachio flavor.
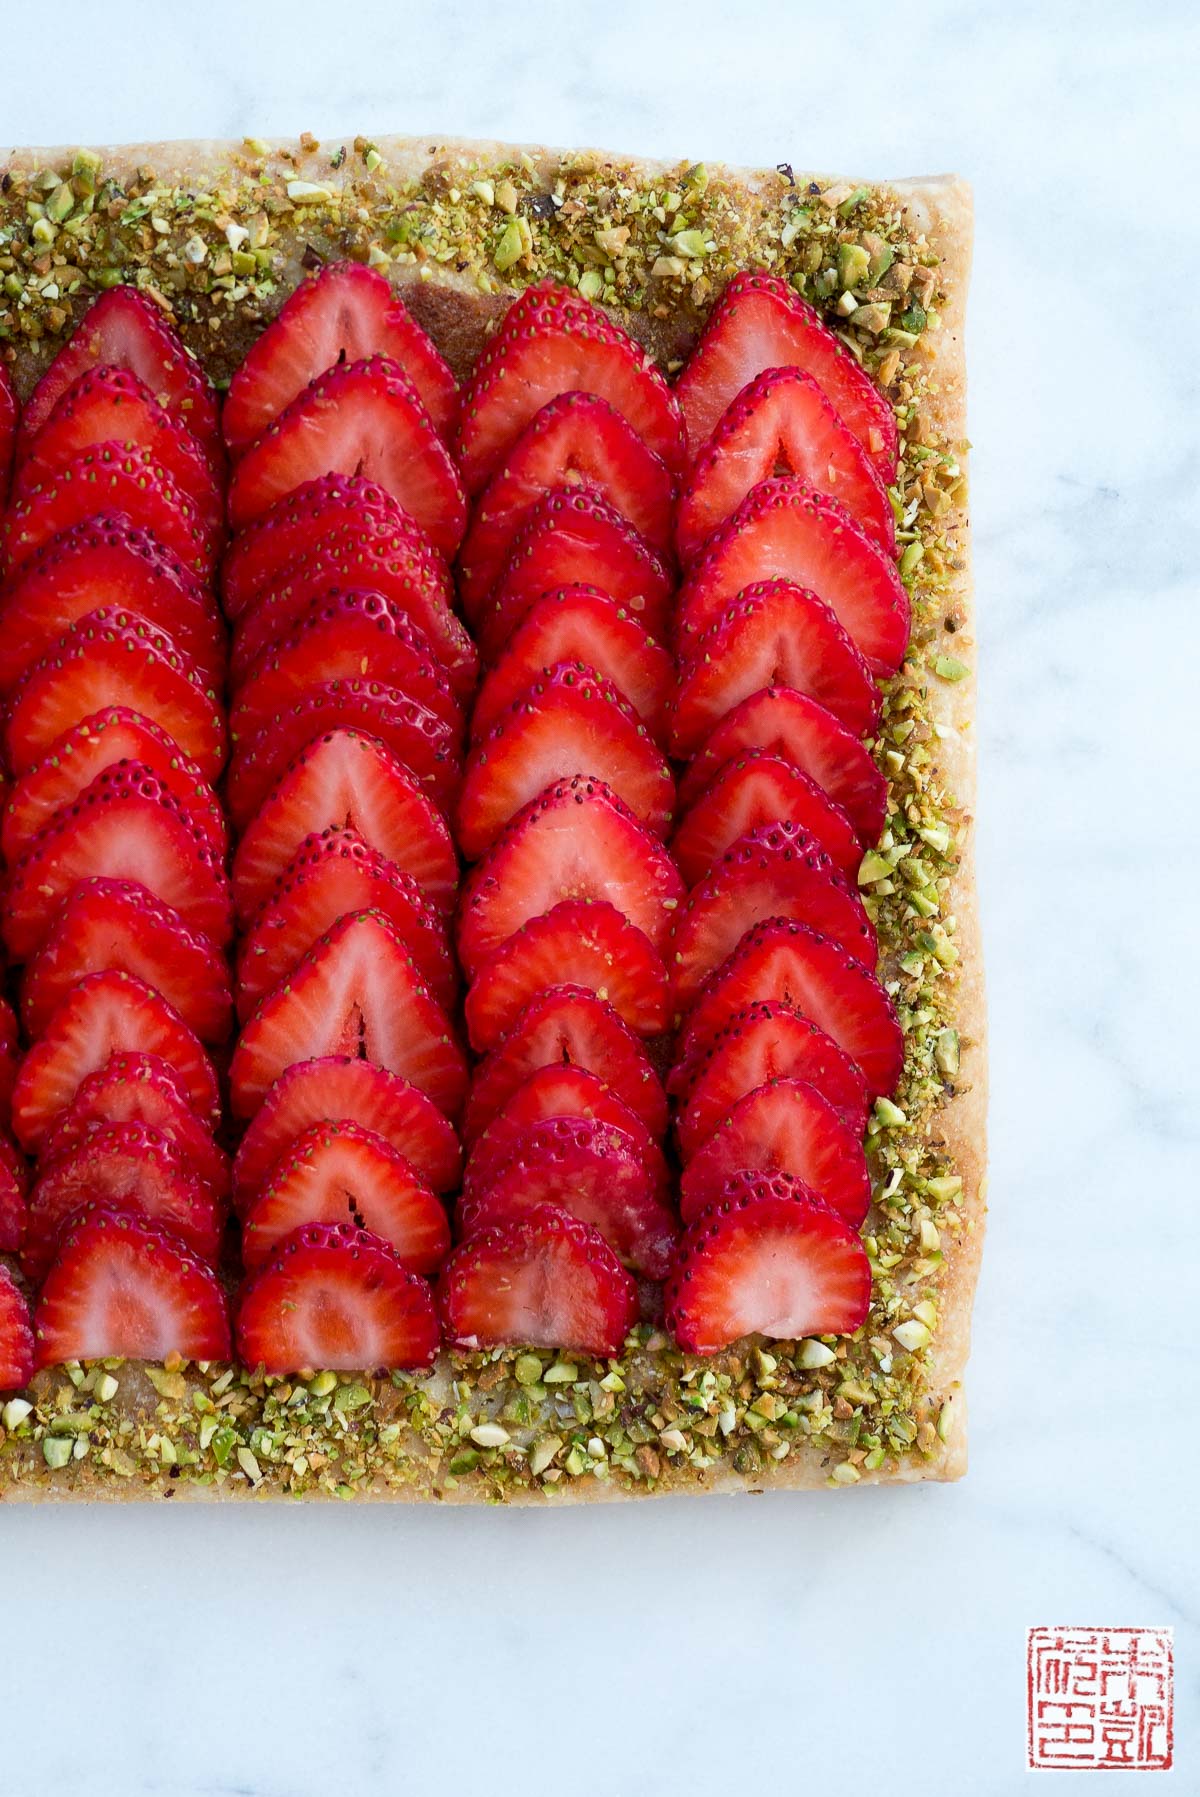
While I’m a big advocate for homemade blitz puff, I’m a bit less excited by shelling pistachios. If you’re not a fan either, they have pre-ground pistachios – a bit of a splurge, but can be a lifesaver. If you’re shelling your own, get raw, unroasted pistachios as roasted ones tend to turn brown and lose their gorgeous green color. Make sure you save some of the greenest ones for decorating the tart border!
This strawberry tart is best served the same day its made, just like all the best parts of summer. After all, the season is all about the immediacy of pleasure (it’s the season where I’m happiest – can you tell?) Here’s to enjoying the last few weeks of summer.

- 5 ounces all purpose flour
- 5 ounces unsalted butter, very cold, cut into 1-in pieces
- ½ tsp salt
- 45 ml (45 g) water, ice cold
- 1 cup (100 g) ground pistachios
- ½ cup (100g) sugar
- 4 tbsp (3.5 oz) butter
- 1 large egg
- 1 tsp vanilla extract
- ¼ cup (30g) flour
- 4 cups (about 16 oz)strawberries
- ¼ cup unsalted, shelled pistachios
- Combine the flour and butter in the bowl of a stand mixer. Mix the ingredients together on low speed until the mixture is shaggy and resembles cornmeal, with visible pieces of butter still. Do not let the flour and butter turn into a solid ball of dough – if the components are completely mixed you will not have the layering of flour and fat needed to form the flaky layers!
- Add the salt to the mixture. Pour in the water and mix on low speed just until the dough starts to come together; again, don’t let the dough turn into one solid lump. There should still be little pieces of butter and the dough should be sticky.
- Turn the dough out onto a well-floured surface and form into a square. If the kitchen is warm and the dough is very soft and sticky, place it on a sheet pan and chill in the refrigerator for about 10 minutes until it firms up enough to work with.
- Using flour as necessary to keep the dough from sticking, roll out the dough about ½ inch thick and in the shape of a rectangle. The dimensions are not important – a roughly rectangle shape is fine, but try to keep the edges straight and square with each other so when you fold the dough over the edges will line up evenly.
- To do a single turn on the dough, imagine the long side of the rectangle divided into thirds. Fold one end third over onto the middle third, then fold the other end third over on top, making a trifold. Make sure the edges are lined up as evenly as possible.
- Roll the trifold out again to about ½" thickness and in the shape of a rectangle, switching the directions of the long and short sides – in other words, the folded sides of the trifold should become the long side and the open sides should become the short side.
- Do another turn (trifold) with this rectangle.
- Repeat this process one more time so you have done a total of three turns. If at any point the dough starts becoming very soft or rubbery, let it rest in the refrigerator for a little bit before working on it some more.
- Roll the dough out into a rectangle. This time, do a double turn – imagine the long side of the rectangle divided into fourths. Fold both end fourths over onto the center fourths, then fold the two sides together again so all four layers are stacked on top of each other. Wrap the dough up completely in plastic and refrigerate for at least 30 minutes. Make the frangipane while you are waiting.
- Combine pistachios and sugar in bowl of food processor. Process until combined.
- Add butter and process until combined and mixture is smooth.
- Add egg and vanilla and process until mixture is fully combined and smooth. Add in the flour and process just until combined.
- You can store the frangipane in the refrigerator until you are ready to use it, or use it right away.
- Preheat the oven to 350 degrees.
- Wash, hull, and slice the strawberries thinly.
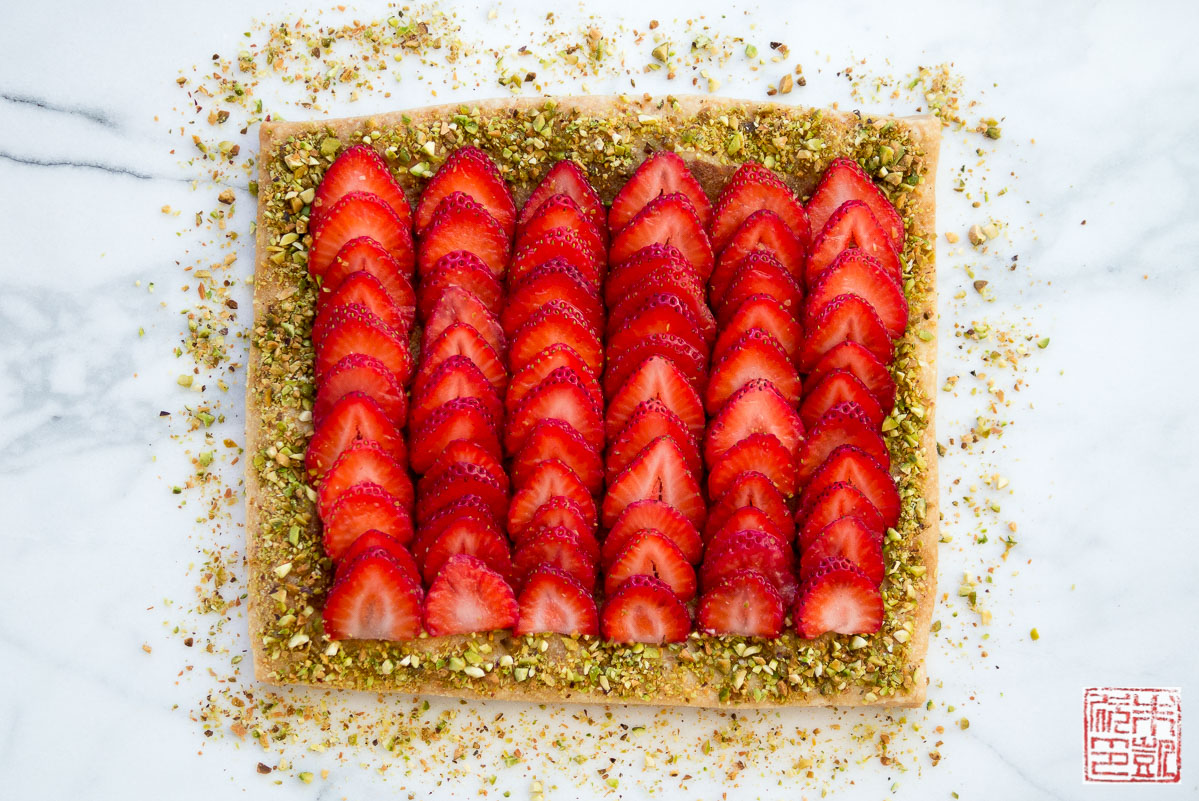
- Roll the dough out on a piece of parchment paper into a rough square. Trim to 9"x9" square. Transfer parchment to a baking sheet.
- Spread a thin layer of frangipane over the puff pastry, leaving about an 1½" border all around. You will have leftover frangipane - you can use it in another tart.
- Arrange the strawberry slices in overlapping rows over the frangipane.
- Bake tart for 30-40 minutes, until the crust is golden brown and crisp.
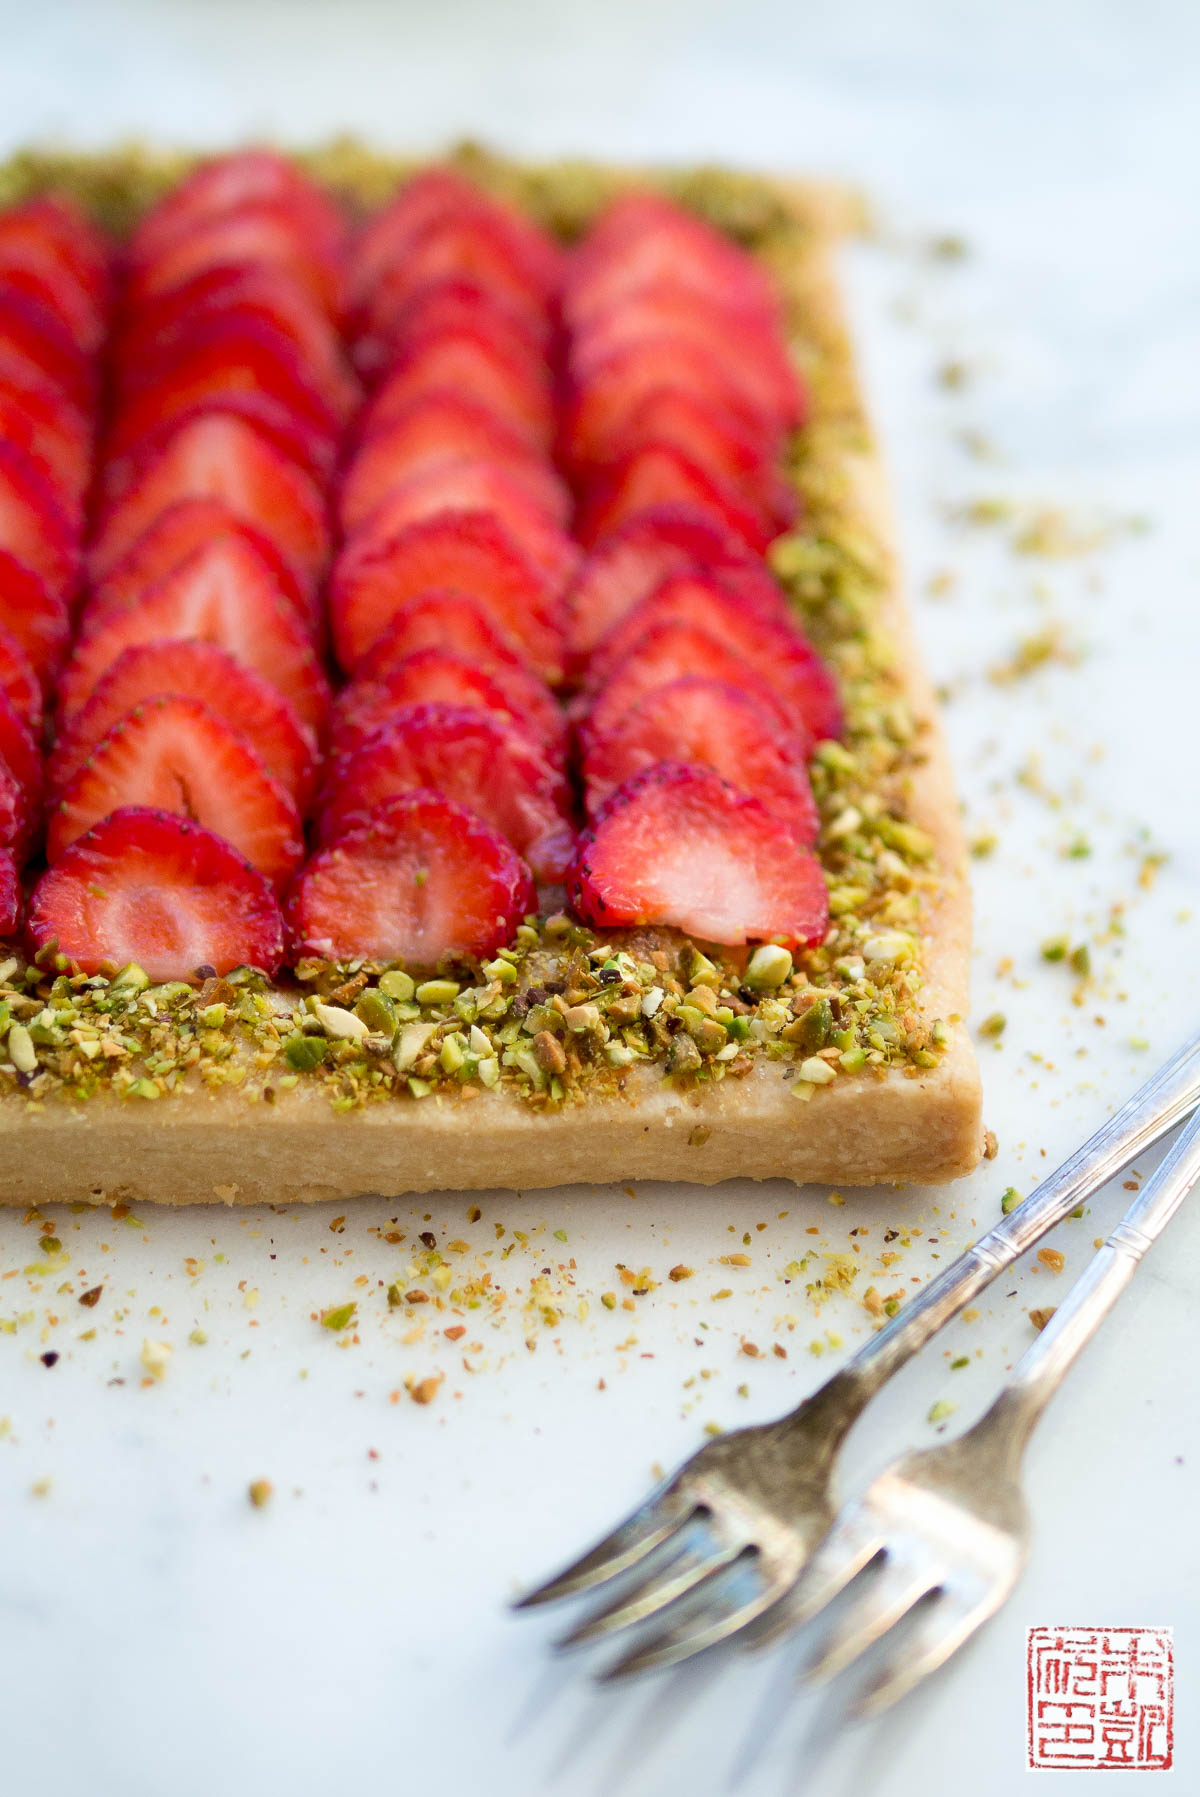
- Let cool on wire rack for 10 minutes before removing from parchment. Finely chop the pistachios and sprinkle over the tart border. Serve immediately.


I guess a short video on the fold will be good. I mean, I think I did understand but better see to believe 🙂