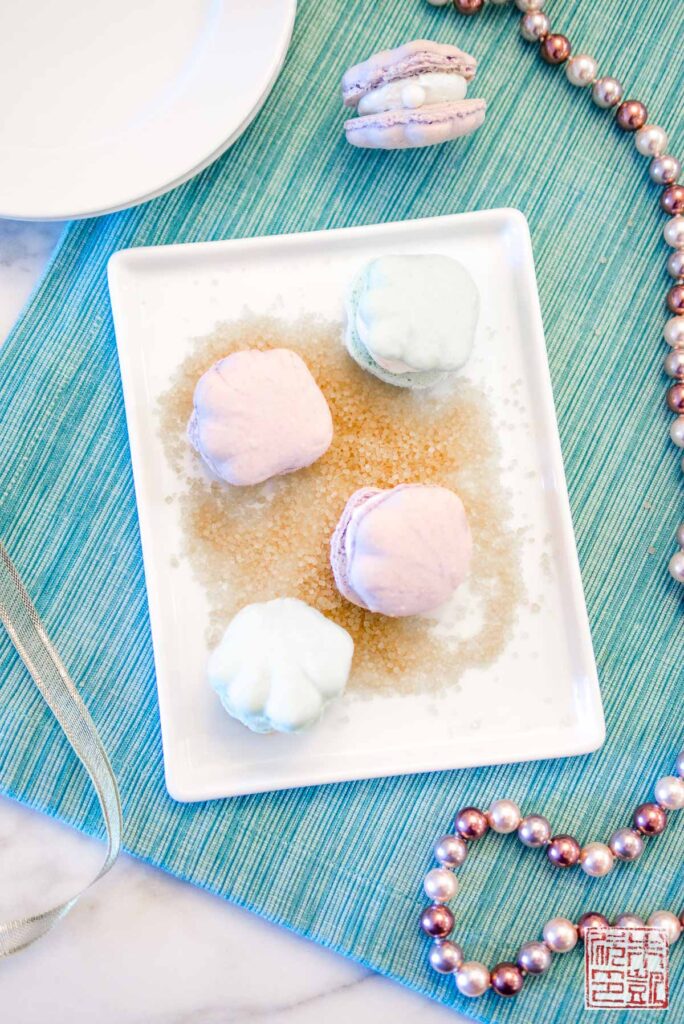
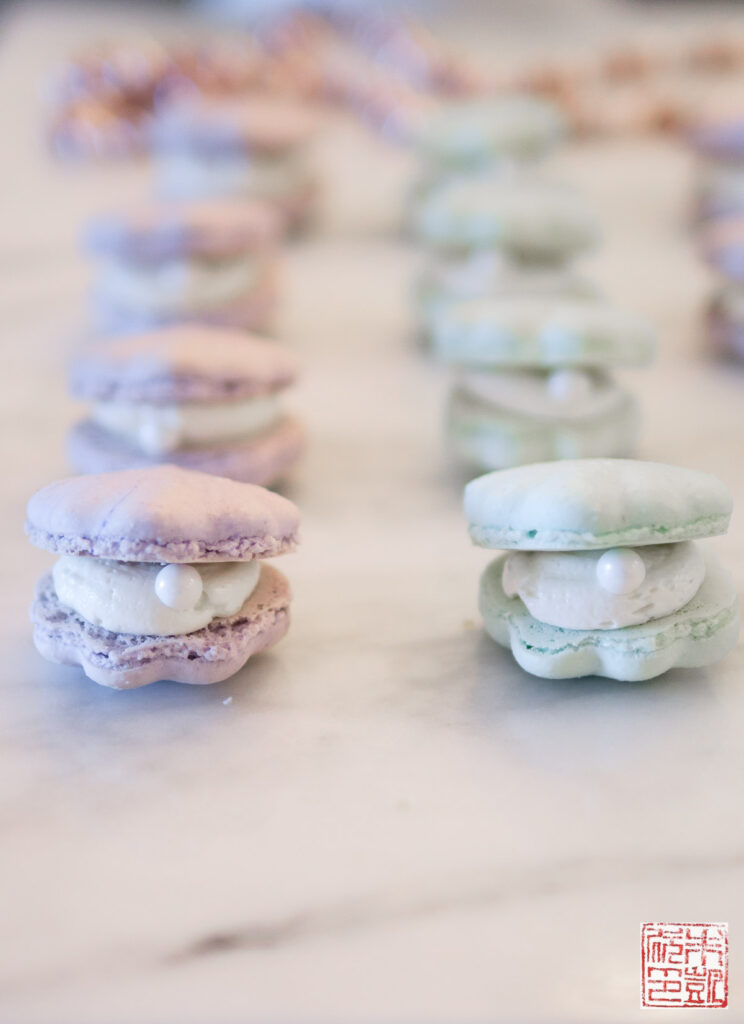
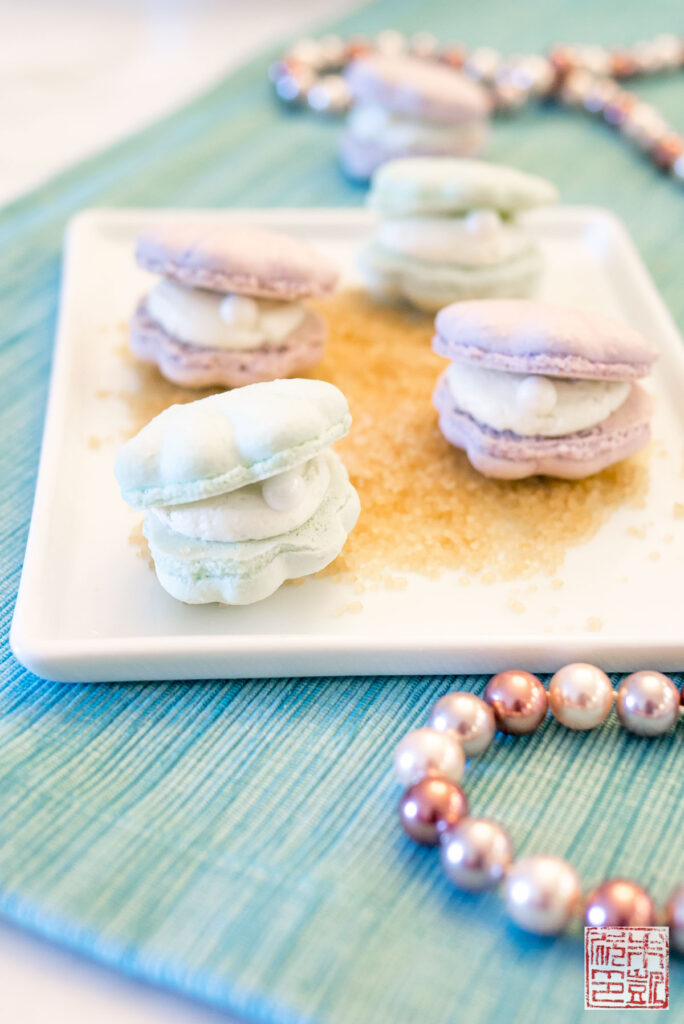
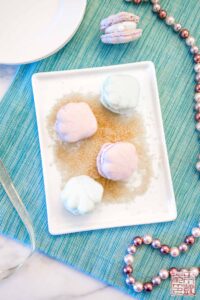
I wanted to share a special order I did for a client a month ago: seashell macarons for a mermaid-themed birthday party. Although I’ve made Minnie macarons for my daughter’s birthday, I haven’t tried piping any more complex shapes, so this was a fun challenge. They were surprisingly easy to do and make a striking centerpiece to any event. If you want the template I used to make these macarons, scroll on for the download!
I used my basic Italian meringue macaron recipe for these macarons; it has the advantage of being stiffer and more forgiving than French meringue, which is useful when you’re working with piping more complex forms.
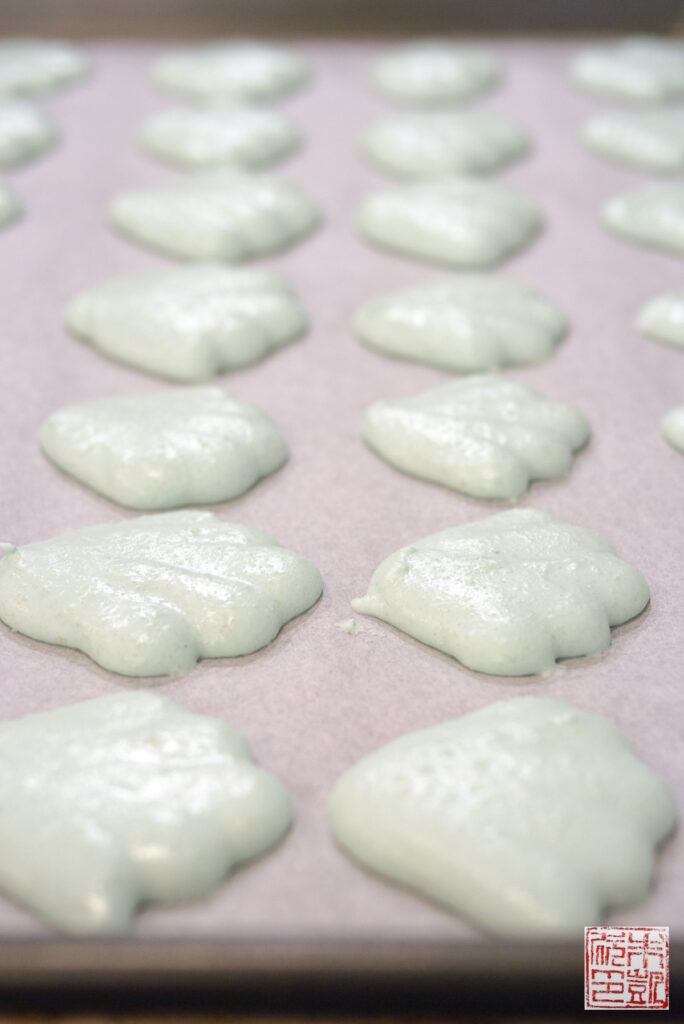
Of course the trick to piping shaped macarons is to get that all-important macaronnage just right (click the link above to the original macaron recipe for tips). When piping a complex shape like this seashell, it’s better to keep the batter on the stiffer side, as it will keep its piped form better instead of running into one giant blob. Remember that as you let the batter sit and when you fill the piping bag it will continue to loosen up the batter. So start off with fewer strokes to make the macaron batter, and adjust after you see how the first batch turns out. I also used a smaller piping tip – about 1/4″ diameter or Ateco 802 plain – for better control over my piping.
You can click on this link to download the template I created to pipe my seashell macarons:
I developed from this pinterest link. Print it out at 11″x17″ and it will fit on a half sheet (13″x18″) pan. Don’t pipe directly on the template; place it under a sheet of parchment paper so you can still see the template through the paper. After you finish piping the macarons, you can slide the template out from under the parchment and reuse it.
The way I piped these seashells was by starting at the base of the shell, piping a line up one of the outside “flutes” and then coming back down over it, then piping the next flute over, and so on in one continuous motion. If you get your macaron batter to the right consistency, the piped lines should soften while maintaining the ridges between flutes. If the piped seashell loses all definition, your batter is too soft. If it doesn’t soften at all, you can let the batter sit for a bit to loosen up.
The requested flavor for these macarons was vanilla, but I did think long and hard about what kind of flavor might be appropriate for some seashell shaped macarons. In the end, I came up with a sea salt vanilla buttercream, which gives just the slightest hint of the ocean. If you have pearl luster dust, you can sprinkle some on the piped buttercream or the macaron shells to give them that luminescent glow. The “pearls” themselves are large sugar pearls similar to these – I placed them in the shells about a day ahead of time and kept the macarons refrigerated, and they held up fine.
After how well these turned out, I’m looking forward to making some more creative macarons in the future!
- 200g almond meal or ground blanched almonds
- 200g confectioners’ sugar
- 200g sugar
- 50g water
- 150g egg whites, divided into two 75g portions
- 2 large egg whites
- ½ cup (100 g) sugar
- ¾ cup (165 g) unsalted butter, room temperature, cut into 1-in pieces
- 1 teaspoon vanilla extract
- ¼ teaspoon fine sea salt
- Stack two baking trays on top of each other. Line with a silicone baking mat or parchment paper.
- Process almond meal with confectioners’ sugar in a food processor. Sieve out any large bits of almond.
- Combine sugar and water in a saucepan. Heat on medium until all the sugar is dissolved.
- Meanwhile, place 75g of egg whites in a mixer bowl with the whisk attachment.
- Continue cooking until the sugar syrup reaches 118 C/245 F. While the sugar is cooking, begin whisking the egg whites. They should reach stiff peaks by the time the syrup is at 245 F. If it whips too fast, turn down or turn off the mixer.
- Turn the mixer speed to low. Carefully pour the sugar syrup in a slow stream into the mixer.
- Turn the mixer speed to high and let the meringue for several minutes until it has cooled and appears glossy and firm.
- In a large bowl, combine the almond meal mixture with the remaining 75g of egg whites until partially combined.
- Scoop the meringue on top of the almond meal mixture. Using a spatula or dough scraper, carefully fold the meringue in, trying not to deflate it. The final batter should be thick and flow slowly like magma. Do not overmix.
- Scoop the batter into a piping bag fitted with a ¼” diameter plain tip. Pipe 1 ½” rounds or seashells of batter onto the prepared baking sheets. Let the sheets sit for about 20 minutes to let the shells harden.
- Meanwhile, preheat the oven to 160 C/320 F.
- Bake one set of macarons for 15 minutes, rotating once. Let tray cool for a few minutes before removing from the silicone mat. Let finish cooling on wire racks.
- Combine the sugar and egg whites in a medium heatproof bowl and place over a pan of simmering water.
- Whisk the sugar mixture constantly over heat until the sugar is dissolved and the mixture looks smooth and shiny, about 3 minutes.
- Remove mixture from heat and pour into a stand mixer bowl. Whisk on medium speed for about 5 minutes until the mixture has cooled.
- Switch to the paddle attachment and with the speed on low, add the butter a few pieces at a time, beating until smooth.
- When all the butter has been added, beat the buttercream on medium-high speed for about 6-10 minutes until it is very thick and smooth. Add in the vanilla extract and beat to combine. Add in the sea salt and beat to combine.
- The buttercream is ready to be used. Place a piece of plastic wrap against the surface until you are ready to use it to prevent it from drying out.
- Fill a pastry bag fitted with a round tip with the buttercream. Place macarons on a sheet pan with their flat bottoms facing up. Pipe about 1 teaspoon buttercream in the center of half the macarons.
- Place the remaining macarons on top, pressing down slightly to spread the filling to the edges.


these macarons are so pretty!
So precious and sounds delicious. Think Im going to try these. Learning something new everyday. But the pearl inside is just the icing on the cake per say….EXCELLENT work! Thx for sharing.
Mary, thanks for your kind words. It was a project but really satisfying to see it come together! I hope you enjoy making these!