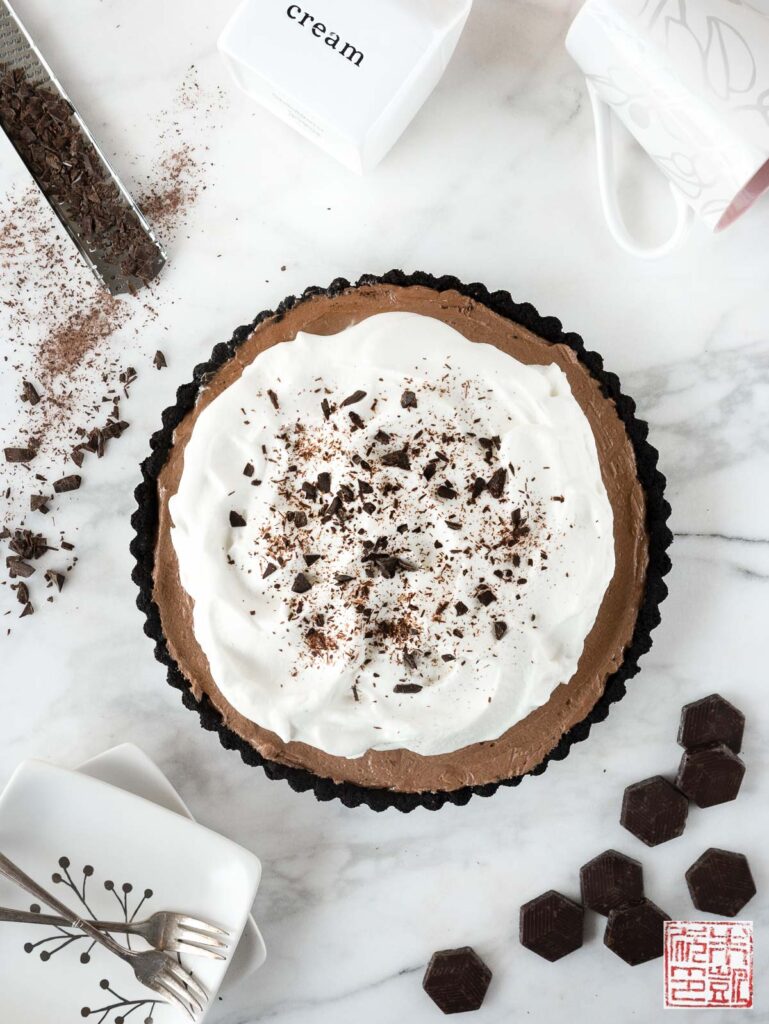
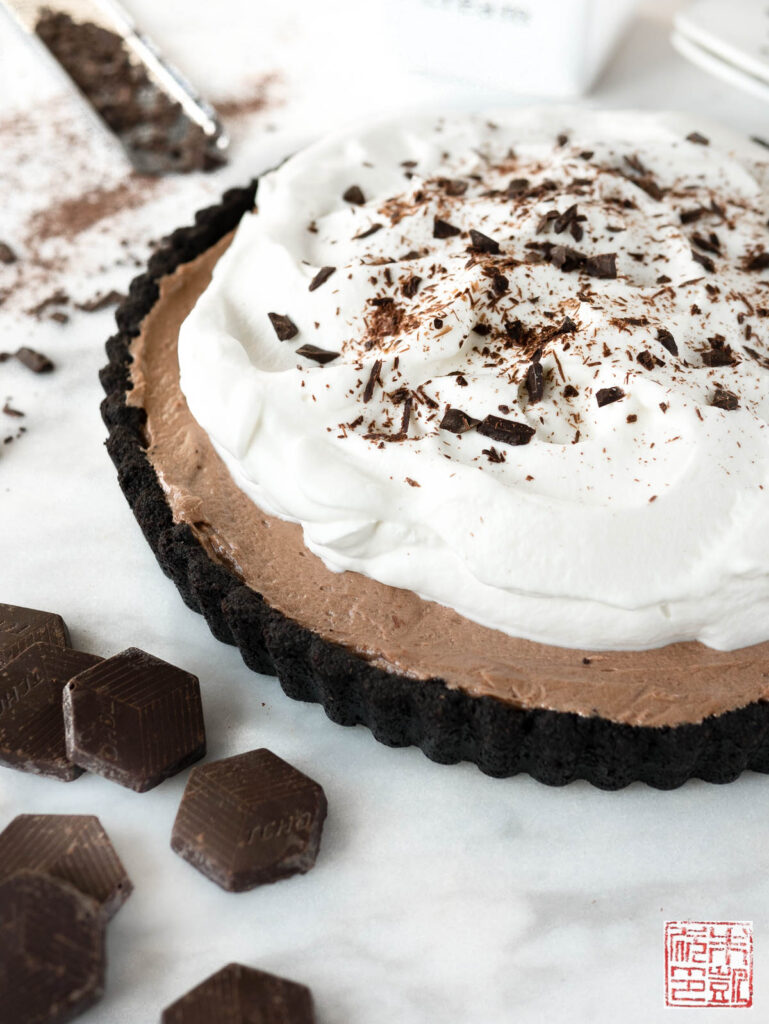
This French silk tart is a sleek, minimalist version of the classic French silk pie that captures all of the indulgence. French silk pie was one of my favorite desserts growing up; I remember going to our local Marie Callender’s and waiting impatiently until the end of the meal so I could get to the pie. To my childhood self, French silk pie seemed like most perfect, intensely chocolate dessert ever, and it probably was the beginning of my weakness for chocolate mousse and all things chocolatey and creamy. Ironically French silk pie is a completely American invention, so by turning it into a French silk tart I’m actually making it seem even more French! However I think the combination of the classic silky sweet filling with a dark cookie crust might have become my favorite variation of this dessert.
I was recently sent some samples of TCHO‘s baking chocolate line, and I realized that although I’d eaten a lot of French silk pie, I’d never made it myself. Creating this French silk tart was a fun way to experiment with their different chocolates and come up with a delicious showcase for their chocolate.
Click here to jump to recipe
Disclaimer: I was sent samples of TCHO’s chocolates for review, but was not compensated for this post. All opinions are my own.
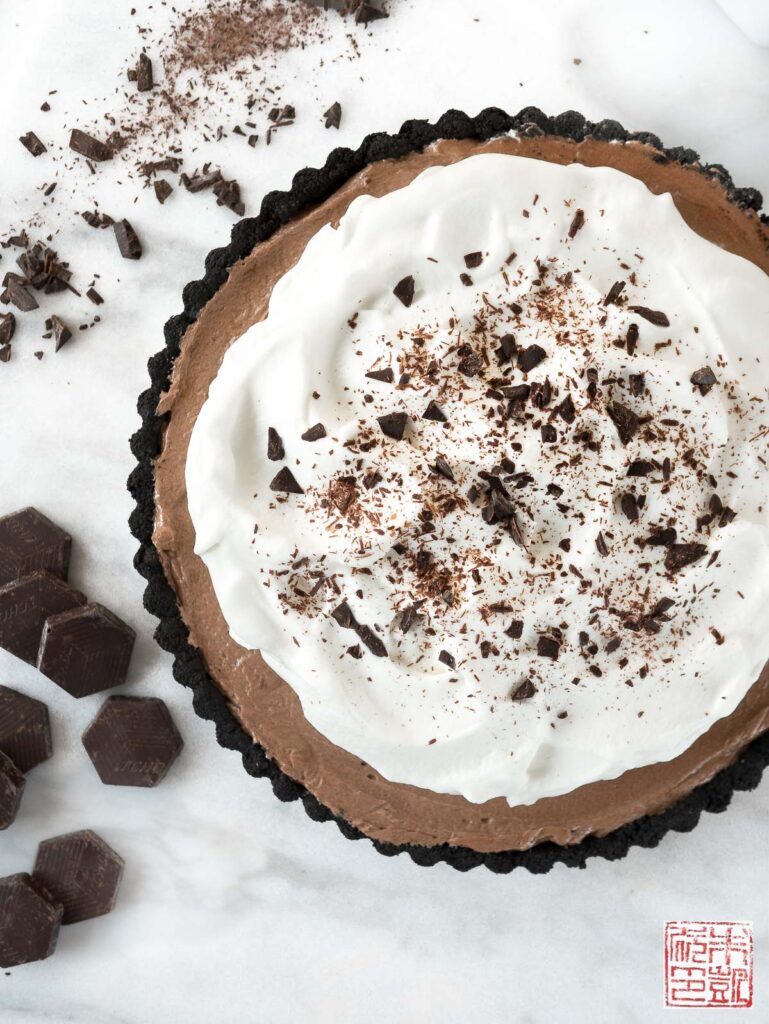
This version of French silk pie turned out as well as I could have imagined: although the signature characteristic of French silk pie is its incredibly light and fluffy texture, the chocolate filling is actually quite rich, given the eggs and butter whisked into the mix, along with the traditional whipped cream piled high on top. Although it seems contrary to reduce this towering billowy filling down to fit the shorter height of a tart shell instead of using a typical, taller pie crust, I actually found there was still enough of it to be satisfying – I guess as the years go on and I get older, I find I don’t need as much of something indulgent to be content! The proportions for this filling are about half of what you’d use for a traditional French silk pie in a regular pie crust, so if you want to try using this for a regular pie, just double the filling amount. But I highly recommend trying this tart version first!
As I mentioned, I really like the cookie crust with the filling. The chocolate cookie crust provides the ideal crisp contrast, and also helps ground the sweetness of the filling and the whipped cream with its darker cocoa notes. Sometimes when I have the time, I’ll make chocolate cookies from scratch, but if I’m feeling lazy I like to use these chocolate wafers to make my cookie crusts – they work great and I usually keep a box around in the pantry.
TCHO has an impressive array of baking chocolates, ranging from 60.5% semisweet to 99% unsweetened, and two milk chocolates as well. You can pretty much find a chocolate to suit your taste or baking need. Although French silk is extremely chocolatey, it’s also quite sweet, so using a darker/more bittersweet chocolate works best, to prevent this from becoming too one-dimensionally sweet. I used TCHO’s 68%, and I might recommend even using their 70% or 81% next time.
One of the concerns about French silk pie is that traditionally raw eggs are whisked into the filling, to achieve its silky texture, and it’s not baked. To allay any safety concerns, one suggestion is to use pasteurized eggs. What I do is heat the eggs and sugar gently over a double boiler until it reaches 160 degrees F, which should kill off the bacteria, and let it cool before adding it into the filling. It doesn’t seem to affect the final texture – it’s just as meltingly smooth and fluffy.
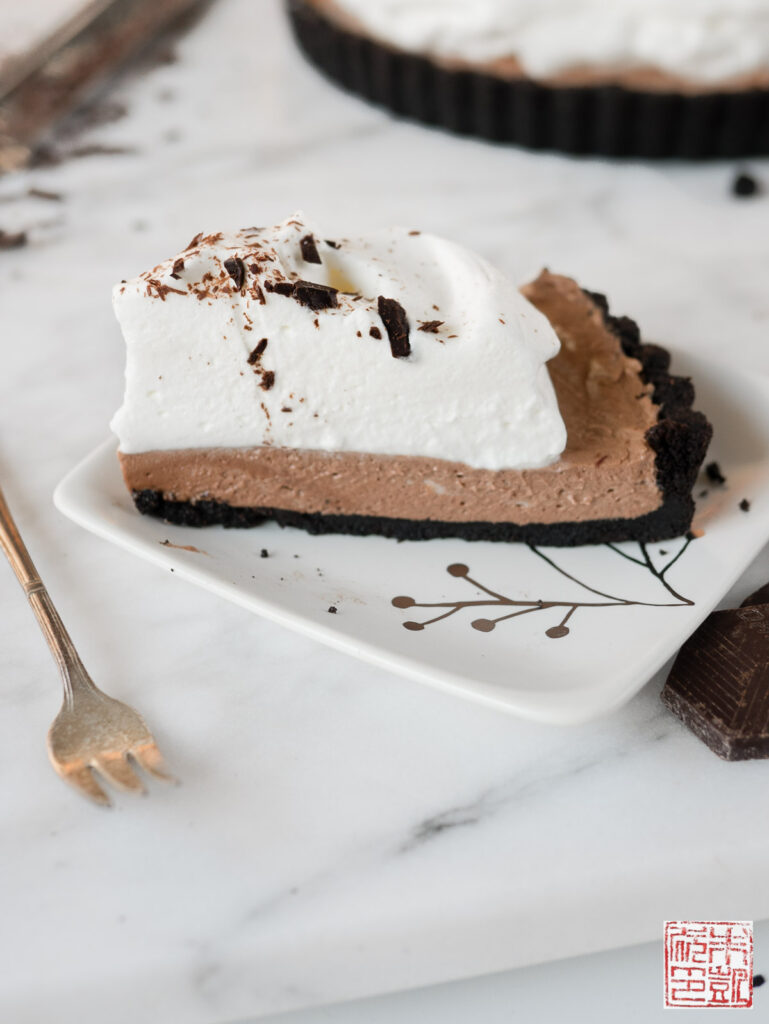
The end result, with a cloud of whipped cream and chocolate shavings on top, is pastry shop perfect or holiday table worthy. I hope you make this with one of your favorite chocolates and enjoy this take on one of my favorite childhood desserts!
- 40 chocolate wafer cookies
- 6 tablespoons unsalted butter, melted
- ½ cup heavy cream, whipped into stiff peaks
- 3 oz bittersweet chocolate, at least 70%, chopped into small chunks
- 2 large eggs
- 75 g sugar
- ½ cup unsalted butter, room temperature
- 1 teaspoon vanilla extract
- Preheat oven to 350 degrees F. Set aside an 9 inch fluted tart pan with a removable bottom.
- Place cookies into food processor and pulverize into even, fine crumbs. Pour out crumbs into a medium bowl and add the melted butter. Stir with a spoon to combine.
- Press crumb mixture evenly into bottom and up sides of tart pan. Bake tart shell for about 10 minutes in the 350 degree F oven. Remove and let cool before filling.
- Place cream into bowl of stand mixer fitted with whisk attachment. Whip on high speed until stiff peaks form. Scrape out cream into a bowl, cover, and store in refrigerator while you clean out the mixer bowl make the rest of the filling.
- Melt chocolate in heatproof or metal bowl set over a saucepan filled with simmering water. Remove bowl when chocolate is melted and set aside to cool.
- Combine eggs and sugar in a clean heatproof or metal bowl and set over the same saucepan filled with simmering. Cook, whisking constantly to prevent eggs from cooking, until temperature reaches 160 degrees on a thermometer.
- Remove from heat and the egg mixture cool.
- Add in the melted chocolate and stir until combined.
- Place butter in clean bowl of stand mixer fitted with the paddle attachment and whip on medium speed until light and fluffy, about 3-5 minutes.
- Add in the vanillla extract and mix to combine.
- Add in the chocolate mixture and beat for about 5 minutes until combined and very smooth.
- Bring out the whipped cream from refrigerator and gently fold into the chocolate mixture.
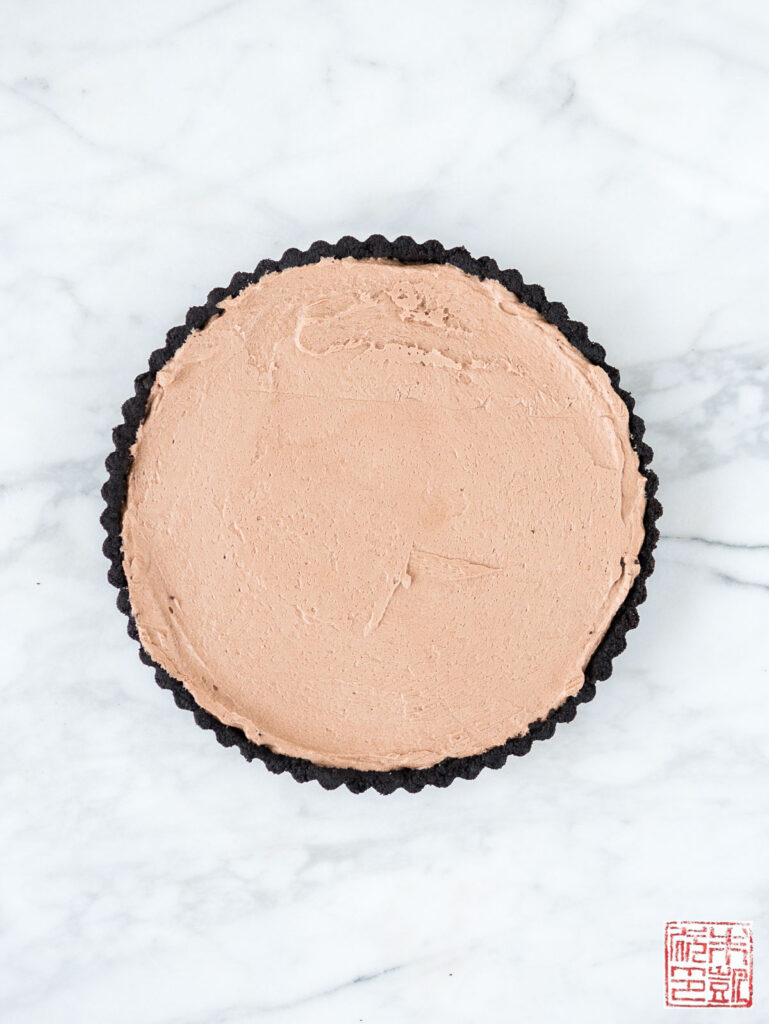
- Turn out chocolate filling into the tart shell and spread out evenly with an offset spatula.
- Cover with plastic wrap and refrigerate for at least 4 hours or overnight.


Leave a Reply