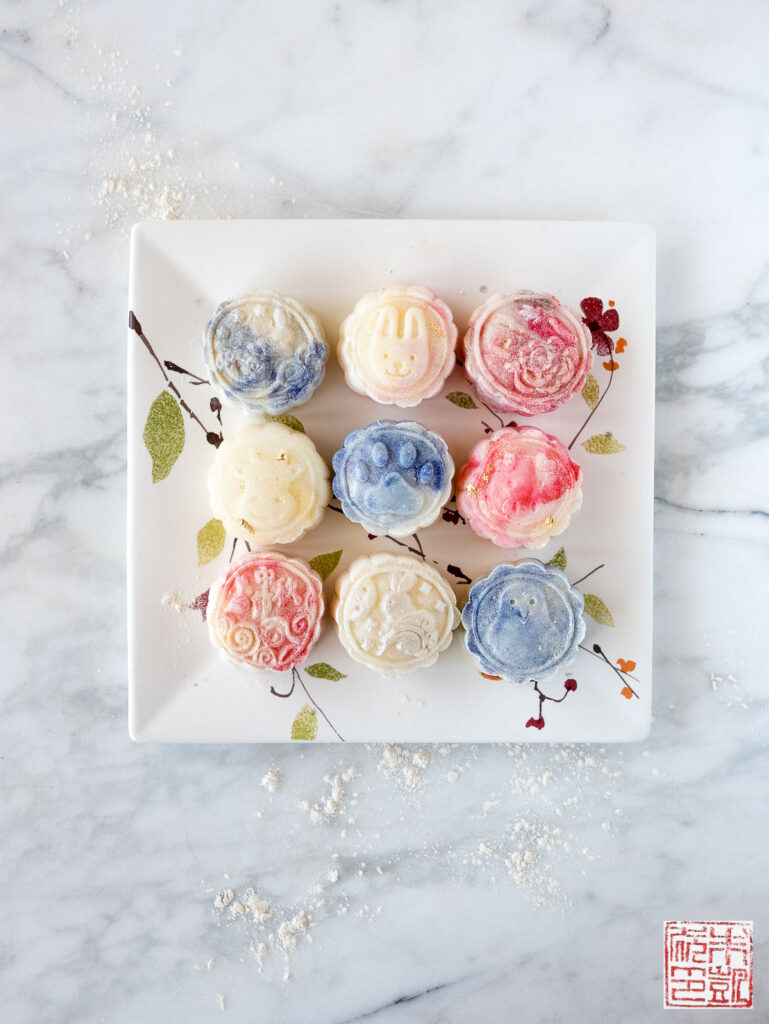
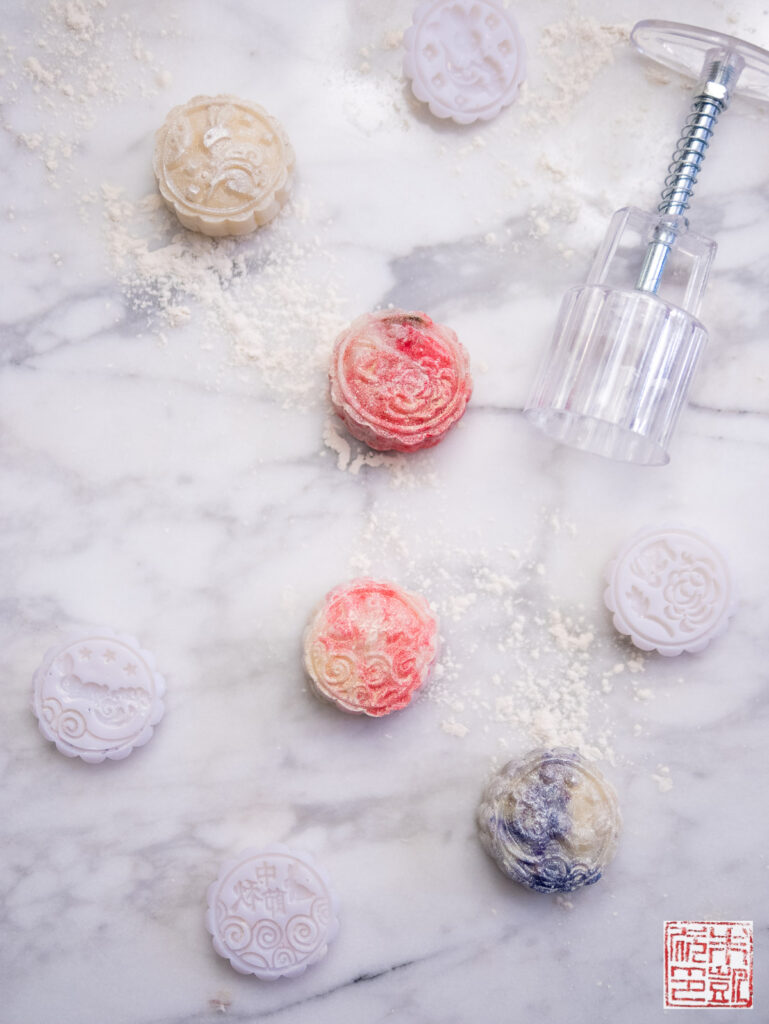
It’s Mid-Autumn Festival on September 13, and I made homemade snow skin mooncakes for the first time! This is the very first time I’ve ever made mooncakes to celebrate this holiday, so I’m very excited at how they turned out!
The traditional Chinese mooncakes, the ones I saw in the bakeries and ate as a kid, are baked and have a golden brown, chewy crust, and a filling of lotus seed paste and a whole salted duck egg yolk, which represents the full moon. I’ll be honest, this was a bit of an acquired taste for me. It’s sweet and salty at the same time, and very rich. However you’re not supposed to eat one by yourself; mooncakes are meant to sliced into wedges and shared with your family, as a celebration of togetherness.
Click here to jump to recipe
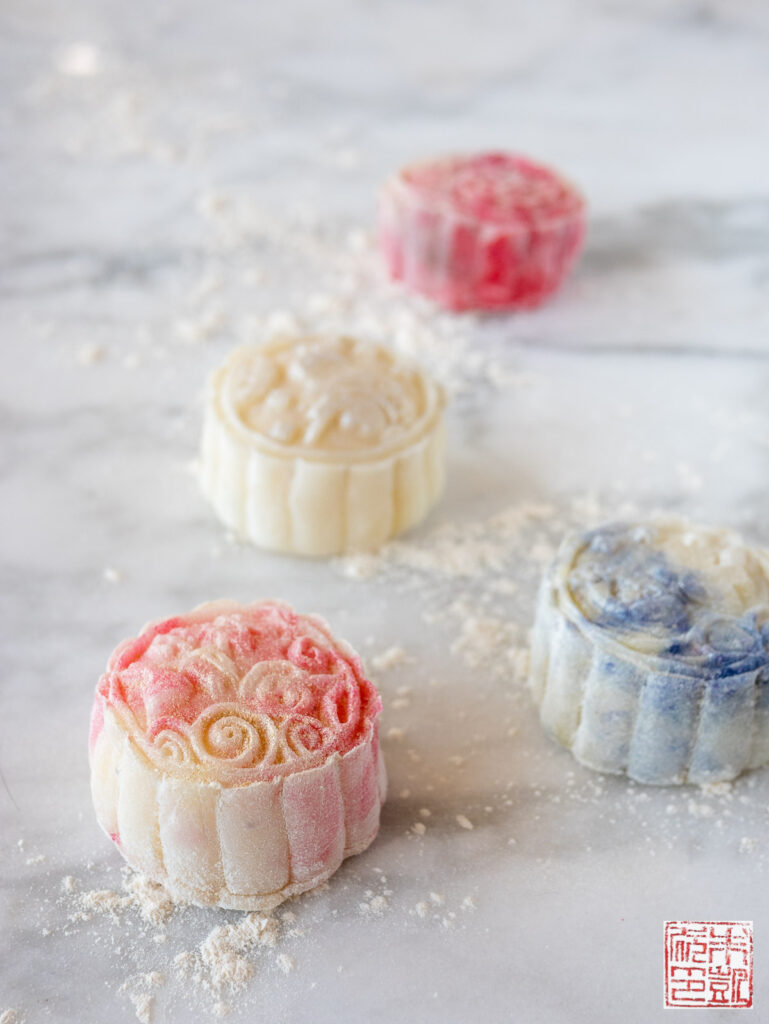
When I was little, this seemed like the only kind of mooncake around; basically this was what mooncake was. However, in recent years Asian bakeries have realized the creative potential in modernizing mooncakes, and the market has virtually exploded, with a nearly endless variety of flavor and styles available. Many of them are much more appealing to younger tastes, with fillings of ice cream, chocolate, and fruit; I kind of wish these had been around when I was little! One very popular mooncake variant is snow skin mooncake, so called because the crust is made from glutinous rice flour and has a translucent white sheen. In Chinese it’s called “bing pei”, literally ice skin. Since it’s unbaked and made with rice flour, it’s very similar to mochi. It’s also supposed to be less caloric and healthier than traditional mooncakes, but when have the holidays ever been about healthy eating? I’m just looking for the yummy desserts.
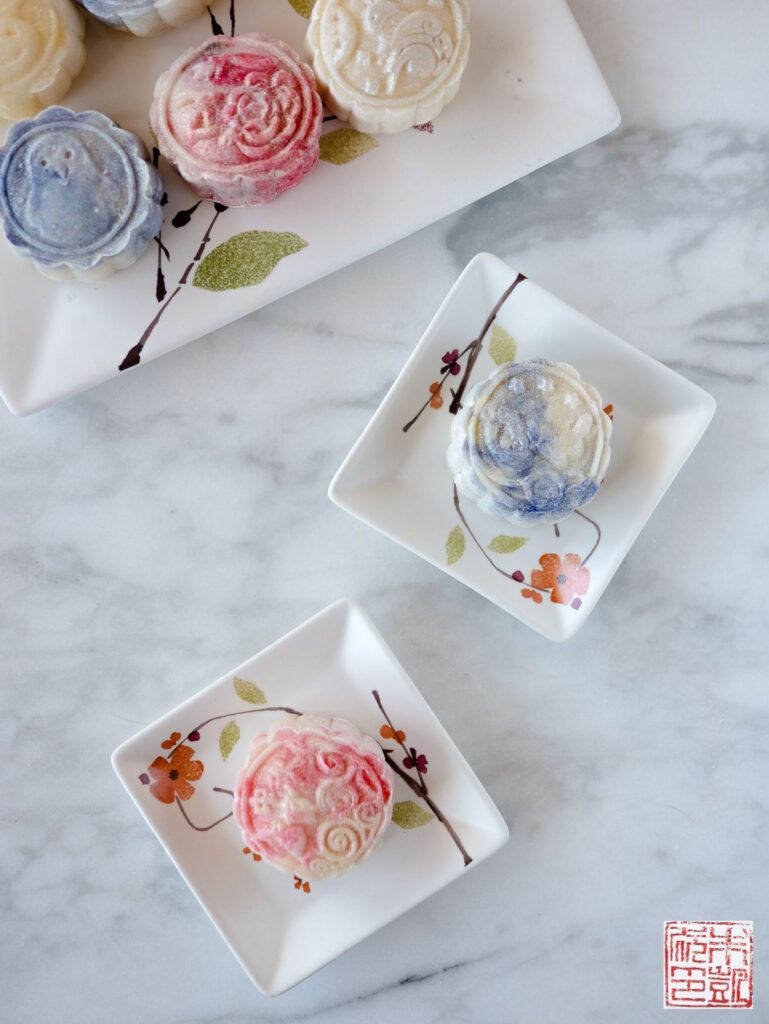
When I decided to tackle making mooncakes, I quickly realized if I made the baked kind that no one in my household might actually eat them (sorry mom and dad in Hong Kong!) so I settled on making snow skin mooncakes instead. I was inspired by the recipes and gorgeous photos on Omnivore’s Cookbook, Constellation Inspiration, and China Sichaun Food, so definitely check out those wonderful websites.
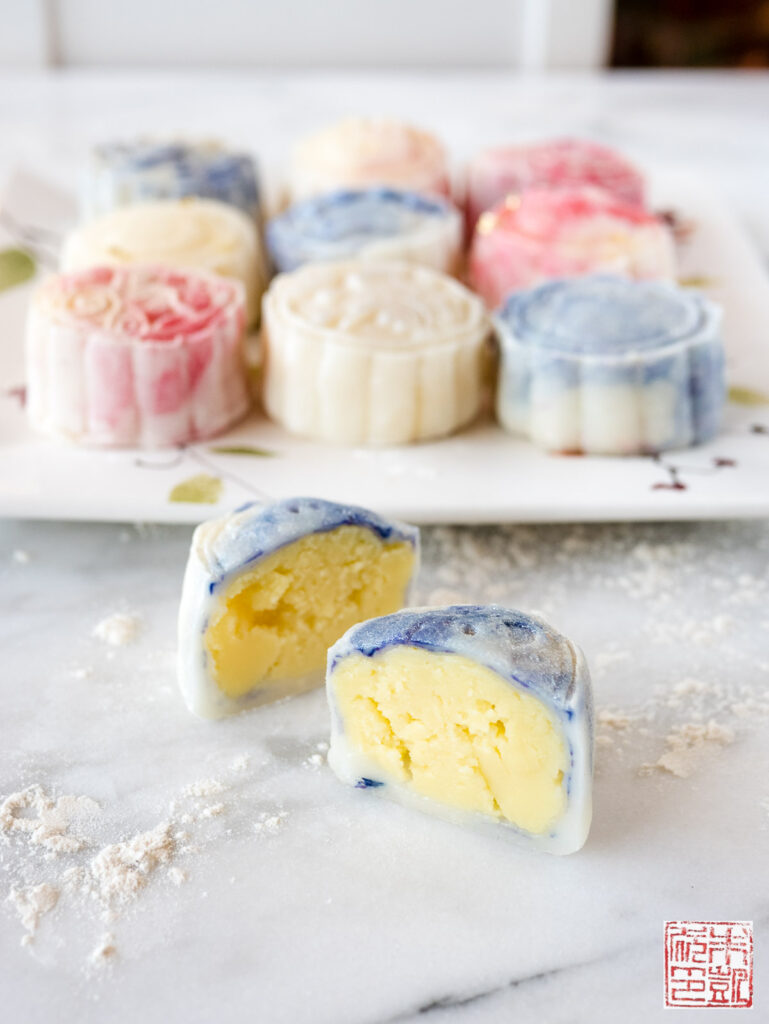
There appear to be two common recipes for making snow skin mooncakes: one that mixes pre-cooked glutinous rice flour with confectioner’s sugar and shortening, and one that requires steaming a mixture of different flours and starches. The version I made is the latter, mostly because those were the recipes I came across first! But I also discovered after more researching that the pre-cooked glutinous rice flour, called gao fen in China, is actually fairly difficult to find overseas, and several other food bloggers found that trying to cook raw glutinous rice flour at home did not yield the same results as using precooked flour from the store. This is something I might have to experiment with myself another time, but for the meantime I’m quite satisfied with the recipe I used below. Some of the ingredients may also sound esoteric, but I found them easily at my local Asian groceries, plus you can find them online, so I think this is a more accessible recipe for cooks outside of Asia.
Tips for making snow skin mooncakes:
- – The biggest tip is to cover all your work surfaces with plastic wrap; this will save you much heartache and frustration. Once cooked, the snow skin wrapper dough is VERY sticky and will adhere like glue to wooden boards, marble countertops, your hands, etc. In the same vein, wearing plastic/latex gloves when working with the dough will also make things much easier.
- – The measurements are given in metric grams because precision is important in putting together the dough and in assembling the mooncakes. If you don’t have a kitchen scale, it’s an inexpensive and worthwhile investment that will benefit your baking immensely.
- – If you’re haven’t worked with some of these ingredients, here are links to some of them; I found all of them at my local Asian grocery.
- Glutinous rice flour
- Rice flour
- Wheat starch – this is basically the starch part of wheat grains (wheat flour contains the starch and all the other parts of wheat, including the gluten, protein, etc.). Wheat starch is used as a thickener and gives the wrapper its translucent sheen. It’s a very common ingredient for Chinese dumpling wrappers. I have seen recipes where cornstarch is substituted for wheat starch but the result may look and taste a little different.
- Custard powder: this is mainly cornstarch with some color and flavoring added, and used to give a more yellow hue and sweet flavor to the filling. If you can’t find it or don’t want to use it, you can always just use regular cornstarch in place of it and some vanilla extract.
- – Molding the mooncakes is the best part of making them. This recipe is sized for 50g molds – here are the ones that I used . Traditionally mooncakes were made in wooden molds, which you can still find, but I found the plunger molds to work just as well and they come in many more fun design options.
- – If you want to color the dough, you can add a few drops of gel food coloring to the dough before you roll it out. I did not knead the color all the way through to get a marbling effect.
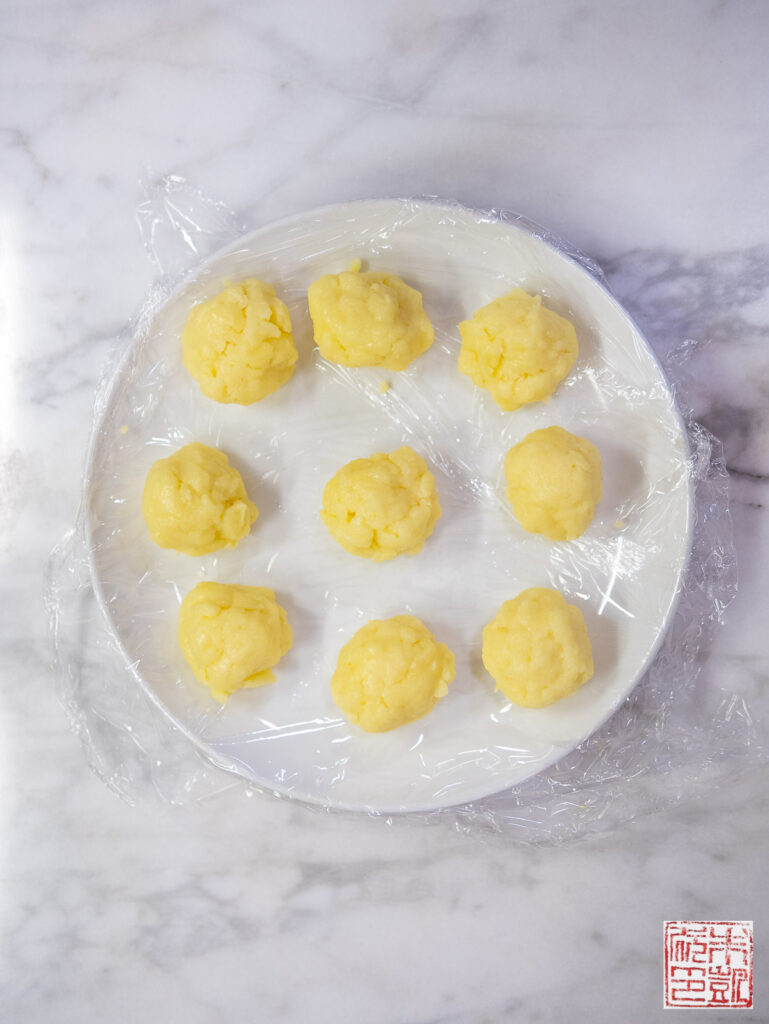
Some progress shots that might be helpful: the custard filling formed into balls, ready to go into the wrappers. Notice they’re not completely smooth, which is ok. As long as the consistency is smooth and thick, it’s good.
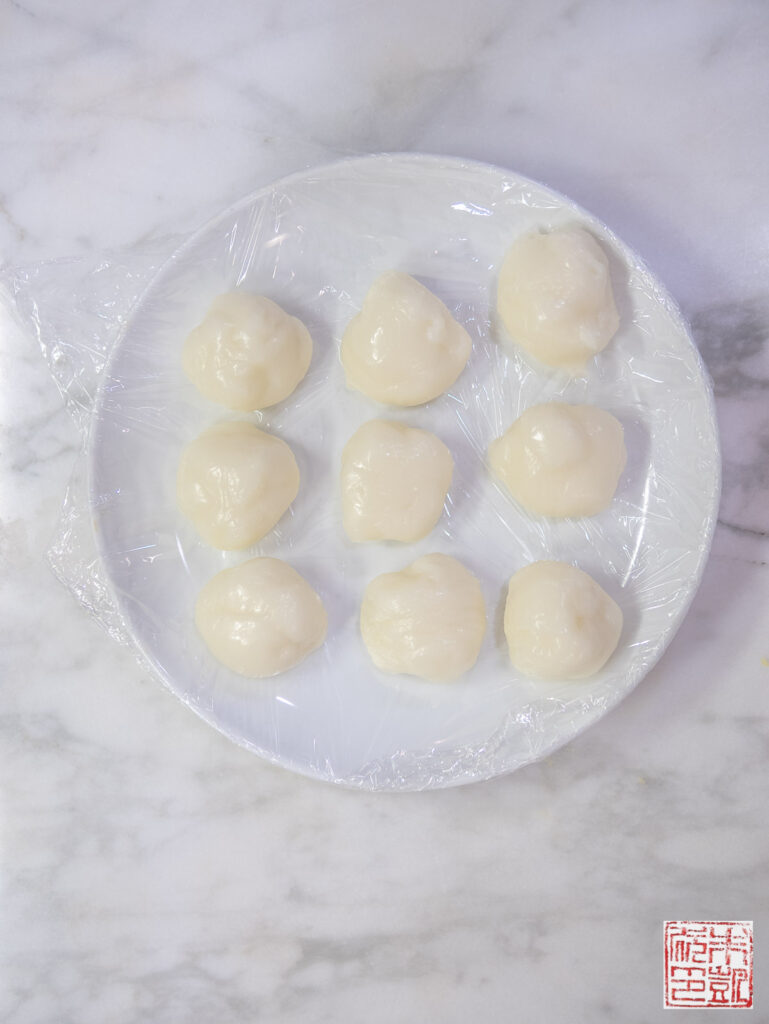
Wrapper dough divided out and formed into balls. Notice the plate is lined with plastic wrap to prevent sticking. It helps to wear gloves when forming the balls too.
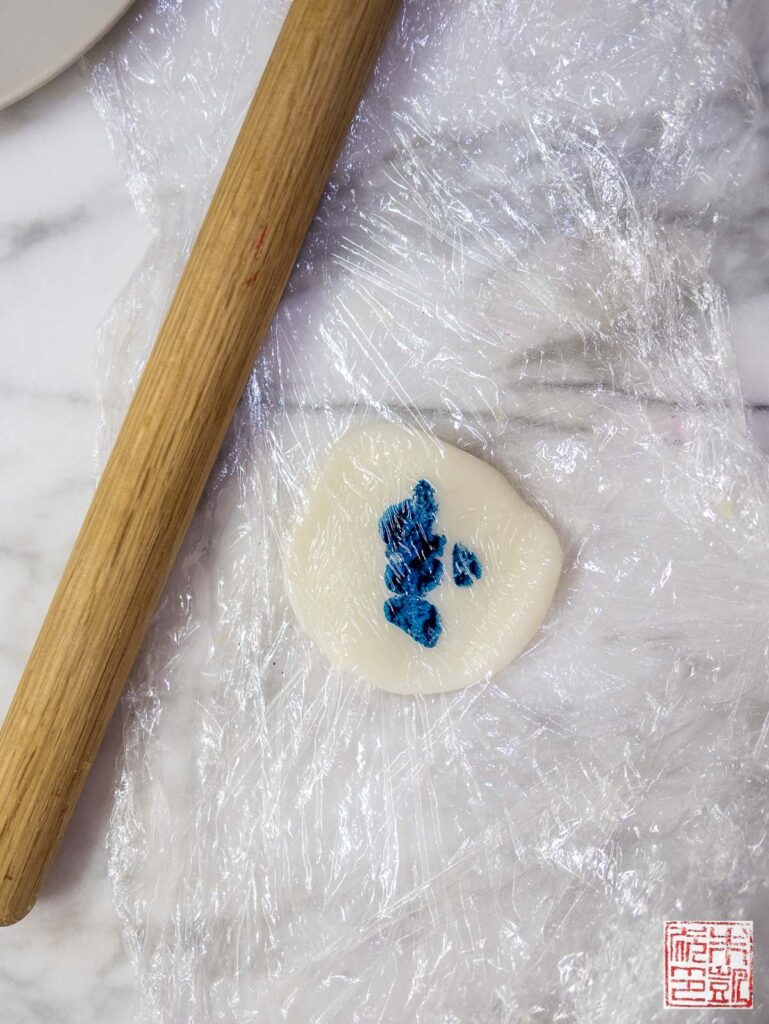
The dough rolled out between plastic. If you want to color the dough, you can add a few drops like I did here.
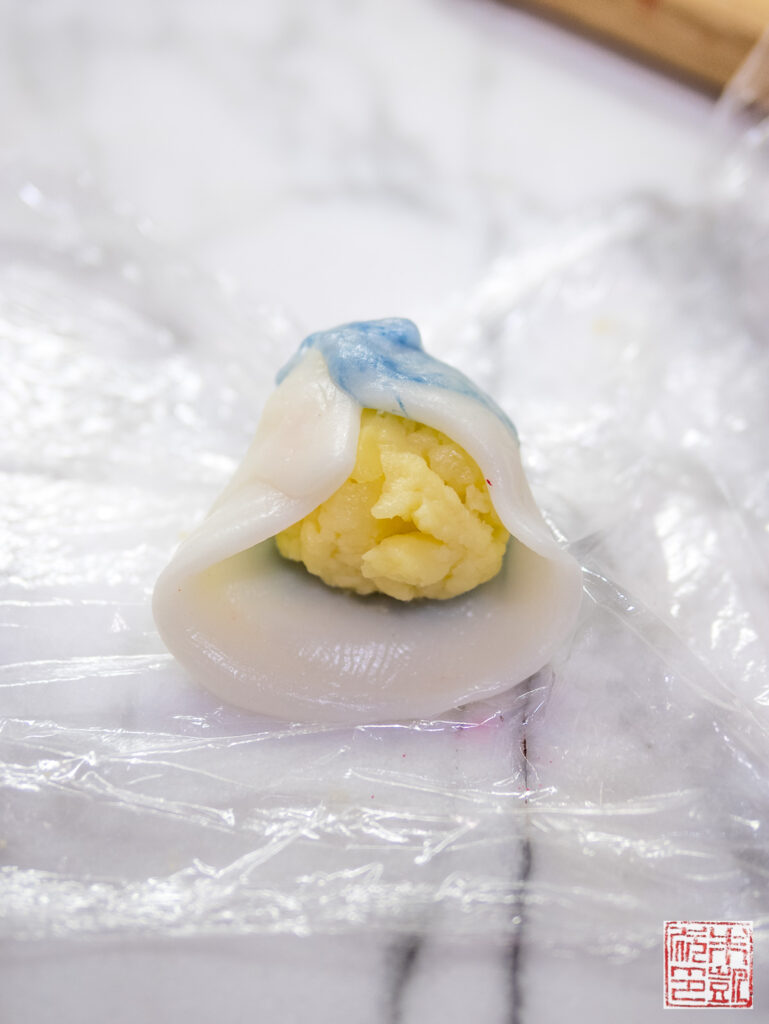
Forming the dough around the filling. This is where weighing out the filling and dough precisely on the scale is useful, as it ensures all the mooncakes are the same size (and right size) to fit in the molds, and that there’s enough dough to fit around the filling. If it seems like you have too much dough, you can pinch off a bit to keep the dough even around the filling.
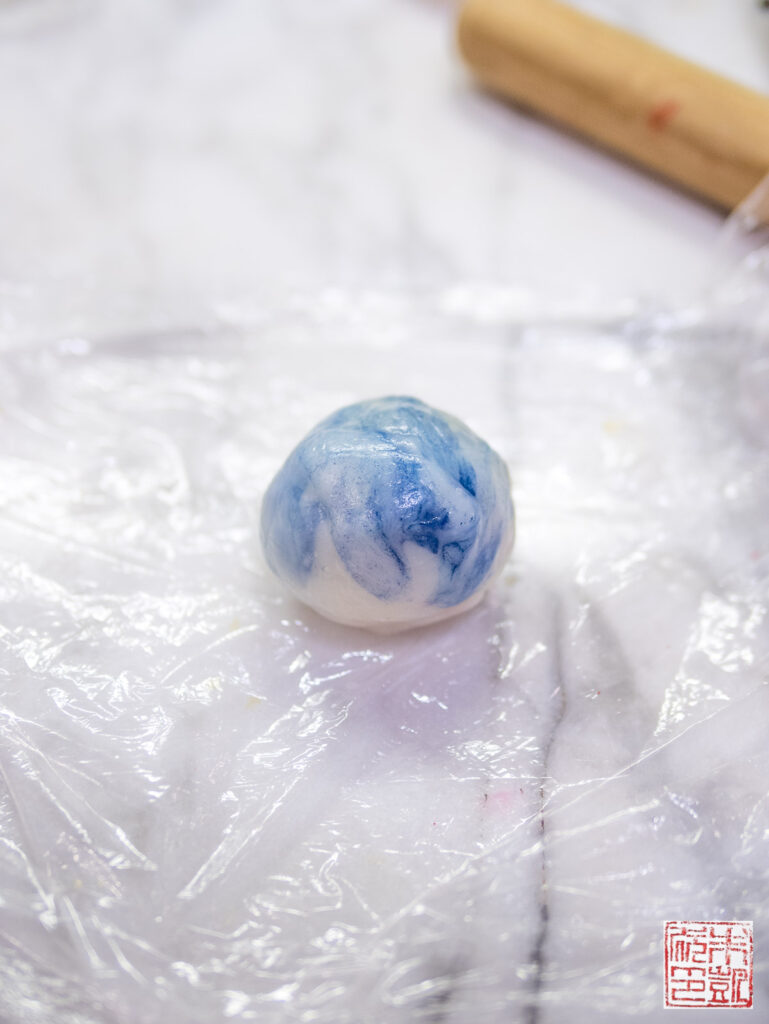
Roll the wrapper and filling gently between your hands to form a ball and seal the seams.
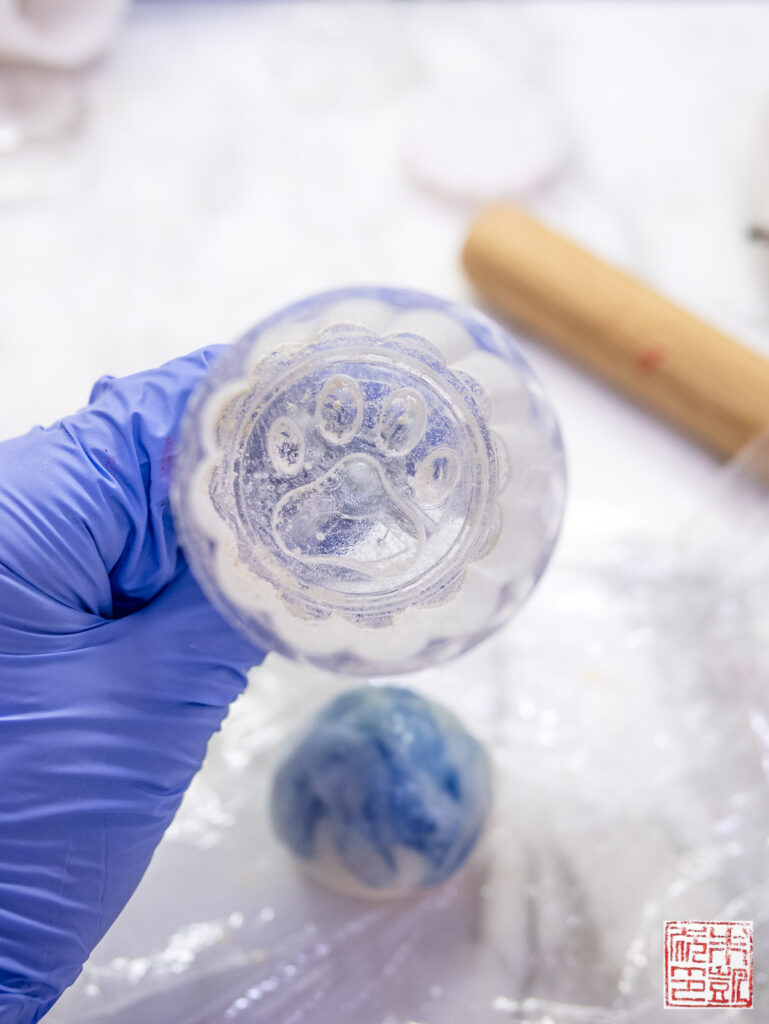
Dust the mold lightly (using a pastry brush helps you get it into all the crevices without getting too much flour in there).
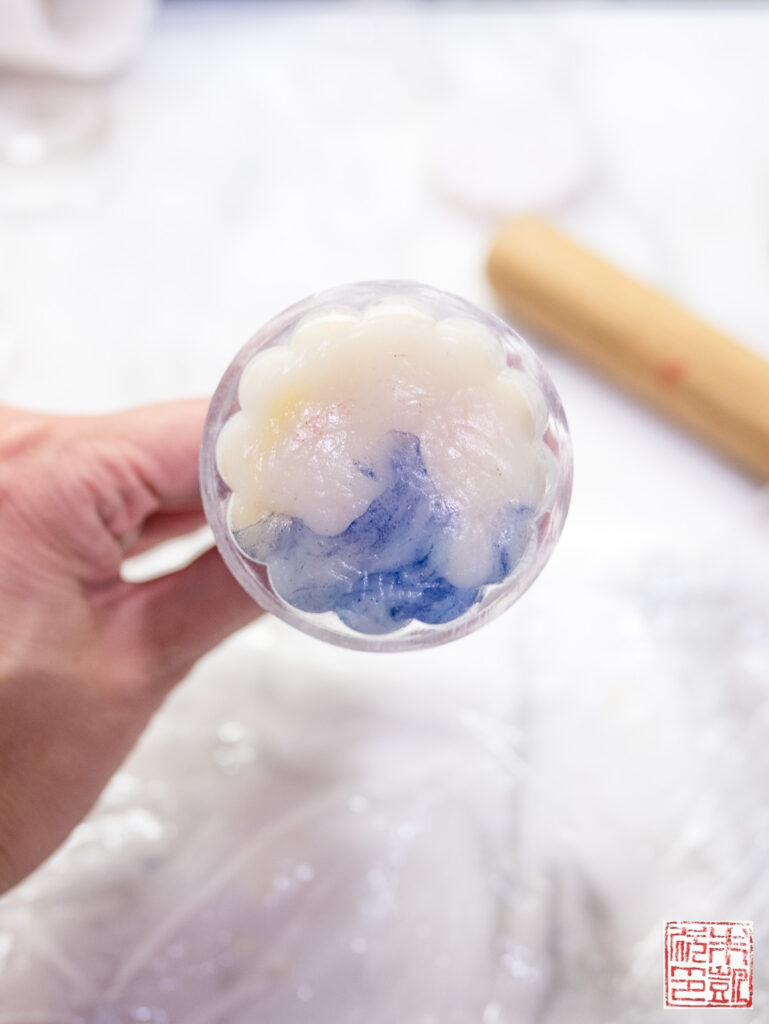
Push the mooncake ball gently into the mold, seam side facing down.
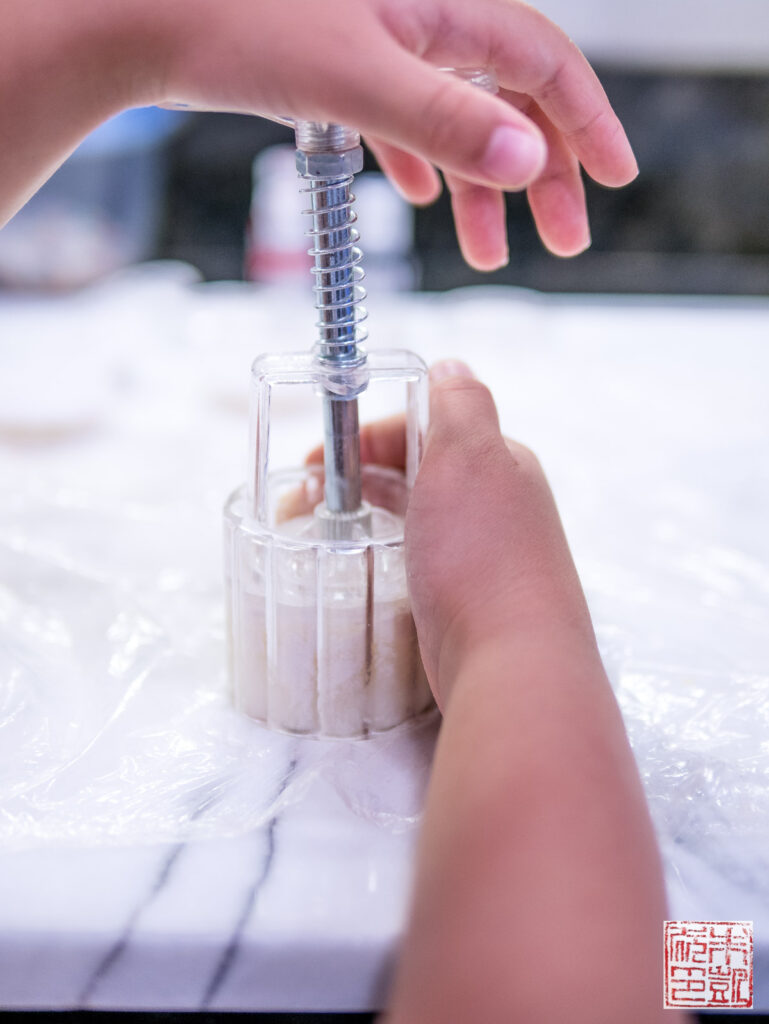
Holding the mold firmly down on the work surface, push the plunger down to stamp the design into the top of the mooncake. My daughter loved helping me with this part!
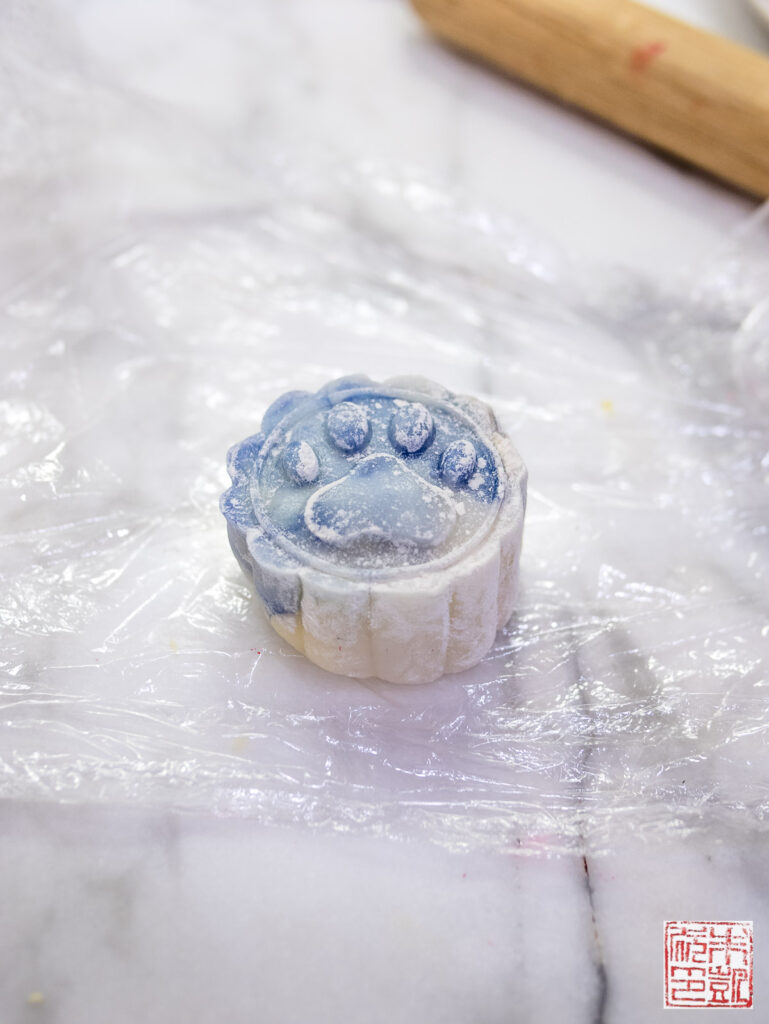
And there’s your mooncake!
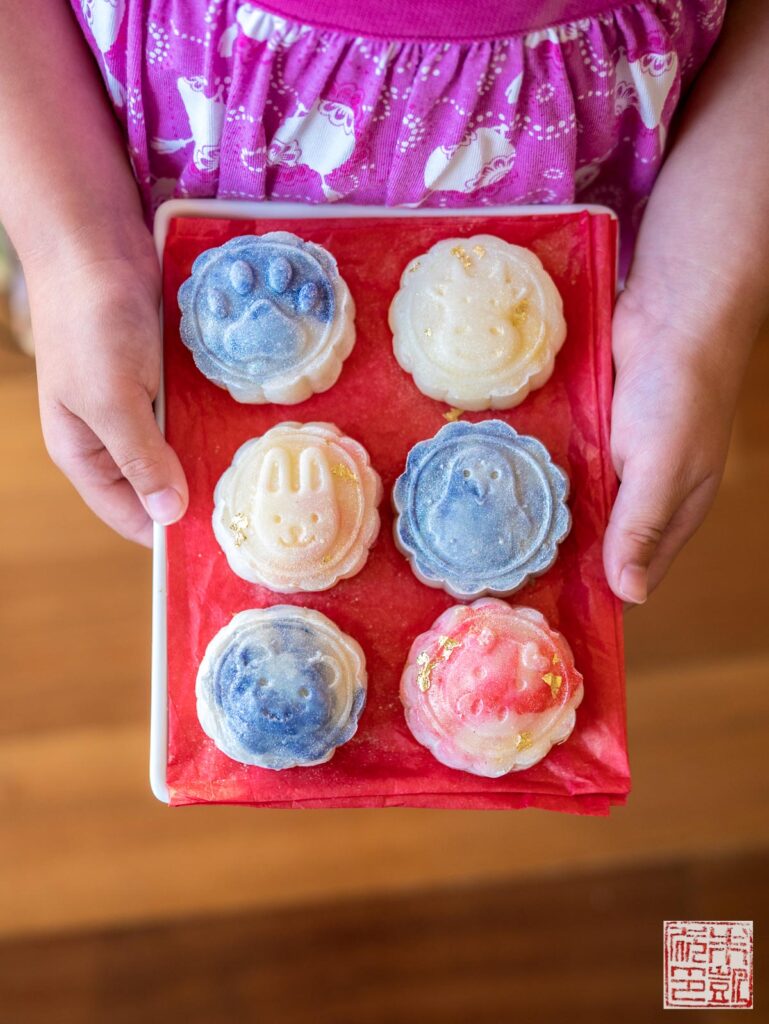
So thrilled that they turned out so well. Happy Mid-Autumn Festival!
- 4½ tablespoons cornstarch
- 1½ tablespoons custard powder
- 100 g sugar
- 460 g whole milk
- 5 large egg yolks
- 30 g unsalted butter
- 90 g glutinous rice flour
- 70 g rice flour
- 40 g wheat starch or cornstarch
- 80 g confectioners' sugar
- 370 g whole milk
- 36 g vegetable oil
- ⅓ cup glutinous rice flour or cornstarch for coating
- Combine cornstarch, custard powder, and half of the sugar together in a large bowl.
- Combine remaining sugar and milk in a medium saucepan and heat over medium-low heat until sugar is dissolved, stirring occasionally to prevent scorching. Don't let milk come to a boil.
- Add egg yolks to cornstarch mixture and whisk together to form a thick, smooth paste.
- Add in the warm milk a third at a time, whisking vigorously so that eggs don't cook.
- Once the milk is incorporated, pour the mixture back into the saucepan and cook over medium heat, stirring constantly with a wooden spoon.
- Cook for about 5 minutes, stirring constantly to prevent scorching, until mixture thickens and comes together. This will happen quickly, so don't leave the stove and don't stop stirring once it starts to thicken.
- Once the mixture thickens, remove immediately from heat and add in butter. Stir until butter melts and is incorporated.
- Turn out mixture into a bowl and press a piece of plastic wrap over the surface. Place in refrigerator and chill for at least 30 minutes until mixture is cool and has solidified enough to scoop.
- Combine the glutinous rice flour, rice flour, wheat starch, and confectioner's sugar in a large bowl and whisk to together to combine.
- Combine the milk and vegetable oil together in a bowl. Pour into the flour mixture and stir to combine.
- Strain the mixture into a clean heatproof bowl and let sit for 30 minutes. It will thicken slightly.
- Place bowl on a steamer rack in a steamer, or you can improvise a steamer with a large lidded saucepan partially filled with boiling water.
- Steam for about 25-30 minutes until the mixture is solid, has turned slightly translucent, and a knife inserted into the mixture comes out nearly clean (a few drops of liquid is ok).
- Remove from steamer and let sit on a towel or rack for a few moments to cool.
- Scoop the dough out onto a clean surface lined with plastic wrap (it is very important to use plastic wrap - the dough will stick to any other surface. Do not use try to use another surface like marble dusted with flour).
- Cover the dough with another piece of plastic wrap and knead for several minutes until the dough is very soft and has an oily sheen. This is very important so the dough stays soft and workable later. Also it's important to use the plastic wrap on top of the dough as again if you use bare hands the dough will stick to your hands.
- Wrap the dough in plastic wrap and chill for about 3 hours until fully cool. You can also chill it overnight but it may be a little stiffer when first removed from the refrigerator.
- Put the glutinous rice flour in a large frying pan and cook on medium heat, stirring with a wooden spoon, until it starts to turn golden brown and smells fragrant. Remove and let cool.
- Take the filling out of the refrigerator. Scoop out 25g portions and roll into balls. It's ok if they aren't completely smooth. Place on a plate lined with plastic wrap and place back in the refrigerator.
- Cover your worksurface with plastic wrap.
- Take the dough out of the refrigerator. Cut off 25 portions and roll into balls. Place on a plate lined with plastic wrap. If they get too soft and sticky at any time, you can put them back in the refrigerator for a few minutes to firm up.
- Dust a 50g mooncake mold lightly with toasted glutinous rice flour, or cornstarch.
- Take a piece of dough and roll it out on the plastic wrap with another sheet of plastic wrap on top, into a round disc. Don't make it too thin.
- Place a ball of filling in the center and wrap the dough around it. Roll it lightly between your palms to seal the dough and ensure it's evenly wrapped around the filling.
- Fit the mooncake seam side down into the mold and press in gently. Place the mold on the work surface and holding it in place, press down firmly to stamp the top.
- Gently press the mooncake out of the mold.
- Place in an airtight container lined with plastic wrap and refrigerate for a few hours. Snow skin mooncakes are typically served cold - if they seem really firm, you can let them sit for 10-15 minutes at room temperature first. They will keep for a couple weeks but are best eaten within a few days of making them.


Leave a Reply