Now that Isabelle is almost two and half (what?), she wants to do everything herself. Which is equally in terms endearing and exasperating. What I like even better is when she wants to do what Mommy is doing.
Although she’s still a little too young to be a full-on kitchen helper, she can definitely do more and more simple tasks that make her feel like she’s helping Mom out. Plus, now it’s practically the only way I can make anything in the kitchen, since otherwise she’ll just be pulling at the sleeves the whole time otherwise, or getting into mischief in some other part of the house.
I’ve already been slowly introducing Isabelle to baking, but I was lucky enough to get a review copy of Baking with Kids: Make Breads, Muffins, Cookies, Pies, Pizza Dough, and More, a well-timed motivator to help me get Isabelle even more involved in the kitchen. This sweet little book provides about thirty recipes for simple baked items like muffins, scones, pizza, and cupcakes to make with kid. The recipes are fairly straightforward, but what I appreciate are the numerous tips and pointers for working with kids and how to help them gain confidence in the kitchen and have fun being creative.
The recipes in the book are aimed for children 4 and up, so Isabelle is definitely on the very young end and at her age still needs constant supervision. I looked at this baking project as more of a fun experience for her to start understanding some of the baking process, instead of an independent exercise for an older child. I found that what worked best was for me and my husband to work as a team: I did all the prep work in the kitchen, bringing out fruit to mix and dough to cut, while Mike stayed by Isabelle out at the dining room table and did the steps together with her. This also freed me up to take photos of the whole process; yay for helpful husbands!
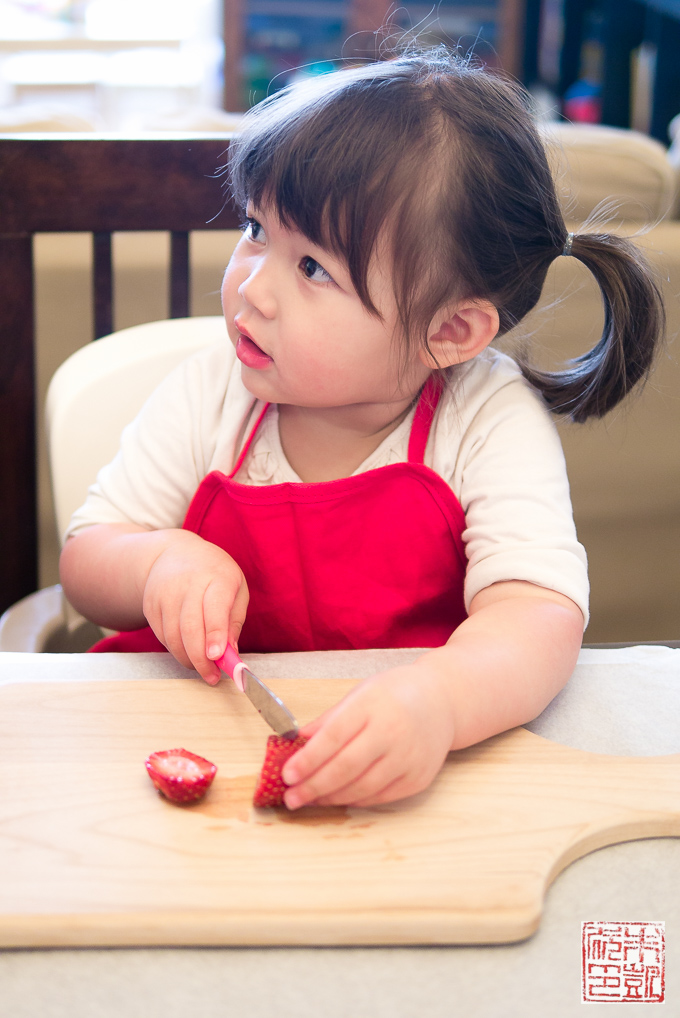
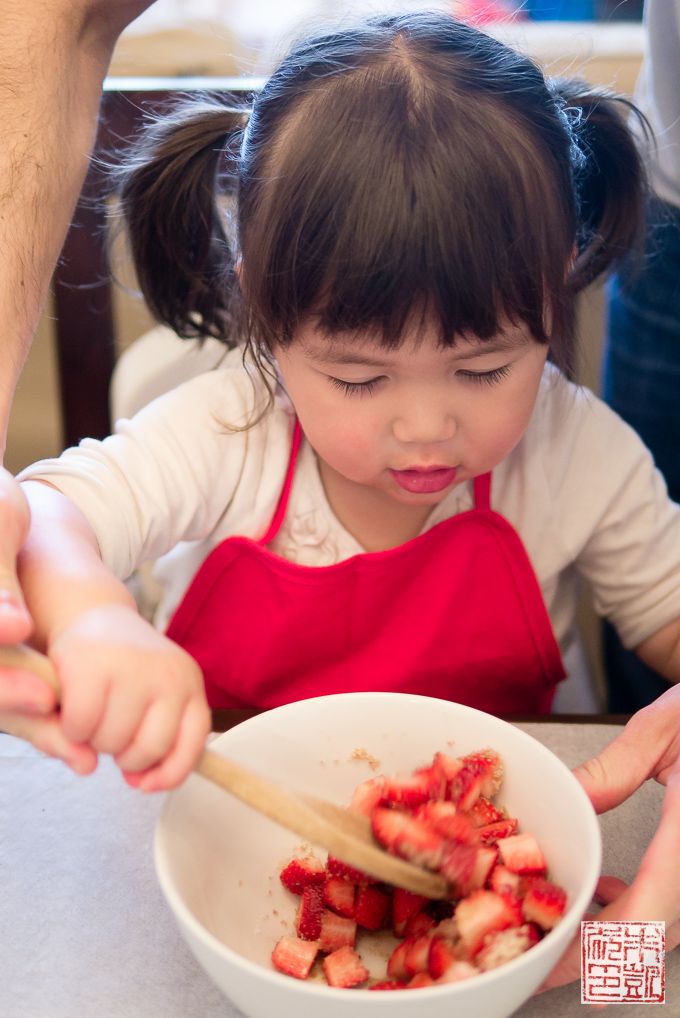
I chose to make the Mini Berry Hand Pies from the book; probably one of the more complicated recipes, especially for a toddler, but since it’s summer I was really in a pie mood. These cute little pies have a basic pie crust sandwiching a berry filling – we used strawberries (Isabelle’s favorite) and blueberries (Mike’s favorite). We let Isabelle play at cutting some strawberries with her baby knife, but we ended up doing most of the cutting. She enjoyed stirring the berries and sugar together a lot though.
I put the pie crust dough together on my own; it’s a mix of white and whole wheat flour, which gives it bit more robustness and makes it more forgiving to work with, and butter, sugar, and salt. Although the book give suggestions on teaching kids how to cut cold butter into flour to make pie dough and how to avoid overworking it, I didn’t think Isabelle was ready for that so I just used my food processor. If you use it with a light touch, it’s great for mixing a dough together quickly without fear of hot hands warming up the butter. Just be sure not to overmix, a typical caution when making doughs in a food processor.
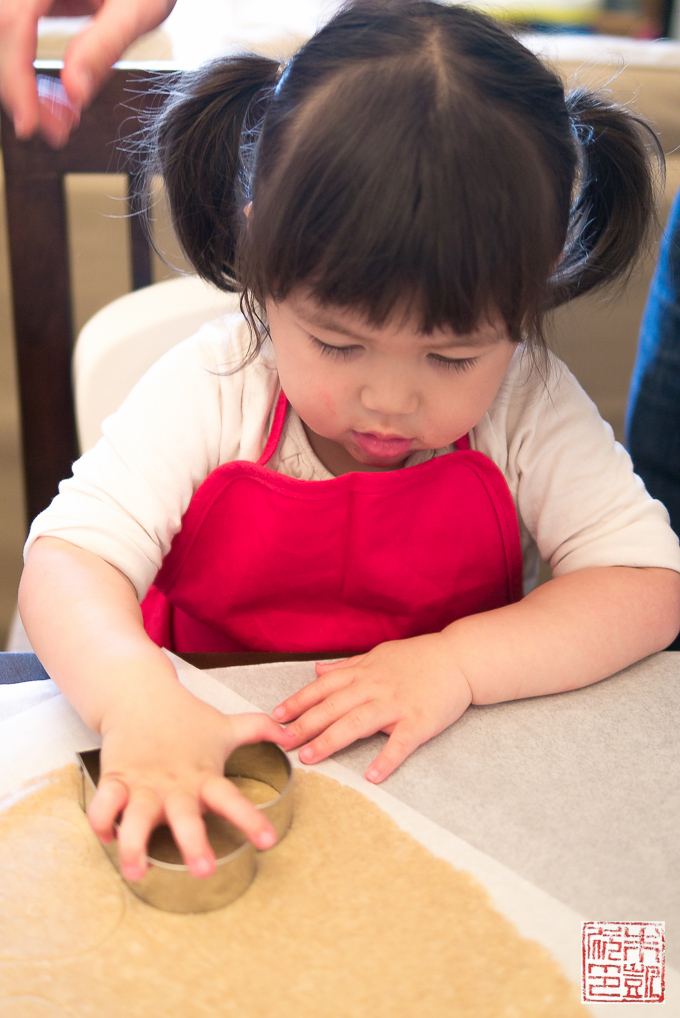
Although she didn’t put the dough together, Isabelle loved cutting out the shapes since it was just like play dough to her. The book mentioned that little kids love to cut shapes starting right in the middle of the dough, and that is exactly what Isabelle loves to do. We had to help guide where she placed the cutter so we could actually get more than one or two pieces out of the rolled dough!
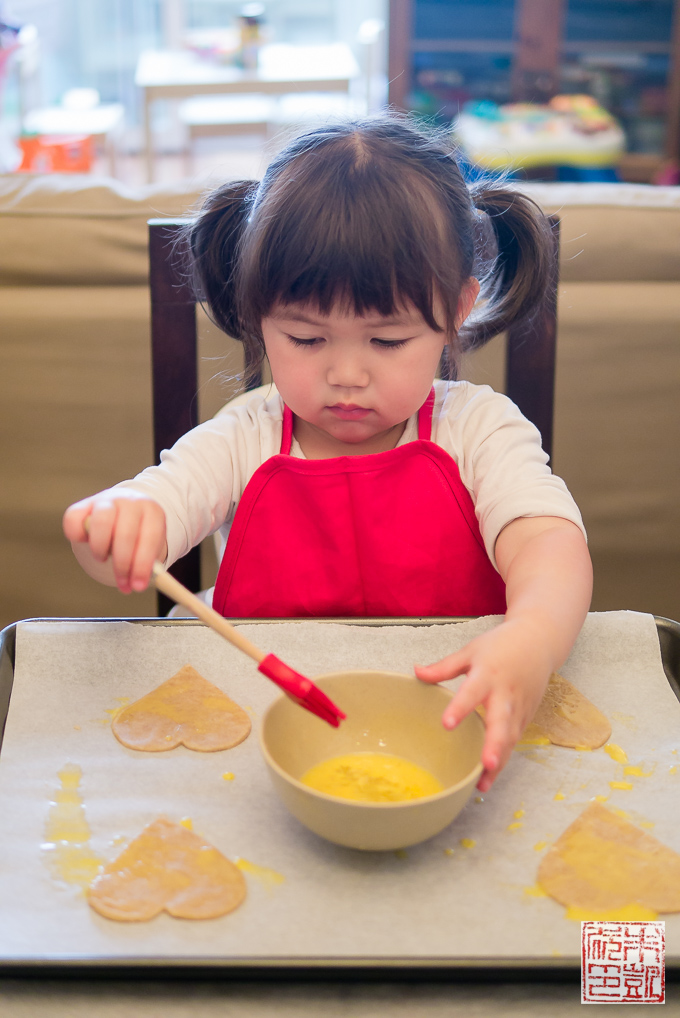
Isabelle also loved putting egg wash on the dough pieces since it was like painting, one of her favorite activities. The book also warns about kids getting overzealous with the egg wash; I found that thinning it out with water helped prevent her from glopping too much on the dough.
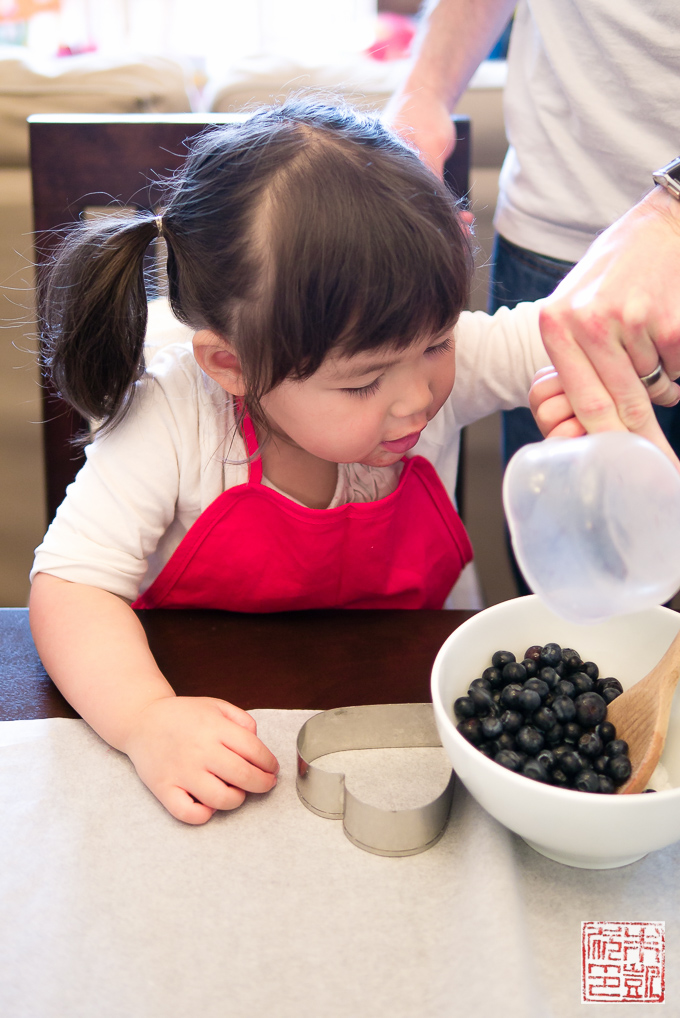
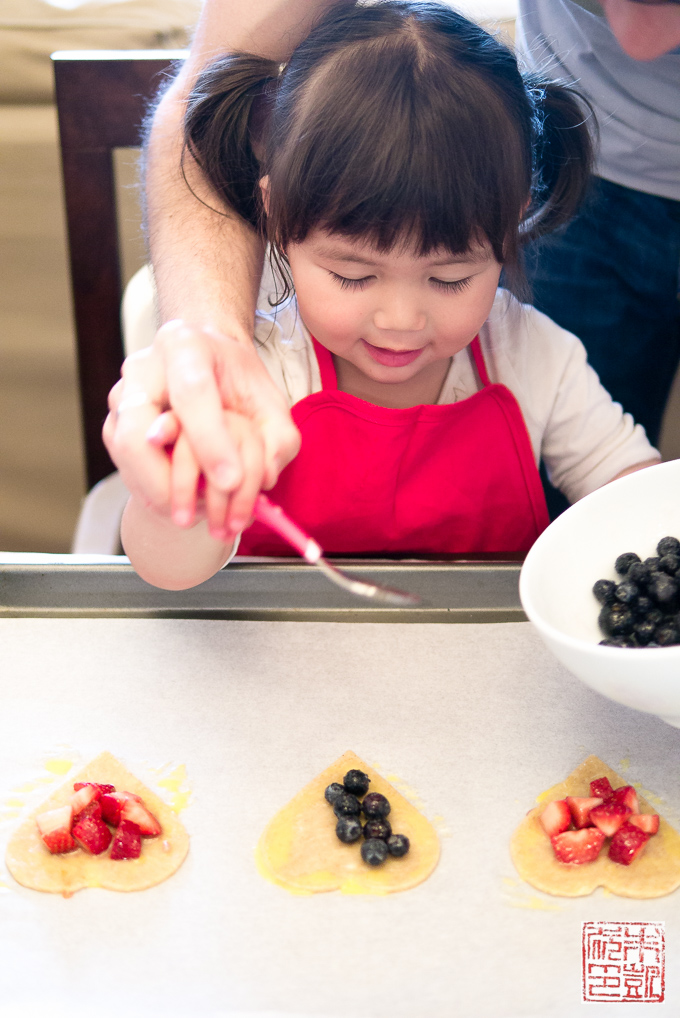
Spooning berry filling on with dad’s help. We had to stop her from trying to just eat the filling straight out of the bowl.
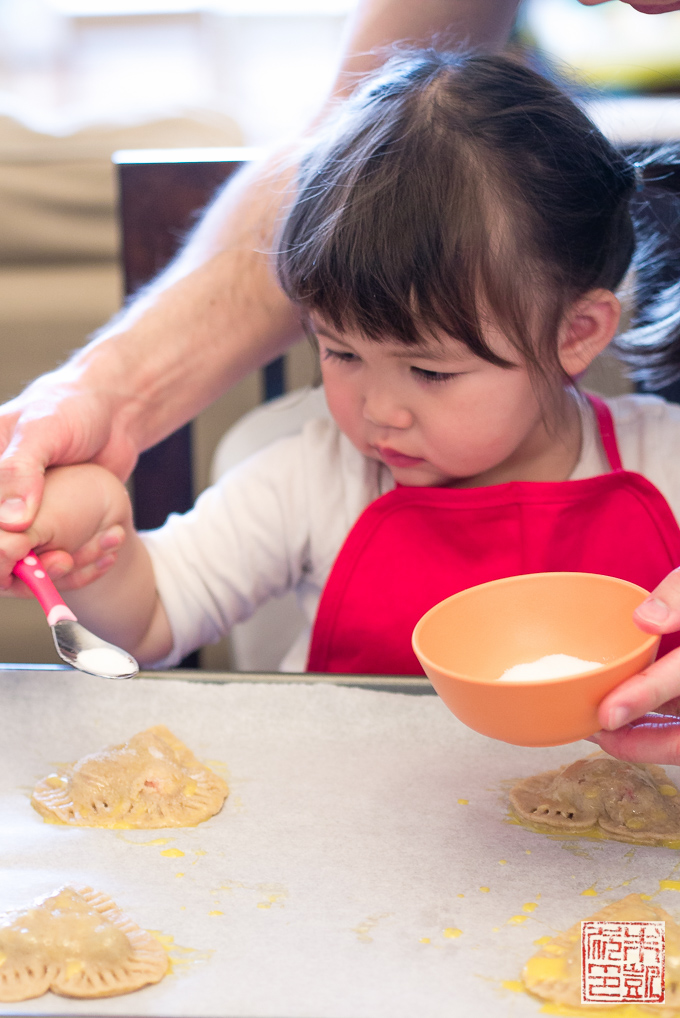
She was also surprisingly good at pressing the top and bottom dough pieces together with a fork, and sprinkling sugar over the tops. At this point she was really excited about “eating pie” and we had to keep reminding her that she needed to wait until they finished baking. It brought me back to how hard it is to wait for anything when you’re a kid!
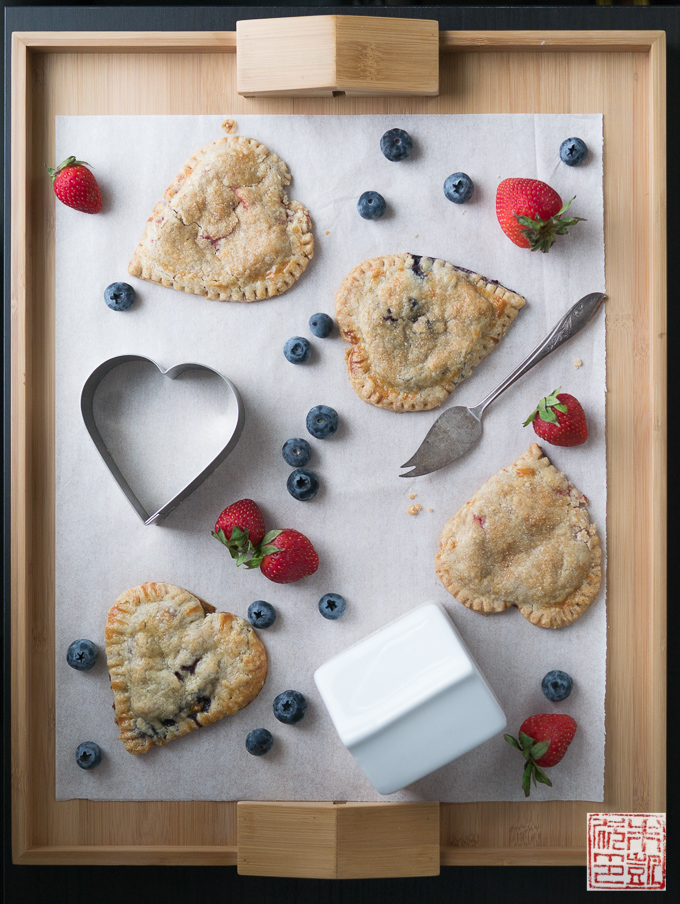
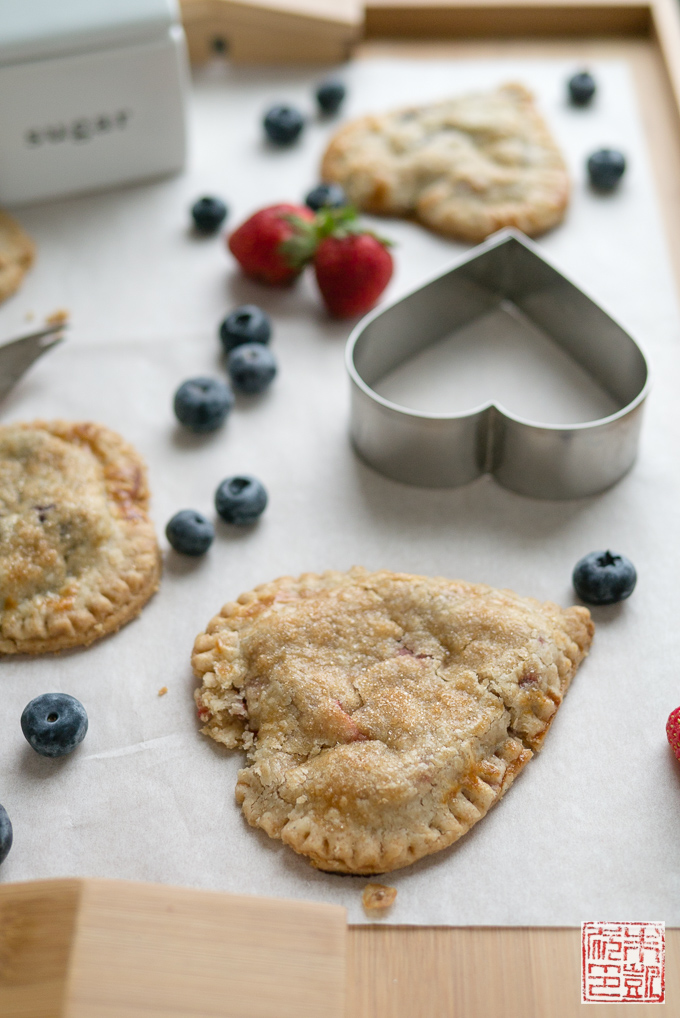
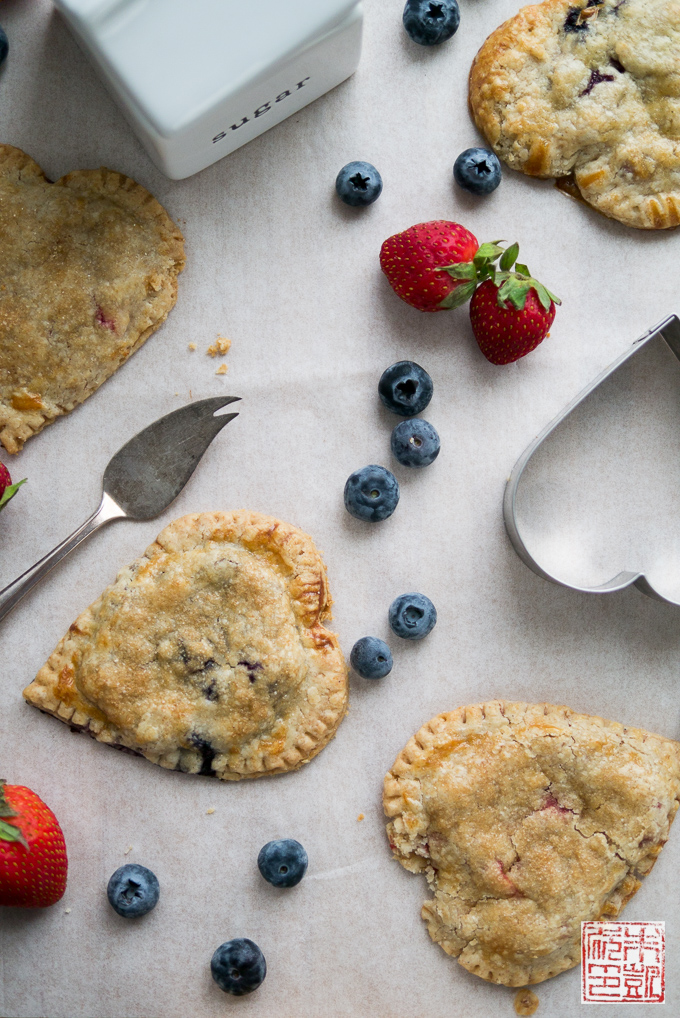
Here a the finished mini berry hand pies; lovely delicate flaky crust and sweet, juicy filling – a true kid-pleaser. A couple of tips: the crust and filling are not super sweet (likely in deference to reducing sugar in children’s diets), so I’ve added a bit of sugar to the recipe below, and you can also increase to your taste. The recipe suggests using a 3 1/2″ round cutter – I used a heart, but I wouldn’t go smaller than the 3 1/2″ size as it will make it hard to get enough filling in and your crust to filling ratio will be too high. Also, these tarts are very flaky (in a lovely way) so don’t try picking them up while they’re hot – they’ll likely just crumble in your hands!
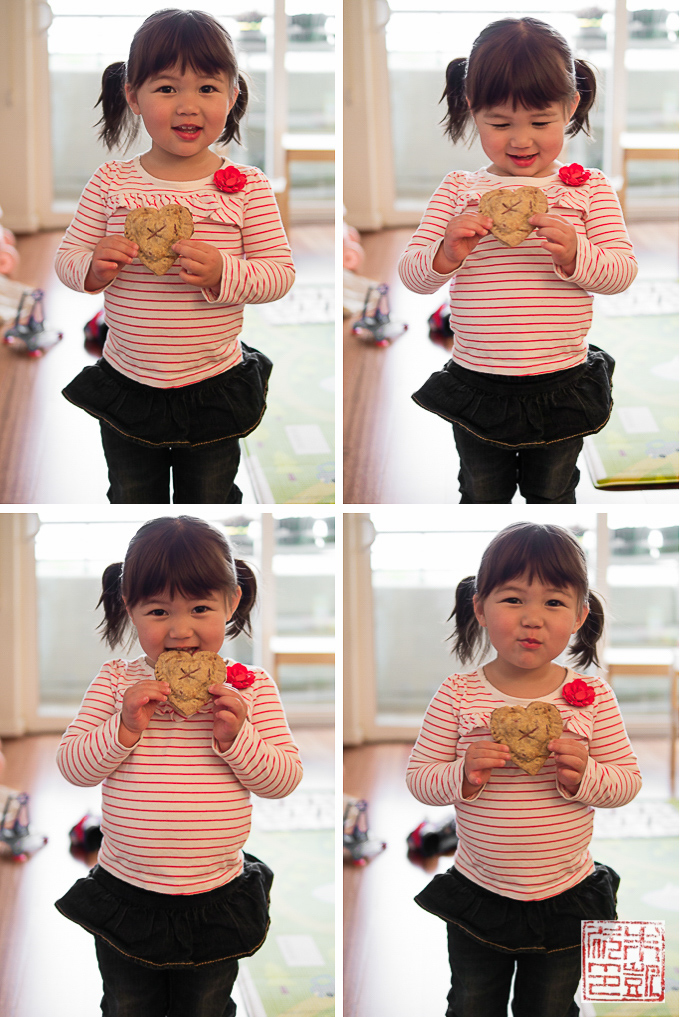
Here she is showing off her creation!
Overall, Isabelle really loved baking with us. She’s very fascinated by processes and is constantly watching us and trying to figure out what we’re doing, so she really enjoyed as Mike explained all the different steps that went into making a pie. Mike remarked that he rarely saw her so intent and focused; the whole process of assembling the pies probably took about 45 minutes, which is a very long time for a toddler to stay still, so she must have been very interested! This was a fun weekend family activity and I’m so excited to see Isabelle on the way to becoming my little kitchen assistant!
Disclosure: I received a copy of Baking with Kids for review. All opinions in this post are my own. This post contains Amazon affiliate links.
- adapted from Baking with Kids by Leah Brooks
Pie Crust
- 3/4 cup (90 g) all-purpose flour
- 1/4 cup (30 g) white whole wheat flour
- 1 teaspoon sugar
- 1/2 teaspoon salt
- 1/2 cup (113 g) unsalted butter, very cold
- 3 tablespoons (45 ml) ice water, as needed
Filling
- 1 cup (145 g) strawberries or other berries, diced into 1/2-in cubes
- zest of 1 lemon
- 1 tablespoon (12 g) sugar
- 1 tablespoon (12 g) light brown sugar
- 1/2 teaspoon vanilla extract
Egg wash
- 1 large egg
- 1 tablespoon (15 ml) water
For the pie crust:
- 1. Whisk flours, sugar, and salt together in a medium bowl.
- 2. Cut butter into 1/4-in cubes. Chill in freezer for 5 minutes.
- 3. Add butter to the flour mixture and cut in with a pastry cutter, 2 butter knives, or your fingertips until it resembles pea-sized crumbs. (Alternatively, you can combine everything in a food processor but be VERY careful not to overmix; stop as soon as the mixture resembles pea-sized crumbs and do not let the dough come together yet).
- 4. Add the water a tablespoon at a time and mix in with a spoon until the dough just starts to stick together - you may not need all 3 tablespoons.
- 5. Turn out the dough onto a piece of plastic wrap, form into a flat disk, wrap tightly, and chill for at least 1 hour.
For the filling:
- 6. Combine the berries, lemon zest, sugars, and vanilla extract in a bowl and let macerate for at least 5 minutes. Cover and set aside until you're ready to make the pies.
To make the pies:
- 7. Take out dough and roll out between two sheets of parchment paper to 1/8" thick. Sprinkle with a little bit of flour if the dough gets too sticky. Note: if the dough gets really soft, it's better to put it back in the refrigerator for 10-15 minutes to let it firm up again. Overworking the dough will make it tough.
- 8. Line a baking sheet with parchment paper. Using a 3 1/2-in round cookie cutter cut out circles from the dough and transfer to the baking sheet. Again, if the dough is too soft to move chill it in the refrigerator for 10-15 minutes before trying again. Gather up any scraps and reroll and recut the dough.
- 9. Carefully roll over half of the dough circles to stretch them a little bigger than the other half of the circles - they need to be a little bigger to cover the filling on the bottom of the pies.
- 10. Preheat the oven to 350 degrees F. Whisk the egg and water together together in a small bowl to make an egg wash. Using a small pastry brush, brush the edges of the dough circles with the egg wash.
- 11. Spoon about 2 tablespoons of the berry filling in the centers of the smaller dough circles. Top with the larger dough circles and press around the sides to seal together.
- 12. Use a fork to press down around the edges of the pies to reinforce the seal. Brush the tops of the pies with the egg wash and sprinkle with sugar.
- 13. Chill pies in the refrigerator for 10 minutes. Using a sharp paring knife, cut about 5 small vents in the tops of the pies to let the steam from the fruit escape while baking.
- 14. Bake for about 20-25 minutes, rotating halfway through, until the tops and bottoms are an even golden brown. Let cool slightly before eating.


What a fun cookbook that sounds like! These pies are so cute 🙂
Darling.. she is just darling. And what a good mama!
she is having so much fun!!
Oh my gosh could those be any cuter? I think not.
AW! How sweet. What a fun project 🙂
I love that these are heart shaped! They look wonderful. The photos of your daughter are truly adorable!
Adorable! I love how you documented and shared the whole process. The hand pies look delicious too.
I love watching kid’s faces light up when they’re in the kitchen…and when they get to taste something they made! I love the photos in this post…and the little hand pies are just adorable (and sound delicious).
She is too precious for words!!
Oh my goodness! How cute are these pies?! And I love that you are getting your daughter involved in the kitchen! LOVE THIS!
What an adorable post! I love how you are getting her into the kitchen as such a young age 😉
I love the pies and I love the precious moments you had with your daughter. She really had a great time doing those pies with you. Continue the bonding moments in the kitchen!
Thanks so much for your kind words! I certainly try to!