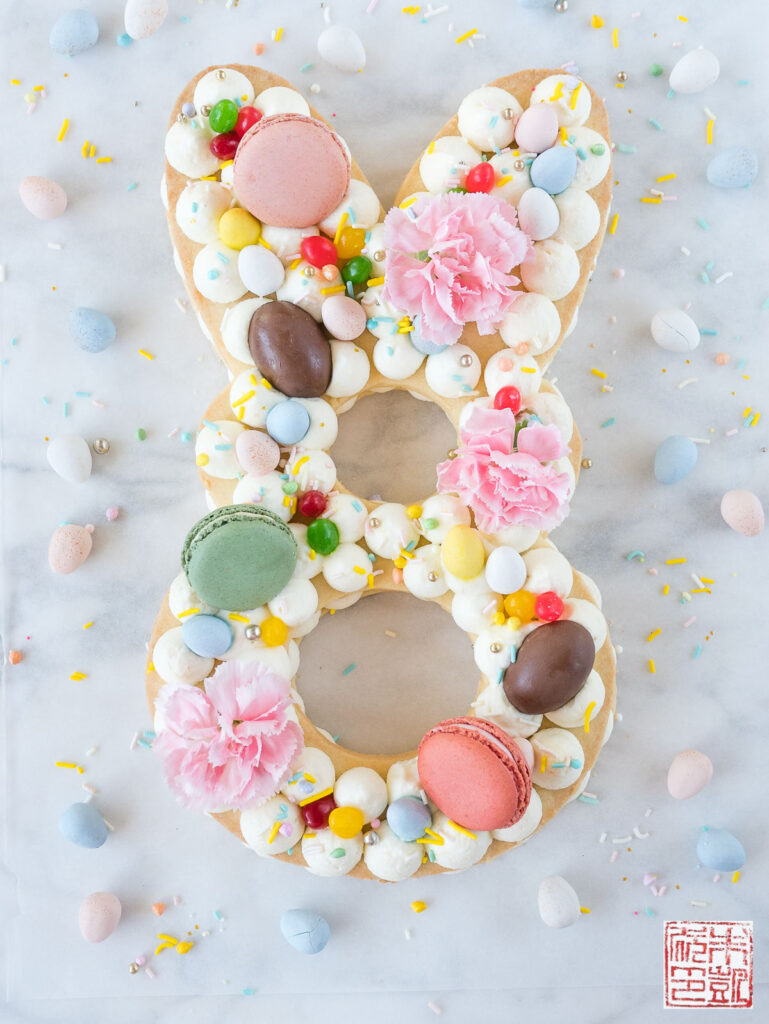
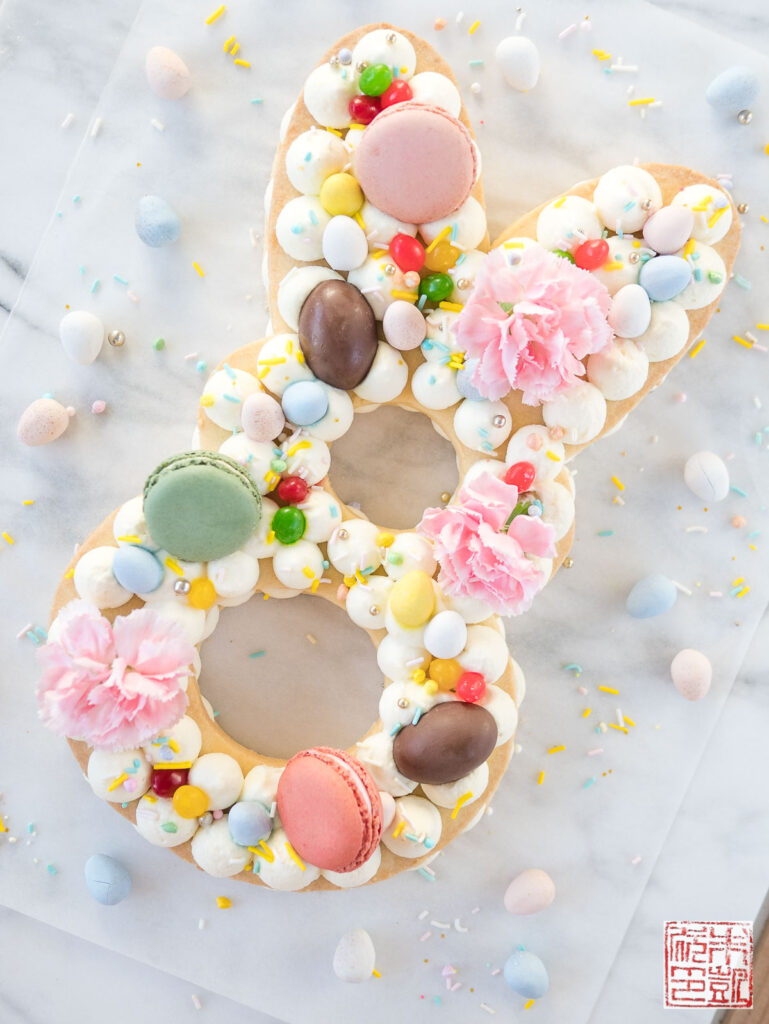
Happy Easter weekend! This bunny cream tart is a sweet way to showcase all the Easter sweets I’ve picked up in the last week. We’re doing an egg hunt at home this weekend, but I couldn’t resist using some of the candy as decorations for this springtime dessert.
I’ve wanted to make one of those fancy cream tarts since they became popular, but couldn’t find the right occasion – until I thought of a bunny for Easter. These tarts are surprisingly quick and simple to do – the hardest parts are deciding what design you want to make, and decorating them. The baking part is super simple. The design for this tart is from Chica and Jo, who created the template you can also use to make this adorable little bunny rabbit.
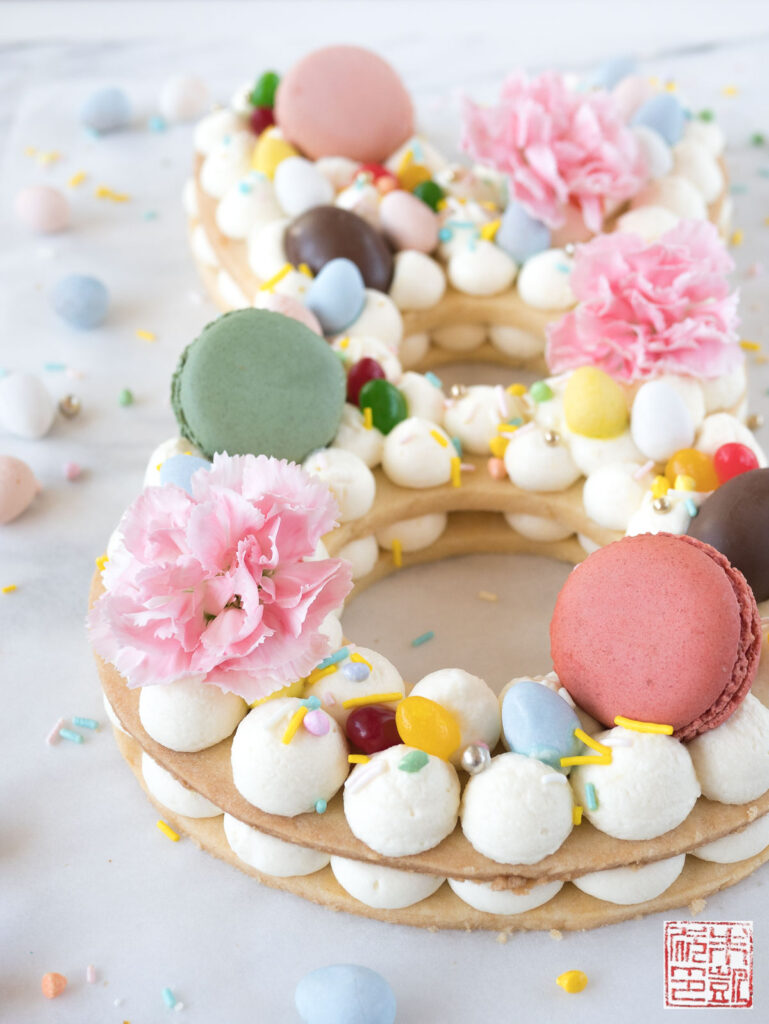
Cream tarts, also variously known as cream tart cakes, number cakes, alphabet cakes, are essentially two layers of shortbread or thin cake sandwiching a cream filling, and lavishly decorated on top. A bit like a napoleon but with the creativity turned up to 100. There are near infinite variations of cream tarts, using different kinds of cake and fillings, but I like using my basic tart dough, since it provides a sturdy shortbread-style base, is deliciously buttery on its own, and can also be modified with different additions like cocoa powder or other flavorings as you desire.
For this recipe, each tart layer will fit on a standard 13″x18″ sheet pan, so you should ideally have two of them to bake the layers. The ingredient quantities for the tart dough will make enough for one layer, so you can either double it to make enough dough for two layers at once, or make it twice. My food processor (an 11-cup) one didn’t have quite enough capacity to fit 2x the recipe, so I had to make it twice.
The best tip for rolling out and baking the tart layers is to do it on parchment paper, so it’s easy to move it onto the sheet pan. I rolled out the dough to about 1/4″ thick – any thinner and you will want to be careful with moving it around after it’s baked so it doesn’t crumble. You don’t need to chill the dough before baking until it’s a warm day unless the dough seems very soft and sticky. Bake the layers one at a time and let them cool fully before transferring one layer carefully to the final serving platter for decorating.
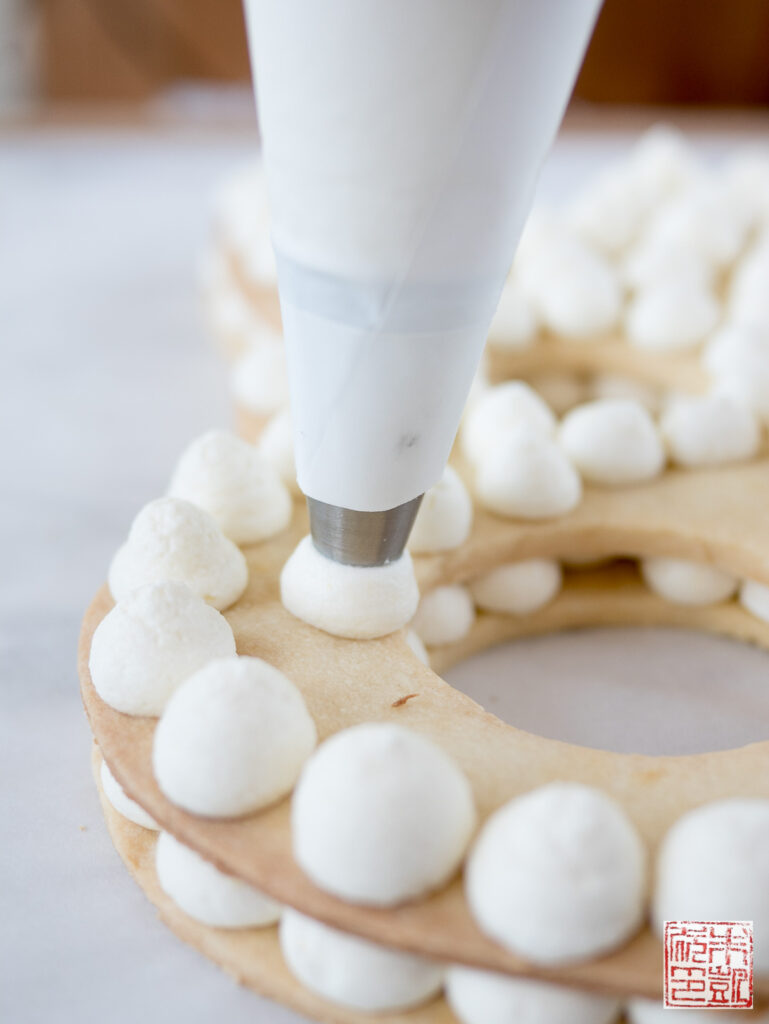
The most common filling recipe I’ve seen is a cheesecake style filling made with cream cheese and whipped cream. You want a slightly thicker, firmer filling that can be piped and will hold its shape so the whole tart doesn’t just flatten when you put the top layer on. My daughter doesn’t like cream cheese, so I went with just whipped cream, but thickened and stabilized with some instant vanilla pudding so it wouldn’t soften and melt as quickly. However, this filling definitely won’t hold up as long as one made with cream cheese, so I would serve it within a couple hours after making it. Other filling ideas could be a white chocolate ganache, or a simple buttercream. I do like the combination of the flaky shortbread and the light, not too sweet whipped cream, especially if you add fruit on top.
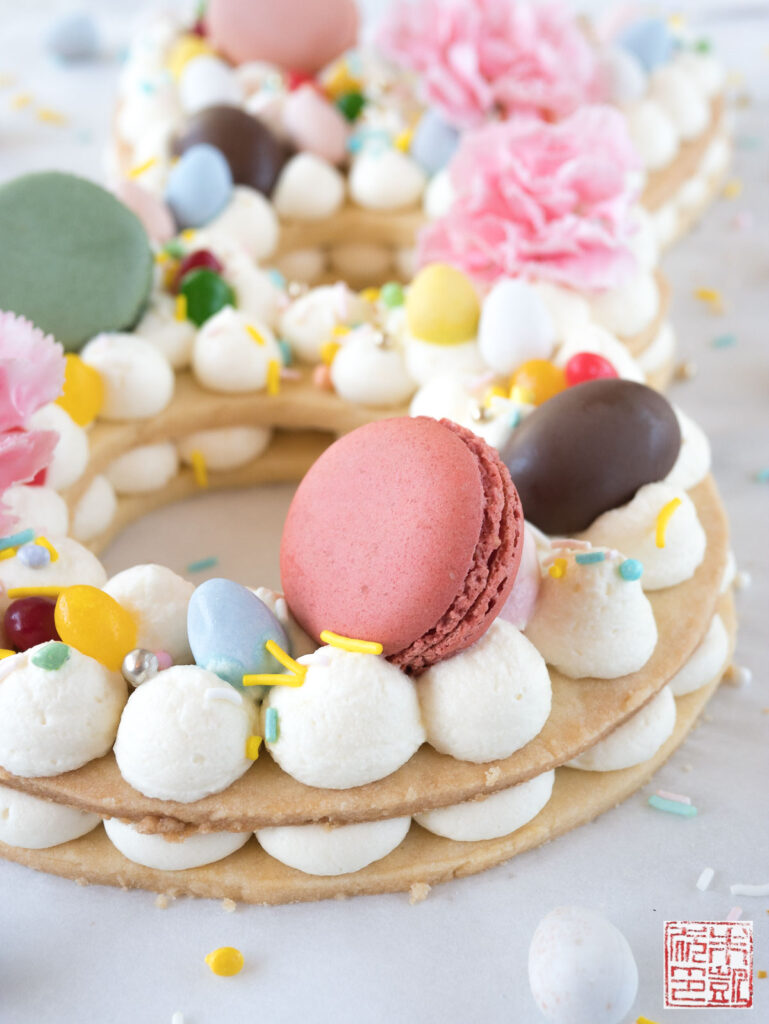
Decorating cream tarts is where you can let you imagination run wild. The more candies, cookies, sprinkles, edible glitter, flowers, and other goodies you pile on top, the better your creation will look. This is also the fun part where if you have kiddies they can join in to help create the best dessert ever. Have a happy Easter!
- 1½ cups (188 g) all-purpose flour
- ½ cup (60 g) confectioners’ sugar
- ¼ teaspoon salt
- 1 stick plus 1 tablespoon (4½ ounces) (128 g) very cold (or frozen) unsalted butter, cut into small pieces
- 1 large egg yolk
- 2½ cups heavy whipping cream
- 2 tablespoons confectioners' sugar
- 2 teaspoons vanilla extract
- 2 tablespoons instant vanilla pudding mix
- Preheat oven to 350 degrees F.
- Put the flour, confectioners’ sugar and salt into a food processor and pulse a couple of times to combine.
- Scatter the pieces of butter over the dry ingredients and pulse until the mixture resembles pea-size crumbs.
- Stir the egg yolk, just to break it up, and add it a little at a time, pulsing after each addition until the dough forms clumps and curds.
- Turn the dough out onto a piece of parchment paper. Roll out to ¼" thick and cut out the desired shape.
- Make the same tart dough again in the food processor, roll out to ¼" thick on a second piece of parchment paper and cut out a second shape.
- Transfer parchment paper to baking sheets and bake for 12-15 minutes until edges are golden brown. Cool on wire racks.
- Whip the cream in a stand mixer fitted with whisk attachment until soft peaks.
- Add in the confectioners' sugar, vanilla extract, and instant vanilla pudding mix, and whip to combine. Do not overwhip.
- Spoon filling into a piping bag fitted with Ateco 806 tip.
- Carefully place bottom tart layer on a serving plate.
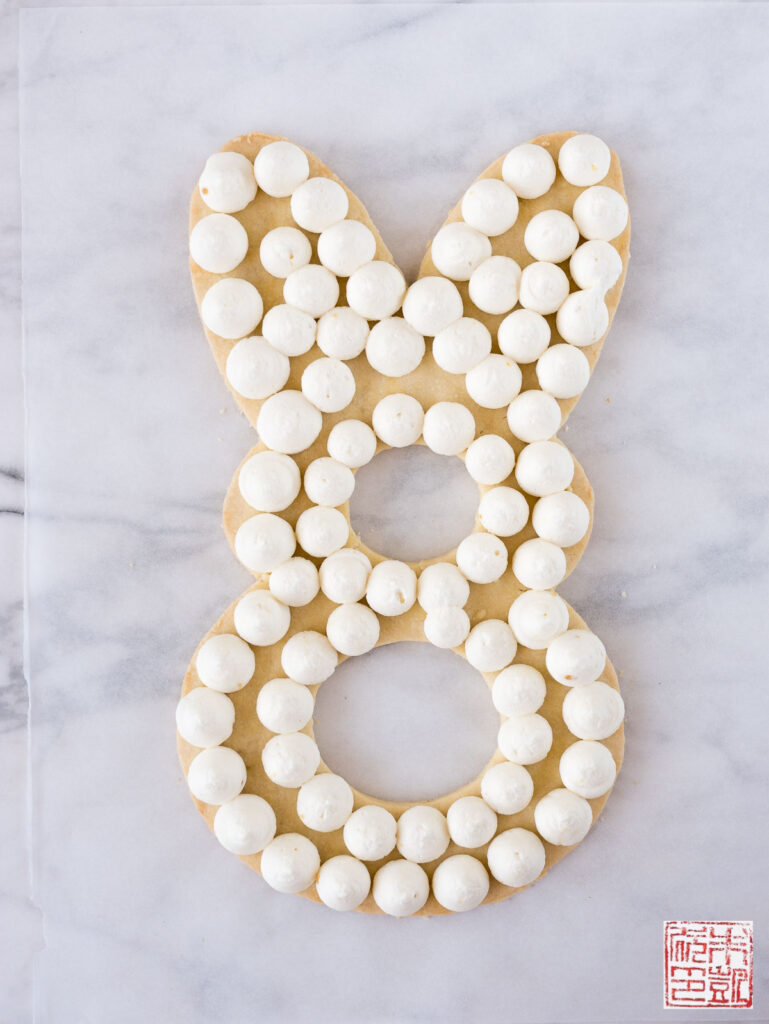
- Pipe round dots around the bottom layer, filling it in.
- Carefully place the top layer on the filling and pipe dots over the top.
- Decorate as desired.


Leave a Reply