Hi all! In honor of Halloween, I thought I’d share this candy corn recipe from my cookbook. I also got to speak with the Saucy Sisters from Nashville about this Halloween staple; here’s the podcast if you want to take a listen!
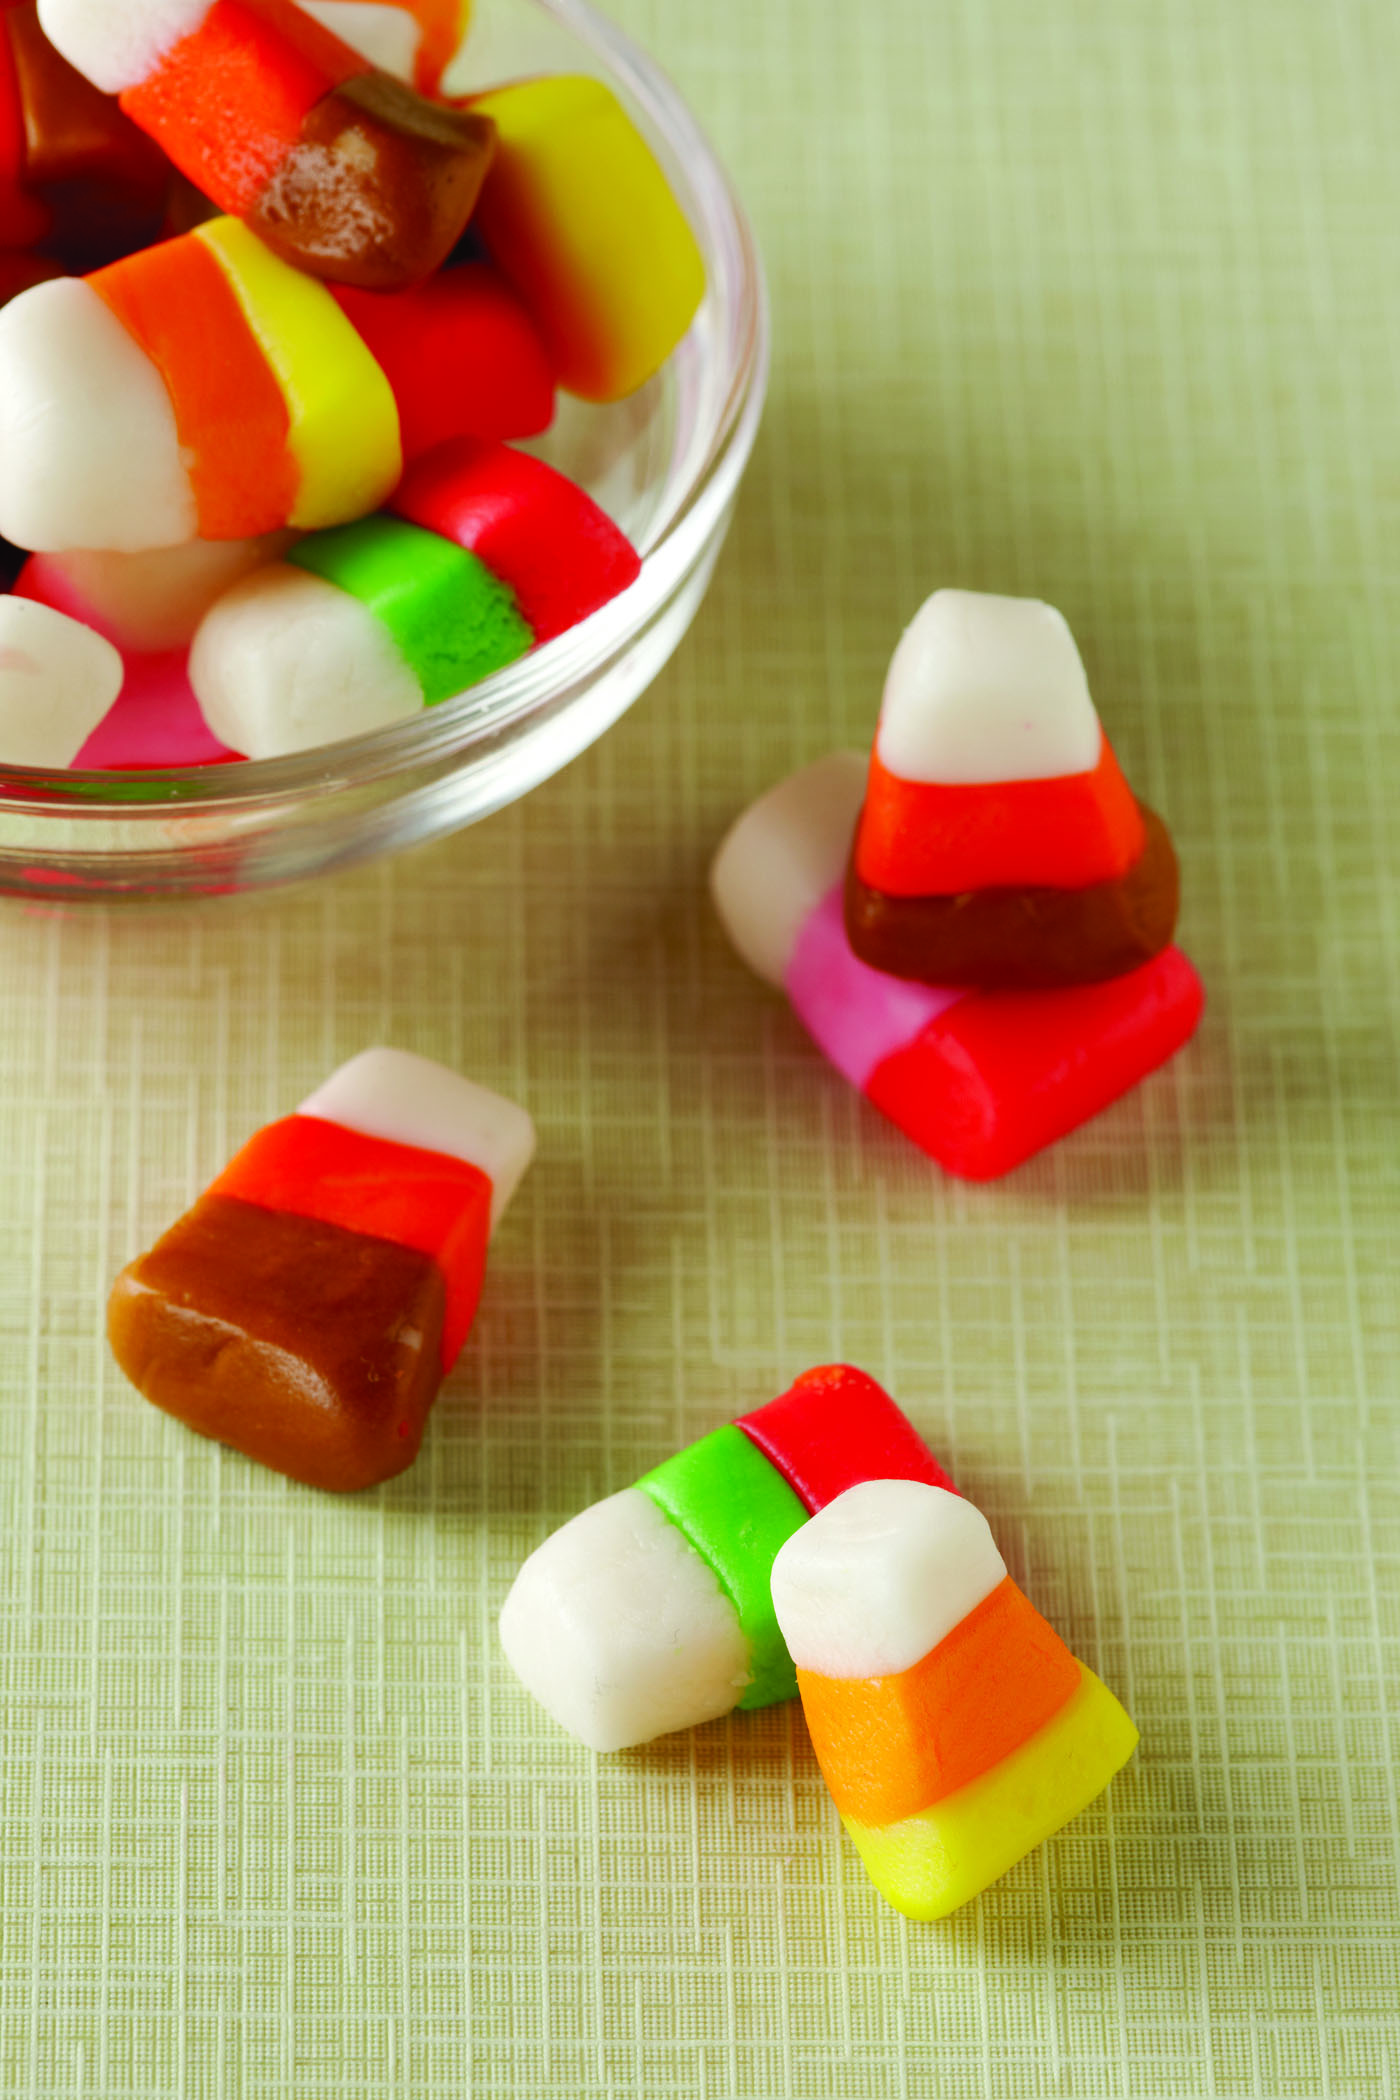
These little triangular-shaped candies, colored in bands of yellow, orange, and white, mimic a ripe kernel of corn; it’s easy to see where candy corn get their name. Candy corn is associated with Halloween in North America and makes its appearance in large quantities as the holiday approaches. Candy corn also appears in other color combinations, including Indian corn, which is brown, orange, and white; reindeer corn, which is red, green, and white; cupid corn, which is red, pink, and white; and bunny corn, which comes in pastel colors. I never realized before I started researching candy corn how many variations existed! I guess it’s so that candy corn addicts can get their fix year round!
Candy corn was invented in the 1880s by George Renninger of the now defunct Wunderlee Candy Company. It used to be made by hand out of sugar syrup, fondant, and marshmallows. The process was so labor-intensive that the candy was made only from March through November. The manufacturing of commercial candy corn was taken over in 1900 by the Goelitz Candy Company, today known as the Jelly Belly Candy Company. With the creation of machines to automate the process, candy corn no longer needs to be made one kernel at a time.
One thing learned when making the dough is not to overcook it or the dough will become hard and crumbly when it cools and it will be hard to form. Don’t turn the heat up too high when you are cooking the sugar mixture. Let the dough cool enough so you can form the ropes, but also don’t let it completely cool and harden. When you are forming the ropes of dough into one piece, lightly running a rolling pin over the top will help press them together. After you cut the candy into pieces, you can reshape them by hand to achieve a rounder shape.
Happy Halloween, and hope you find some delicious candy in your trick or treat bags!
Candy Corn
adapted from Field Guide to Candy
2 1/2 cups confectioners’ sugar
1/4 cup dry powdered milk
1/4 teaspoon salt
1 cup sugar
2/3 cup light corn syrup
1/3 cup unsalted butter
1 teaspoon vanilla extract
Few drops food coloring
1. Combine confectioners’ sugar, powdered milk, and salt in a medium bowl and set aside.
2. Combine sugar, corn syrup, and butter in a medium saucepan. Bring to a boil over medium heat,stirring constantly. Reduce heat to low and cook for another 4-5 minutes, stirring occasionally.
3. Remove from heat and stir in vanilla extract.
4. Add the dry milk mixture to the saucepan, and mix until fully combined. Let mixture rest for a few minutes until cool enough to handle.
5. Divide dough into 3 equal parts and place each portion in a bowl. Add coloring to each part as desired and stir to distribute evenly; if you want to keep it white, don’t add any coloring.
6. Knead each portion of dough in each bowl until the coloring is evenly distributed and the dough is smooth and stiff.
7. Roll each portion into a rope about ½-inch in diameter.
8. Place the three ropes of dough next to each other to form a long rectangle. Use a rolling pin to gently roll over the ropes and press them together.
9. Using a sharp knife, cut the dough into triangles and place on a baking sheet. Let set for about an hour before serving. Store in an airtight container in a cool, dry place for up to 2 months.
Yield: About 80 pieces


I am going to have to try making my own! Love it!
How nice!!!
This is just dangerous! Now I can eat candy corn all year long.
So cute – bunny corn especially 🙂 Given my love of candy corn, I really should try making it myself.
Awesome! Thanks for sharing the recipe.
So nice and elicious, gloria
Amazing! so colorful! what a great job you did!
Great book great idea!
This is such a neat idea. I’ve been trying to think of candy treats to make for Christmas and I actually think I may do candy corn, except use Christmas colors.
These are a favorite of mine but I actually never thought to make them on my own. They’d be perfect Christmas lights on the side of the gingerbread houses, so many ideas.
Thanks a lot!!
Rachael West